How to Tie Dye Instructions: A Step-by-Step Guide
Follow this extensive guide on how to tie dye from picking your tie dye design to washing your project. Everything you need to know is here.

You can tie dye just about anything if you put your mind to it. You just want to make sure you do it right! We love tie dye patterns here at FaveCrafts.com, but we know learning how to tie dye can be difficult (and so so so messy)! That is why we have decided to compile our ultimate guide to tie dye projects! How to Tie Dye: Step By Step Instructions from Folding to Washing has EVERYTHING you need to know about having a successful tie dye experience. Follow along with our long and thorough tutorial and we guarantee that you will have a successful tie dye experience.
The general steps of how to tie dye are probably relatively blurry in your mind. Maybe you have not tie dyed since the last summer season or you haven’t done so since summer camp back in the 80s. No matter when the last time you tie dyed was, we guarantee that you have never tie dyed like this. While summer camp was a fun place to make a charming design, tie dye patterns have grown up. There are probably hundreds of tie dye folding techniques and designs out there.
1. Decide what you are going to tie dye.
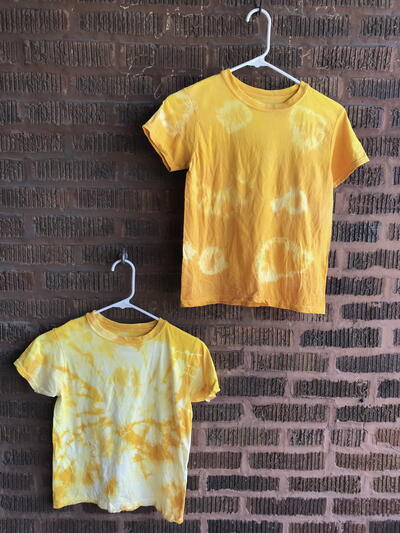
Hands-down, the most popular tie dye projects out there are tie dye t-shirts. When you think of tie dye, you probably automatically think tees. That does not mean you do not have options! Before you start your tie dye adventure, decide what you are going to tie dye. What item you will be using informs how to tie dye properly.
2. Pick a tie dye design and technique
The tie dye design (much like your project type) will determine the remainder of your tie dye experience. If you want to learn how to tie dye, decide on a tutorial to follow before we get started. Check out these awesome collections for some ideas.
3. Gather your tie dye supplies.
In order to collect your tie dye supplies and must-haves, you will need to decide what you are tie dyeing and how to tie dye that project properly. The list below examples what you need to tie dye, but make sure you alter the list for your specific needs.
- Something to Tie Dye – Grab that plain white t-shirt, bed sheet, bag or even pair of socks.

- Tie Dye Products – In order to pick your tie dyes, you will need to know what kind of design you are going to create. Refer to your tie dye design tutorial from above and figure out what kind of tie dye products you will need.

- Latex Gloves
- A Tub to Tie Dye in – A bucket or plastic tub works perfectly. Make sure this is something you do not mind staining.
- Rubber Bands or Twine
- Paper Towel
- Tarp or Plastic to cover your work surface
"I like to use a shower curtain, purchased at a budget store for just a few dollars, to protect my work space. I always tie dye outside, and when I'm done I can just hose off the shower curtain in the grass and hang it to dry." -Morena from morenascorner.com
- Plastic Ziploc Bag
4. Pick your tie dye colors.
The tie dye design you choose will determine the number of colors you will be using on your tie dye project. If you are just learning how to tie dye, try the following tips for first time tie dyers.
- Keep it Simple with Just a Few Dyes: If you just use one to three tie dye colors, you will be able to keep your project simple and therefore give it a better chance of looking great! More complicated designs can run together or end up being way to busy. Work your way up to those 3 to 4 colors.
- Pick Complimentary Colors: You want to pick tie dye colors that will look great in your design and will look great together. Consider combining colors that look okay if they mix a bit like blues and greens or yellows and reds for your first tie dye project! This way if you don’t tie it quite right and your colors run, you’re not stuck with a gross brown blob on your tie dye t-shirt or project.
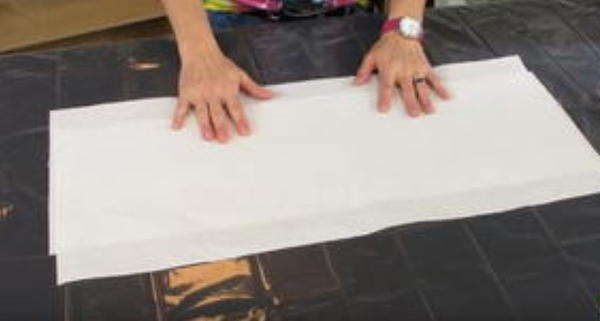
5. Prepare your work space
We do not have to tell you that tie dye projects can be messy. The first rule of learning how to tie dye is learning how to tie dye safely. You are working with permanent dyes. So, make sure your space is safe. It is HIGHLY recommended that you tie dye outside or in your garage.
- Cover up your tie dye space or table with a tarp, old tablecloth, or other plastic to insure that the dye does not seep into the table you are using.
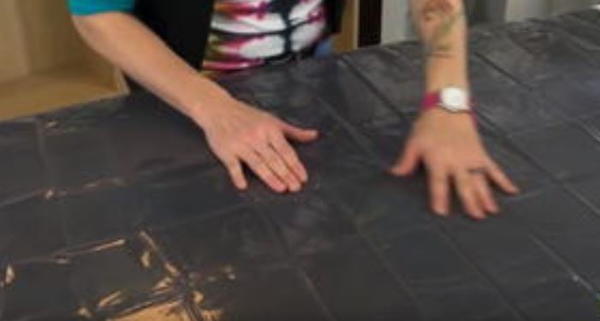
- Put on an apron now! You will want to protect your clothing.
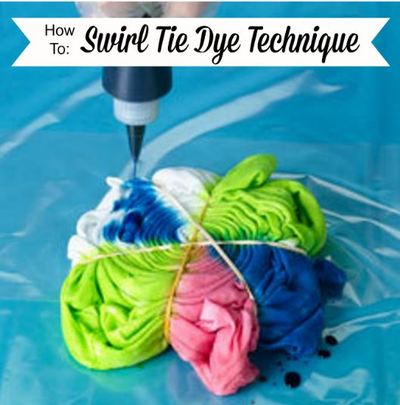
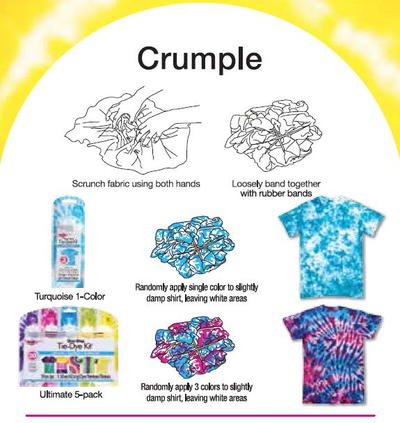
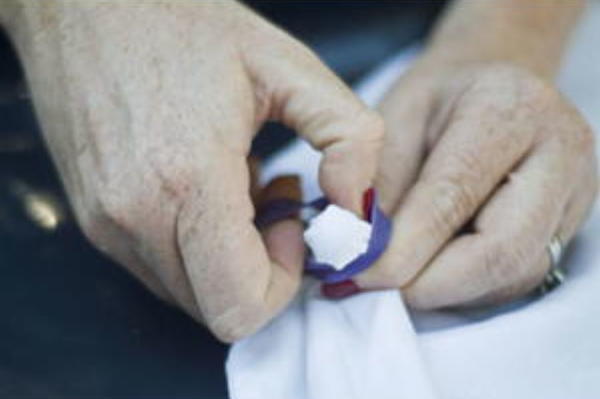
6. Pick your tying/folding technique
The TIE part of tie dyeing is uniquely important to the remainder of your project. The design you use and choose now determines exactly what your project will look like. You can either free-style your tie dye pattern with the following techniques or follow a tie dye folding instructions tutorial completely.
- Banding technique
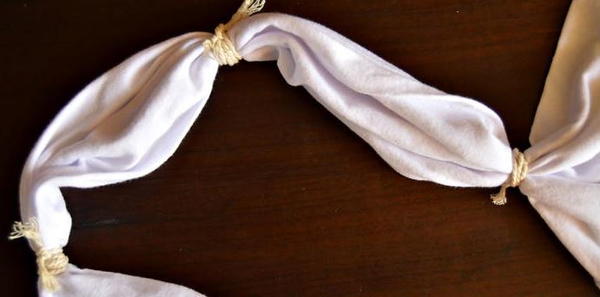
- Polka dot technique
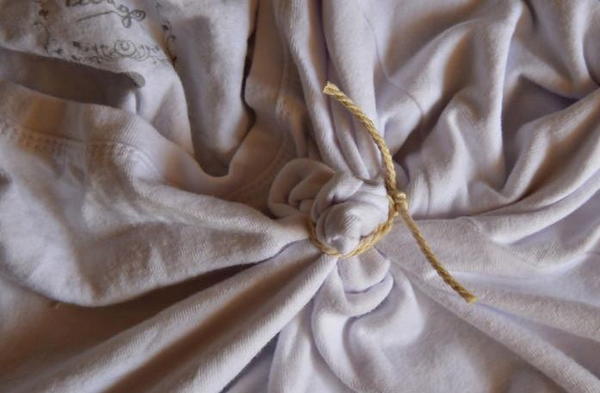
- Crumble technique Try this technique for a more chaotic design. We recommend only using 2 colors tops with this particular design.


7. Put your gloves on!
We are giving this must-do tie dye tip in its own section because it is insanely important if you do not want to make a mess. Before beginning to work with your dyes, put on those plastic gloves and protect your fingers and nails from turning Smurf blue or Purple People Eater purple.
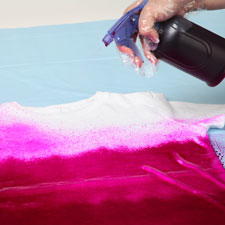
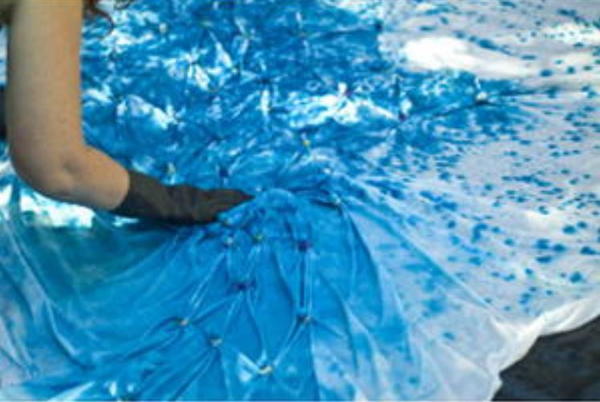
8. Apply the dye with your bottles.
Once you have your project tied or banded tightly, it is time to get down to dyeing your project! Put your gloves on and apply your tie dye to your project according to the instructions of your folding technique. Remember that you will want to limit too much cross-contamination between colors that might mix into a not-so-stunning color. Again, we recommend brand new tie dye crafters use a smaller amount of dyes to start out.
- Put your tie dye into the bottles provided with your tie dye kit.
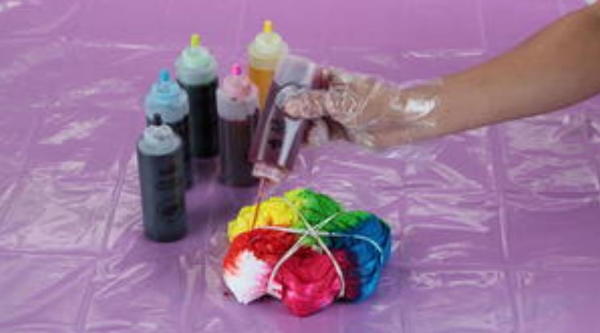
- Squirt a generous amount of dye onto your project.
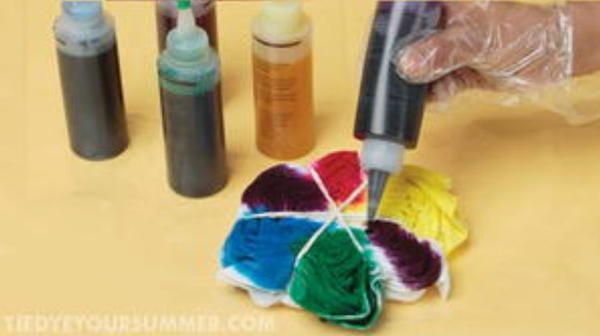
- Allow portions a moment to soak in before adding more.
- Get creative with the colors and how you rotate them. Remember tie dye is all about being bright and bold, so don’t be afraid to do so now!
- Flip your tie dye project over (if necessary) and apply dye to the other half of the project.
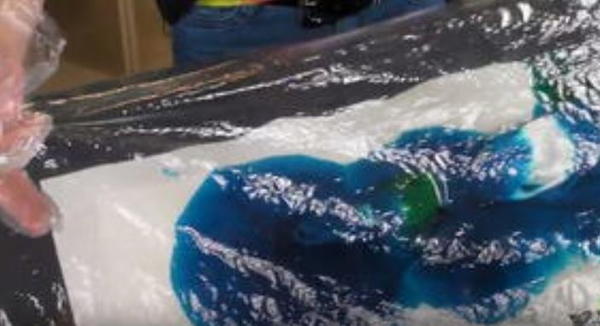
9. Place project in a plastic bag and leave overnight.
Grab your tie dye project and put it into your plastic Ziploc bag and let it sit overnight. The longer a tie dye project sits the better the dye will seep into the project. Many tie dye tutorials recommend allowing your project to sit 6 to 8 hours. If you want an especially bright project, leave it for 24 hours.
Tip: Working on a BIG project? You can substitute your plastic bag for saran or plastic wrap. Just wrap your project up tightly in the wrap.
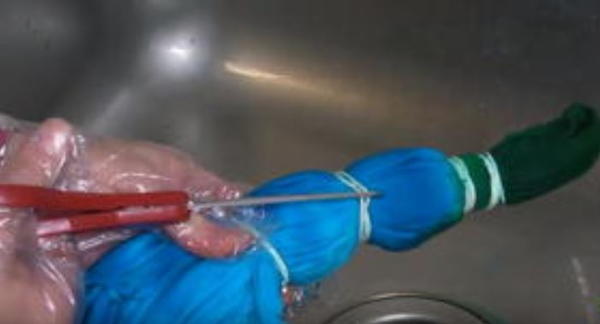
10. Remove your project from the bag and unfold.
You will want to prepare your space for this step, as well. Remove your project from its bag and untie it in your sink or plastic tub, trust us! And again, put on those gloves!
- Remove your project from its plastic bag. You will want to make sure your sink is clear of any gunk, food, or bath supplies. This could hurt your project.
- Once your project is removed from the bag, toss it! It can be tempting to save some plastic but you will not want to store anything in this bag, food or otherwise. The dye will linger.
- Begin untying or unbinding your project and prepare for a tidal wave. You will be surprised at how much dye comes seeping out of your project.
- If you find it hard to do this with your fingers, feel free to use scissors – just make sure you do not snip your project.
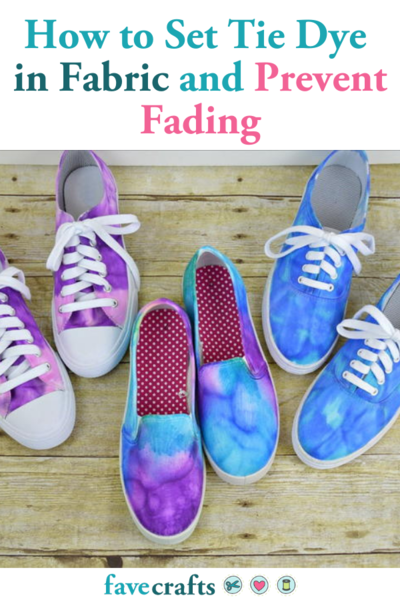
11. Rinse your project thoroughly before setting the dye.
Once you have untied your project, it is time to make sure you set your tie dye properly! Use the tips below to make sure you finish your project and keep it from fading.
- Rinse out your project in cold water, making sure to squeeze as much excess dye out of your project.
- Rinse it out again. Seriously. There will be a lot of dye waiting inside that project.
"I use my utility sink, but you can also use a large bucket outside. Cover the project with water, dunk it a few times, drain the water, and repeat until the water is clear." - Morena from morenascorner.com
- Place your project in your washer. Place it on the biggest load (even though it is one project) on hot with just a hint of soap. Wash it!
Hint: If you are worried about having dye in your washer, consider running an empty load or a load of rags after washing your tie dye project in there to rinse it out.
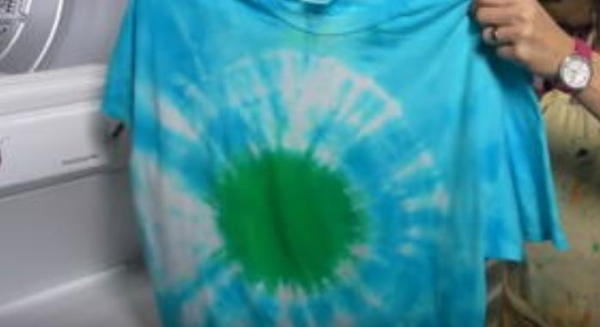
- Allow your project to air dry.
"For projects that won't get washed often but that you want to have a soft feel, like a pillow cover, just throw them in the dryer instead of air drying them." -Morena from morenascorner.com
What else do you need to know about tie dye? Let us know and we'll add it to the article!
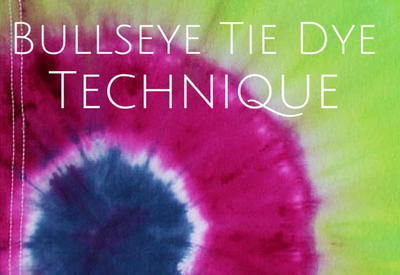
Read NextBullseye Tie Dye Technique
Your Recently Viewed Projects
Thanks for your comment. Don't forget to share!
sunflaurel1 341818 1
May 27, 2018
If you tie dye numerous items at once can you wash them all together to "set" the dye or will that ruin them?
Editor Dana
May 29, 2018
Hi there! The safest bet would be to wash tie dye items separately to avoid the risk of the dyes bleeding from one shirt onto the other! We have more information in our article on washing tie dye projects here: https://www.favecrafts.com/Tie-Dye/How-to-Wash-Tie-Dye-Shirts-and-Projects Good luck!
Report Inappropriate Comment
Are you sure you would like to report this comment? It will be flagged for our moderators to take action.
Thank you for taking the time to improve the content on our site.