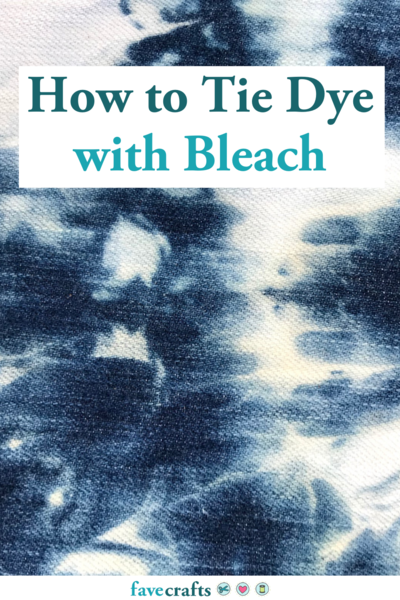
How to Tie Dye with Bleach
This reverse tie dye tutorial is filled with helpful tips for getting started with this technique.

Tie-dye has been popular for decades, and crafters are always looking for different styles and techniques. Using bleach to tie-dye is an easy and inexpensive way to create these fun patterns on darker fabrics.
Unlike traditional tie-dye (which adds color where the liquid dye reaches), using bleach will do the opposite and create “negative” color (removing the color from the fabric where the bleach touches). For this reason it is very effective on darker fabrics (like denim)!
Here are tips and suggestions for using bleach for tie-dyeing, including what kind of fabrics work best and how to get the best results using this method.
Want more crafts?
Sign up for free projects
How to Tie Dye with Bleach
Recommended Supplies
- Fabric (or clothing) to tie-dye (darker colors work better)
- Bottle of bleach (preferably liquid, not the color-safe kind)
- Rubber bands (or string can be used if you don’t have rubber bands)
- Scissors
- Disposable gloves (optional)
- Bowls or buckets for bleaching (glass or ceramic work well, but don’t use your nice cooking supplies)
- Paper towels
- Water (for rinsing)
- White vinegar (optional)

Tips for Working with Bleach
Chlorine bleach is a very useful (and powerful) product that is often used to remove stains and marks from white fabrics. I recommend wearing gloves and clothing that you won’t mind getting dirty, as well as covering your work surface. A mask might also be helpful because of the smell. It’s best to do the bleaching steps outside so you don’t accidentally get any bleach somewhere you don’t want it inside.
Choose the Fabric
Popular fabrics for bleach dyeing include denim, cotton jersey, and linen, although others can be used. Natural fabrics will respond more effectively to the chlorine bleach than synthetic materials. Additionally, darker colors will bleach more noticeably, fading most fabrics to white if left on for a while.
The fabric you want to tie-dye should be washed before starting the process. Don’t worry too much about wrinkles in the material unless it is very creased (in which case you might want to iron it before tie-dyeing). The cloth should also be free from any dirt, dust, and other debris that might have gotten on it during storage.
Using the Rubber Bands
Next the rubber bands can be placed around the fabric in order to create the patterns. Remember that the original color will be removed from the non-tied areas and the parts that are tied with the bands will keep this color. After folding your material (either symmetrically or in a random pattern) the rubber bands should be twisted tightly around at intervals along the fabric. They can overlap if you want a more spontaneous effect, or be equally spaced. Test swatches are a great way to determine which banding style works best for your project. Make sure the rubber bands aren’t loose. They need to stay attached during the next step.

Bleaching the Material
The bleaching process can start after the fabric is banded. Gently pour your chlorine bleach into the bowl. It should be full enough to submerge your fabric, but not so much that it’s up to the top of the container or spilling out.
Place the bundled fabric into the bleach so that it is covered, turning it over if needed. The length of time it’s left in the bleach depends on the fabric type, thickness of the bundles, and how bleached you would like the color of the material. Work in increments of 5-10 minutes, turning and checking it periodically until it’s at the desired result. The exposed areas will be much lighter than the original color of the fabric before it was bleached.


Removing the Rubber Bands
After the fabric is bleached to your liking the rubber bands can be snipped off with scissors. The bands should be discarded in the trash after they are removed. Unfold the bundled cloth and lay it flat to dry on a covered work surface.

Rinsing and Drying
Now it’s time to remove the bleach. Place the material in a separate bowl of warm water to rinse it, then gently squeeze out the water and let it dry while flat for a little longer. The rest of the bleach will wash out of the material in a few washing machine cycles. Always wash your bleached fabrics separately from other garments or materials so they don’t get unintentionally bleached as well. Chlorine bleach does have a strong smell, so it may take a while for that to fade unless it’s washed thoroughly. White vinegar can help with the smell if added to the wash cycle or bowl of water.
Always use a cool or slightly warm cycle (not hot) and a gentle detergent. Running a cleaning cycle when finished can help remove any additional bleach from the machine. Drying the bleached fabric can either be in a machine or on a clothesline, though a machine dry cycle will soften it more and remove the wrinkles. Iron if needed after this step. Now the tie-dyed fabric can be used to create sewing and craft projects!


Caring for Bleached Fabric
Over time the pattern may fade a bit. Bleached garments or fabrics should be cared for like other kinds of tie-dyed items. It’s recommended to wash them separately and carefully to keep the patterns vibrant. You may even choose to line dry your bleach tie-dyed garments.
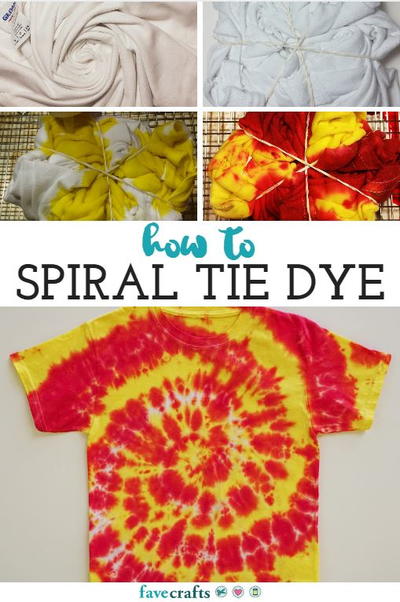
Up Next:
5 Bleach Tie Dye Patterns
Have you used bleach to create tie-dye before?
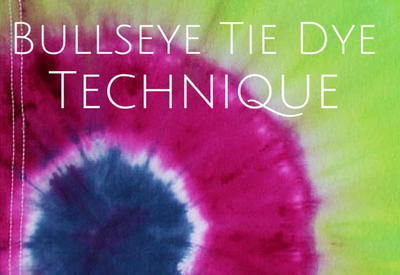
Read NextBullseye Tie Dye Technique