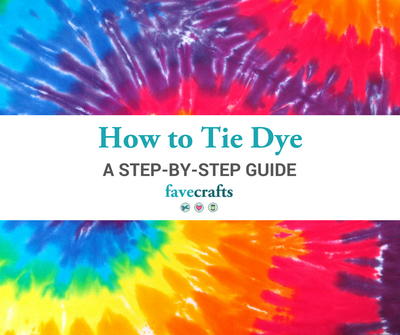
How to Spiral Tie Dye
Learn how to add the swirl tie dye design to your project with this how to tie dye tutorial.

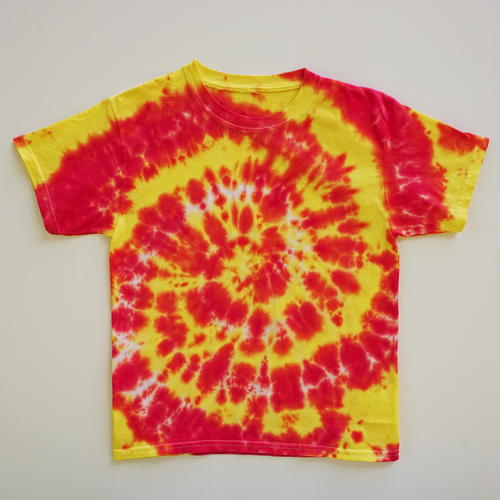
One of the most popular tie dye techniques out there is creating the spiral (sometimes called a swirl) pattern on a tee. This stunning circular design allows you to use multiple dye colors to create a vibrant pattern. Full of movement and actually pretty easy, this spiral tie dye tutorial below shows you how to create a tie dye swirl on a plain white tee.
This how to tie dye tutorial is just the thing you need to tie dye your first of many stunning shirts. Whether you are creating a tie dye shirt for yourself or throwing a tie dye party, the steps below make it incredibly easy to achieve the design you want.
This how to tie dye tutorial is brought to you by blogger and designer Anita Scroggins, an expert crafter and self-described Tie Dye nut!
Estimated Cost$11-$20
Time to CompleteIn an evening

Project TypeMake a Project
Materials List
- Plain White T-Shirt
-
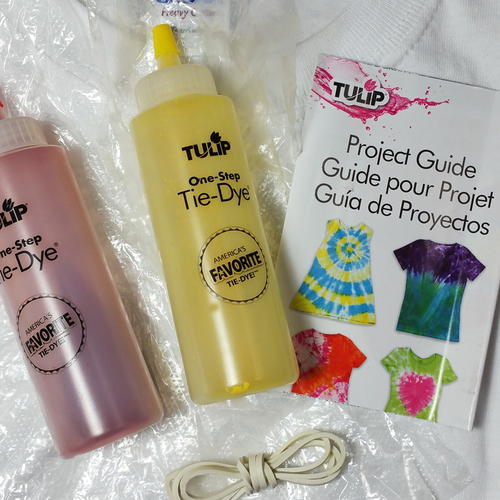
Mini Tie Dye Kit in Fiesta
Don’t Own a Kit? Here’s what you will need:
-The dye (2-3 colors)
-Bottles (1 per color)
-Gloves
-Rubber bands
How to Spiral Tie Dye
Let me just say - that I am a tie-dying fool. I LOVE to tie-dye! I try to work it in every few years at the Day Camp that I run. The campers love to tie-dye too. Nothing makes 100 kids happier than getting to make their own custom t-shirts and getting color all over themselves in the process.
Instructions
-
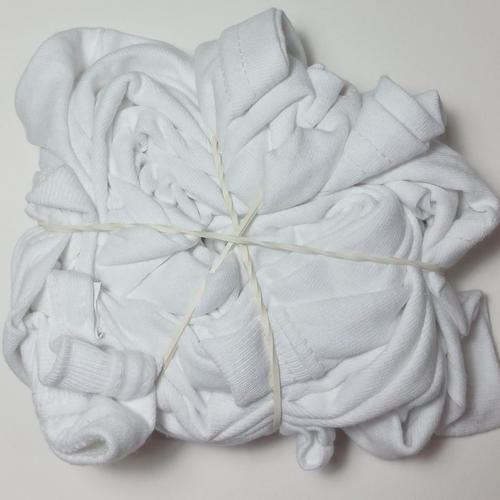
Swirl and fold the shirt into your desired design.
You will need to start in the middle of the shirt, pinch and twirl, and continue on until the entire shirt is wrapped up in a nice, flat disc. -
Wrap in the rubber bands.
Keep the shirt as flat as possible, add three rubber bands evenly spaced so you have 6 sections on the shirt. Now it's time to add the dye. -
Prepare the dye in the bottles.
Make sure you put the gloves on for this step. Really. Learn from me young Jedi. Add water as directed on the bottles and shake, making sure you still have the cap on. -
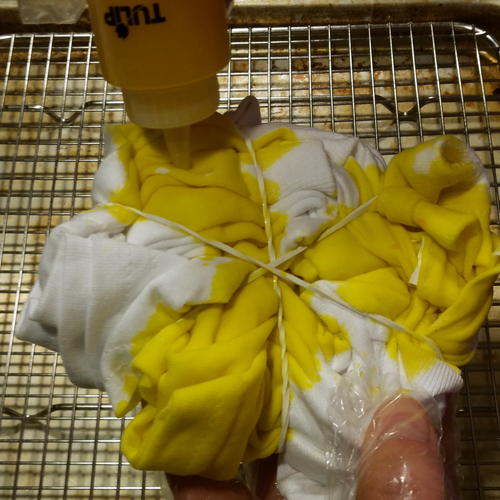
Apply the dye in rotating sections.
You will the first color to every other section and then fill in with the second color. I like to do this step on a cookie sheet with a rack. That way if I have to put the shirt down it is on the rack, rather than sitting in the dye. Be careful not to splash the die onto your clothing.
TIP: You can also use three colors for this pattern. You would fill in two sections with each color; the sections would be directly across the circle from each other. -
Place in a plastic bag.
Once you have all your color on, it is time to put your shirt in a gallon zipper top bag and let it sit overnight. -
Remove shirt from bag and snip the rubber bands.
In the morning dump the shirt in your washer and THEN snip the rubber bands. -
Wash in hot water.
Wash on a full cycle in hot water with a little bit of soap and then dry.

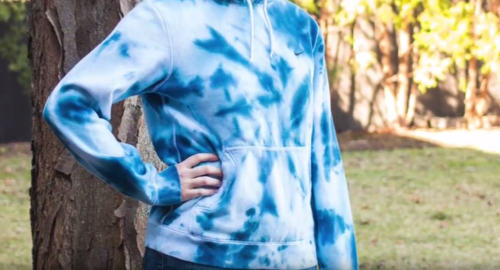
Bonus! DIY Tie Die Hoodie
-
Looking for a project idea that involves the spiral tie dye technique? Try making the DIY Tie Dye Hoodie with our video tutorial.
What two colors would you use for this tie dye t-shirt?
Read Next100+ Tie Dye Patterns and Techniques