Graffiti Tee Tie Dye Shirt
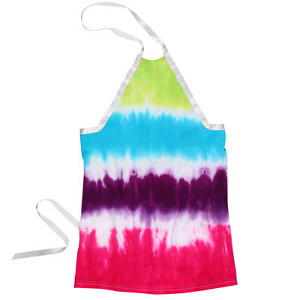
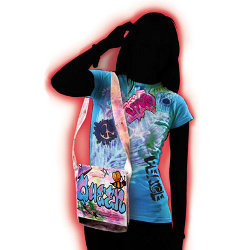 Create your own DIY shirt with Tulip graffiti and tie-dye kits. In 14 steps, you can have the coolest-looking shirt around. Express your personal style in this DIY shirt. This Graffiti Tee Tie Dye Shirt looks great during the summer. You don't have to be an expert crafter to make this t-shirt, either. Simply follow the tutorial and learn how to tie dye a shirt that looks store-bought. Best of all, this project is easy enough to work on with the kids. This summer, spend the afternoon creating legal graffiti with this delightful tie dye design.
Materials:
- Tulip® Fashion Form™
- Tulip® Fashion Art Resist™
- Tulip® Fashion Graffiti™ Big Phat Fabric Marker™
- Blackout
- Fire Hydrant
- Tulip® Fashion Graffiti™ Fabric Paint Cannon™
- Tulip® One-Step Tie-Dye Kits™
- Moody Blues
- Tulip® Surface Cover™
- Tulip® Fashion Graffiti™ Stencils™
- Peace/Love
- Tulip® Fashion Graffiti™ Cannon Fabric Paint™
- Blackout
- Cosmopolitan
- Rush Hour
- Skyline
- Plastic trash bag
- Spray bottle
- T-shirt – white – 100% cotton
For more crafty inspiration, check out How to Tie Dye: 10 Tie Dye Instructions & Techniques. This free downloadable eBook features fun and interesting ways to transform just about anything. Follow the tutorials listed in this eBook and discover cool and interesting tie dye techniques. Kids and adults alike will fall in love with the quick and easy projects featured in this free craft eBook.
Instructions:
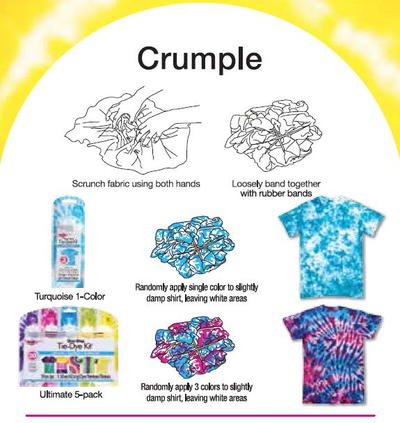
- Prewash and dry shirt to remove sizing. Do not use fabric softener or dryer sheets.
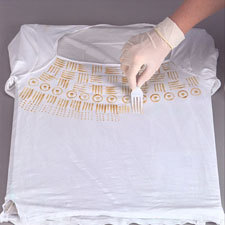
- Cover work surface with Tulip® Surface Cover™. Lay dry shirt on prepared surface and insert plastic trash bag between layers of shirt.
- Use Fashion Art Resist to freehand draw a large peacock feather diagonally across front of shirt as shown. Let dry completely.
- Wearing plastic gloves from kit, fill dye bottles with water to fill line. Replace caps and shake bottles to thoroughly mix dye. Pour Blue dye into spray bottle.
- Spray Blue over the top of feather then pour remaining dye back into bottle and clean spray bottle. Pour Green dye into spray bottle. Spray Green around outside edges of feather. Pour remaining dye back into bottle and clean spray bottle.
- Leave plastic bag in between layers of T-shirt. Fill spray bottle with clean water then spray water over T-shirt to fully dampen.
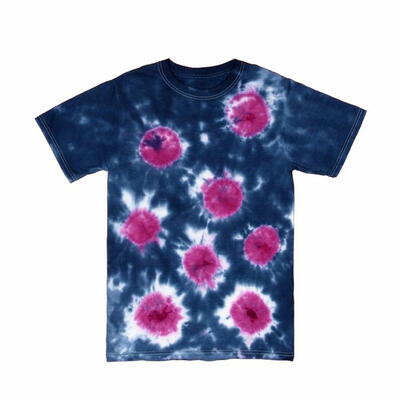
- Squeeze Turquoise dye over un-dyed portions of shirt then flip shirt over and squeeze dye all over backside.
- Cover shirt with Surface Cover and let set for 4 to 6 hours. Wash shirt in warm water on a large load setting with a small amount of laundry soap. Dry in dryer.
- Place clean Surface Cover on work surface and lay shirt flat on surface, then place Fashion Form in between layers of shirt.
- Remove stencils from Peace & Love Pack and place on shirt where desired or where shown.
- Fill Fabric Paint Cannon with Blackout Cannon Fabric Paint then spray in PEACE stencil. Remove stencil and pour remaining color back into bottle. Thoroughly clean Paint Cannon.
- Pour Cosmopolitan Cannon Fabric Paint into Paint Cannon then spray over LOVE stencil. Remove stencil and pour remaining color back into bottle. Thoroughly clean Paint Cannon.
- Repeat step for Crown and Peace Symbol stencil, using Rush Hour for Crown and Skyline for Peace Symbol. Let all designs dry.
- Outline Peace Symbol and LOVE design with Blackout Fabric Marker then use Fire Hydrant Fabric Marker to add detail around LOVE design as shown. Let dry.
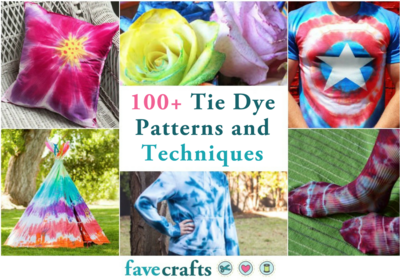
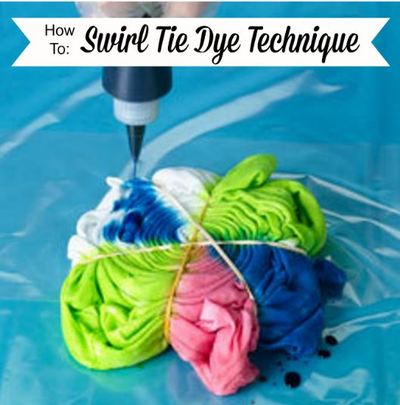
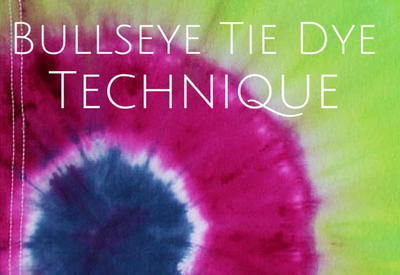
Why use the same tie dye technique over and over again? Instead, check out these 100+ Tie Dye Techniques and Patterns and get inspired. There are tons of tradition tie dye designs in this collection, but there are also unexpected ideas for more ambitious crafters. If you aren't sure which of these tie dye instructions to follow first, have no fear - there are enough projects to keep you busy for a very long time.
Free Craft Video: DIY Restyled Tie Dye Shoes
Read Next100+ Tie Dye Patterns and Techniques