How to Decoupage on Wood
This wood decoupage tutorial will make you eager to upcycle something drab and make it fab!

Learning how to decoupage on wood is one of the most popular and surprisingly simple ways to upcycle wood crafts and furniture. By simply adding a layer of pretty paper or fabric, decoupaging on wood can turn a bland chair or accent piece into a bright and cheerful conversation starter. Instead of buying brand new, expensive furniture that comes with a rustic, eclectic look, you can learn how to Mod Podge on wood and create those unique pieces entirely on your own.
Learn How to Decoupage on Wood with this extensive and easy beginner tutorial. Mod Podge crafts and decoupage ideas are a brilliant way to upcycle old pieces as well as incorporate new patterns and colors into your home. You can easily achieve a rustic look with vintage craft ideas that utilize wood decoupage projects. Once you have read this whole article, scroll down for some furniture decoupage ideas.
Get free craft projects delivered straight to your inbox!
Sign up for FaveCrafts
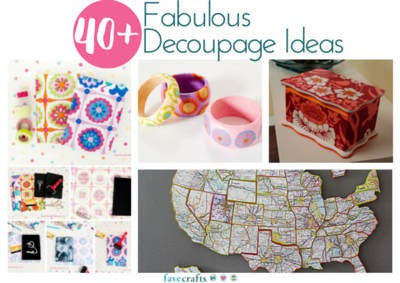
If you are on the hunt for decoupage craft ideas, you will love our impressive collection of40+ Fabulous Decoupage Ideas
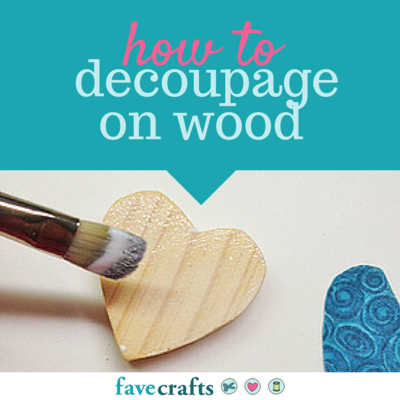
How to Decoupage on Wood
Preparing Wood to Decoupage
In order to properly decoupage anything onto wood, you will need to prepare the surface properly for your DIY craft. Wood is a much more fickle and textured material than something simpler like glass craft ideas or even plastic. Depending on what type of wood you are working with, you might need to explore several preparatory steps before even considering beginning to Mod Podge on wood. Preparing your wood for decoupage all comes down to one goal -creating a smooth, flat surface. This means, depending on your wood or furniture item, you may have to do more or less work.
-
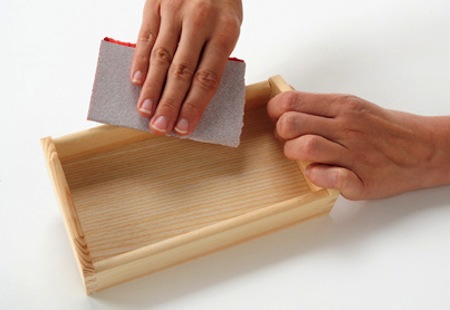
Sanding Your Wood for Decoupage
If you are looking to decoupage furniture or any other piece of older wood, you are going to want to sand the surface before you decoupage. When you decoupage on wood, you want to be able to lay your paper, fabric, or other materials flat on the surface of your piece in order to avoid air bubbles. In order to ensure your surface is perfect for crafting, it will need to be sanded down. This especially applies to old furniture that may have cracks or indentations on the surface. For smaller projects, using sandpaper will work just fine for your purposes. If you are entirely revamping a full dresser, desk, or table, you may want to consider using an electric sander.
Once you are done sanding your piece, be sure to wipe it down with a wet cloth. Sanding surfaces means you are wiping off tiny particles on the piece. You will want to remove all of this excess before applying any layer of decoupage to your wood. Sharp pieces of wood dust, no matter how small, can easily affect the surface and texture of your decoupage furniture projects and smaller pieces. -
Painting Your Surface
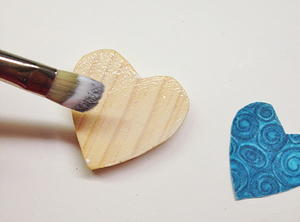
Much like painting a wall, decoupaging with wood requires you to add a primer to your wood surface. A clean, white paint will work wonders in this instance. Once your surface is sanded to perfect, apply a layer (or two depending on the shade of your wood) of white paint. This layer will allow for your design and colors to pop exquisitely. Crafters looking for a more eclectic look may choose to use a colorful paint for this step or skip it entirely.
You do not need to paint wood before decoupaging it; however, if you choose to skip the paint, the wood grain may show through the paper. It's up to you if this is the look you're going for!
What Can I Use for Decoupage on Wood?
Decoupaging on wood is more complicated than simple paper crafting ideas or smaller crafts like DIY ornaments. If you are decoupaging on furniture or larger wood surfaces, there are some materials you will absolutely want to use and some you may want to avoid. It is also important to keep in mind that the types of mod podge you use is extremely important, especially when creating projects that will have some extra wear and tear.
-
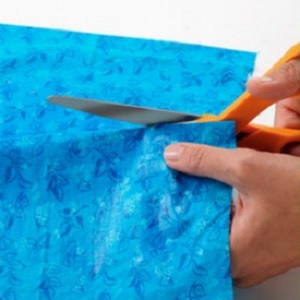
Fabric: Using fabric to decoupage onto wood is a brilliant idea. Fabric is a thick material that can easily withstand some wear and tear that thinner materials like tissue paper may not. It is important to keep in mind that when you are mod podging with fabric, you will need more mod podge both in the number of coats you use as well as the amount you apply to each coat. It can be hard to get the mod podge to soak all the way through.
Great Fabrics to Decoupage with: Cottons, Lace, Knit Fabric, Old Table Cloths, Satins, Silks -
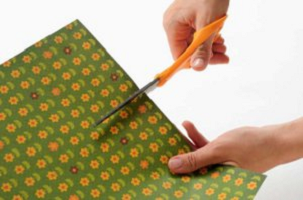
Paper: Mod podging paper onto wood is an easy project that you have probably seen a dozen or so times before. When learning how to decoupage on wood, make sure that you cater the type of mod podge you use and amount to the paper type you are using. Decoupaging with tissue paper is a different process than decoupaging with wrapping paper. Also, keep in mind that some inks, like those in old newspapers, will run and may need a longer drying period.
Great Papers to Decoupage with: Tissue paper, scrapbook paper, wrapping paper, laser-printed photos, newspaper, magazines.
Types of Mod Podge to Use
The type of Mod Podge you use will really depend on the project you are working on. If you are learning to decoupage on wood to create a chair for your porch, for example, you will want to make sure you use the Outdoor Mod Podge that can withstand the elements while sturdy, but indoor decoupage ideas work best with Hard Coat Mod Podge. Be sure to read the label and explore similar Mod Podge tutorials online for the best material for your particular need.
Bonus: you can use other types of glue for decoupage projects as well! Learn more in our article on Mod Podge vs. Glue.
How to Decoupage Wood: The Process
When you decoupage on wood, you will want to ensure that you are using the right amount of mod podge and the right amount of layers for your project. In general, you will want to follow the steps below:
-
Apply a base coat of Mod Podge of your choice after preparing your surface.
-
Place your material on top of this coat and remove the bubbles by using a roller or flat-edge piece of wood.
-
Allow to dry before adding a coat on top of this surface.
-
Allow this to dry before adding any additional coats needed. Projects that will be kept outdoors, used often, or in a very busy place in your home will need extra coats for extra protection.
-
To get an extra smooth finish, lightly sand your completely dry project with 400 grit sandpaper.
Taking Care of Decoupaged Furniture and Projects
Much like any other piece of furniture in your home, you will need to take special care to clean and upkeep these pieces. In general, if you have used the correct types of mod podges on decoupage ideas and crafts, you should be able to wipe these projects down with a damp rag in order to do away with dust and other messes. It is not recommended that you deep clean these projects with any type of harsh household cleaner as it may cause the mod podge to bubble or fade. Consider making protective coasters or placemats for decoupage furniture ideas that are in high-traffic areas of your home. If you are really worried about these surfaces, you could easily apply a layer of contact paper or a sheet of glass atop more intricate designs you want to keep safe.
How to Decoupage on a Wood Frame Tutorial
Want to see the complete process step by step? Check out this example!
This tutorial was originally shared here: Best Friend Decoupage Coloring Pages Frame.
-
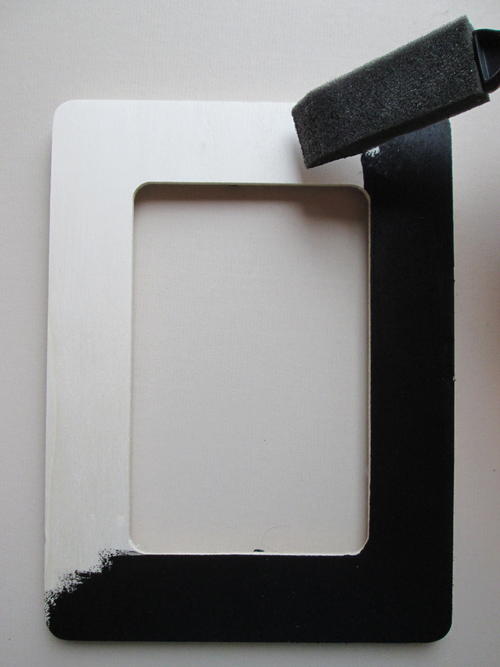
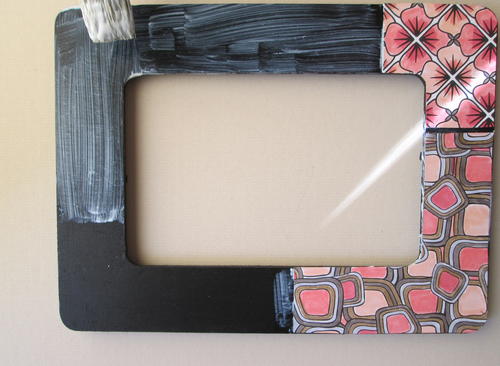
Wipe dust off frame with a slightly damp cloth; sand rough spots or edges if needed. Paint the front and sides black; dry.
-
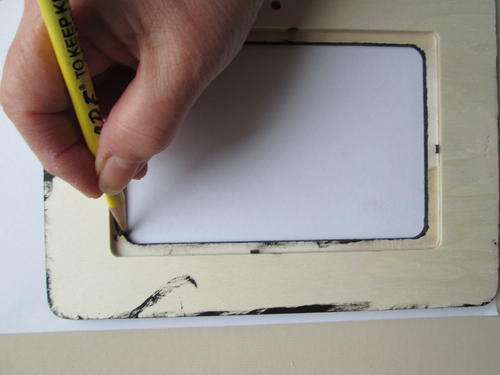
Tear out two coloring book pages of your choice. Place right side down. Trace frame on reverse side of both coloring page sheets. Carefully cut out frame shapes.
-
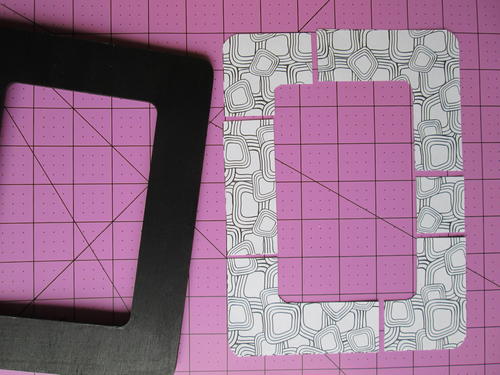
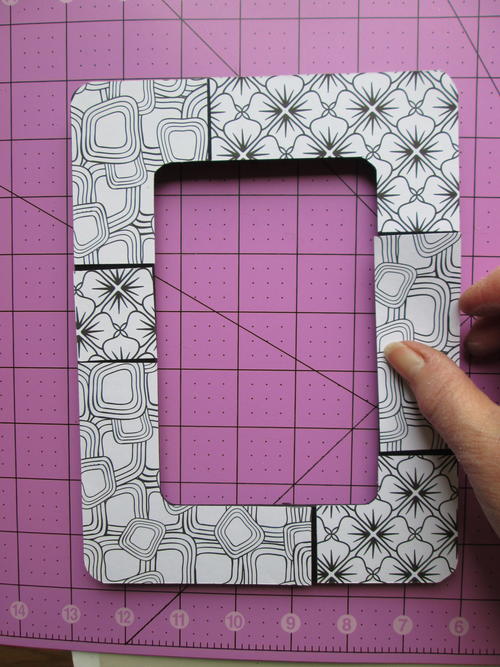
Stack both frame shapes with edges lined up along grid on cutting mat. Using the ruler and knife, cut sections, as shown, cutting through both layers at the same time. Cut a 1/4” strip out between sections.
-
Alternating patterns, place sections on the frame until pleased with the arrangement. Cut additional sections or spacing strips if desired.
-
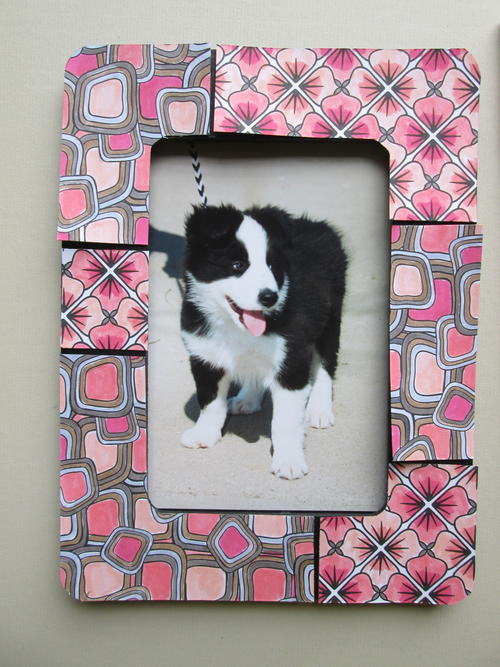
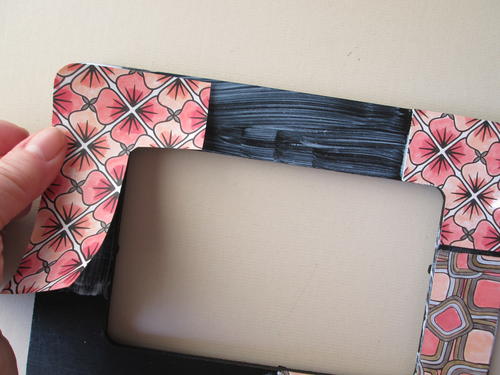
Choosing colors based on your photo, color the sections in as desired. Place sections on the frame to check color balance as you go.
-
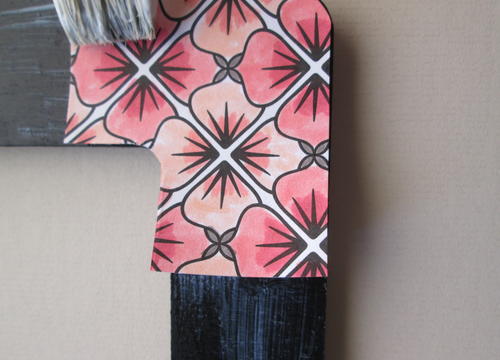
Working in one section, brush Gloss Mod Podge onto the frame. Apply Mod Podge to the back of one colored section; position, press and attach to the frame.
-
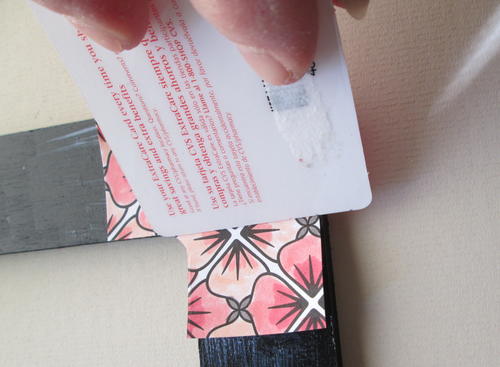
Smooth out bubbles with an old credit card or squeegee, where needed.
-
Continue with these steps until all the sections have been attached to the frame.
-
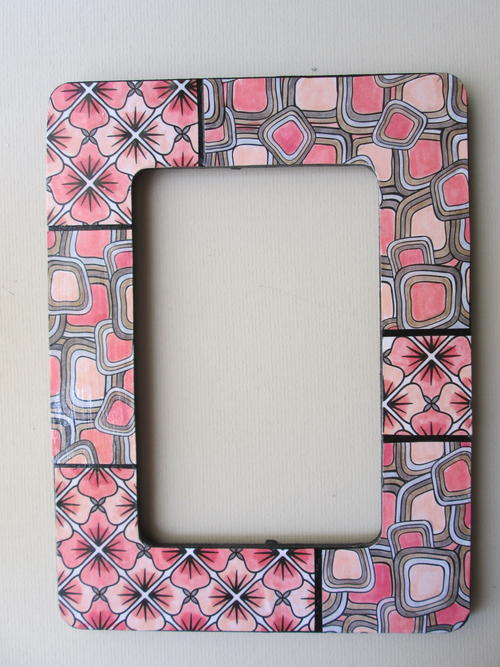
Brush a light coat of Gloss Mod Podge over entire frame; dry. Brush one or two light coats of Super Gloss Mod Podge over entire frame; dry.
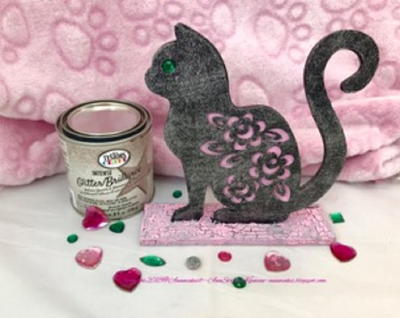
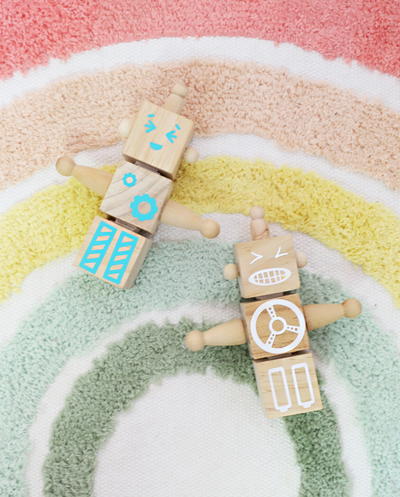
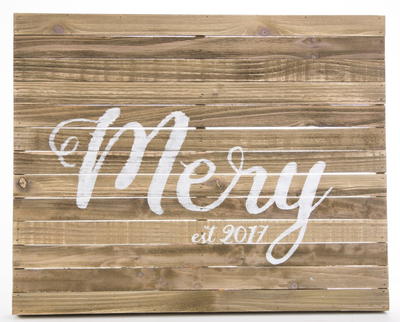
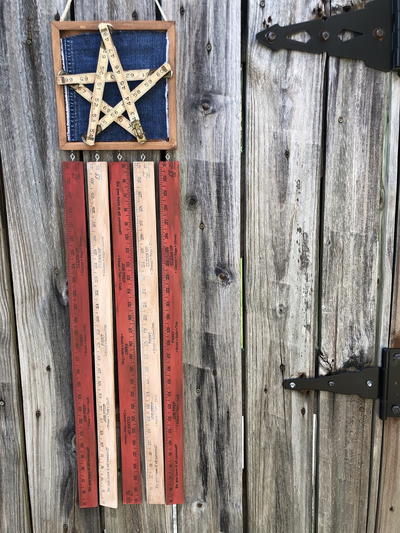
Furniture Decoupage Ideas and Other Decoupage Ideas on Wood
Now that you know how to decoupage wood, check out these DIY crafts that use the technique below:

This video tutorial show you how to expertly decoupage a fine art print on your dining room chairs for a unique set!

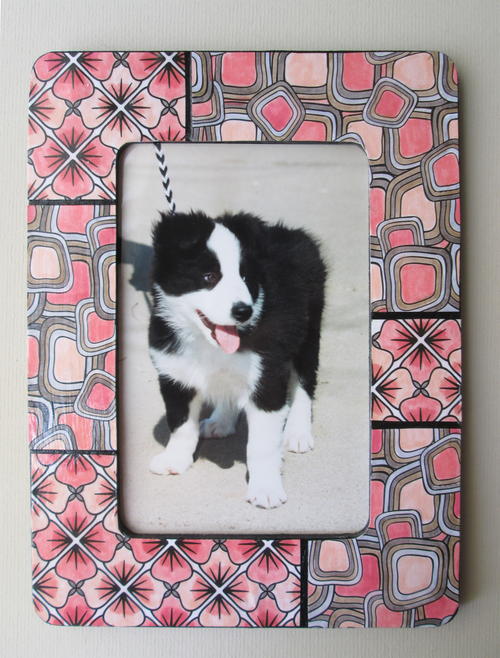
One of the best beginner decoupage projects is frames! Purchase some dollar frames at the craft store to make this easy project.


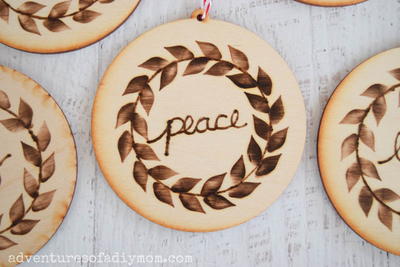
This is a super cute and easy craft to do with kids. It would be great for summer camp, Valentine's Day, or a rainy day project!

Store your magazines in style with this darling decoupage project. Use your favorite scrapbook papers to decorate.

This dresser makeover is made over with a splash of paint, new hardware and gorgeous fabric lined drawers.

Speaking of decoupage picture frames, you can use old maps to create a fun travel-themed picture frame!

Bonus! Find another extensive decoupage tutorial and more decoupage project ideas here.
Your Recently Viewed Projects
Thanks for your comment. Don't forget to share!
kaytlyn
Aug 22, 2024
Love discovering unique handmade items! WipartisanVN has an amazing collection thats perfect for adding a personal touch to any space.
Delphine Bryant
Nov 07, 2018
All of my painting project never turn out well. I am too heavy handed with a spray can and with a paint brush. This I think I can do. I have a table top that really needs to be covered and I have the material on hand already. I am excited about this project and I think this week end will be when I finally do something with that desk.
Morehouse17
Oct 31, 2018
For a work desk I was able to take a desk that was out for the trash and add a particle board on top. I have never been good at painting and was thinking about some sort of cover. I think I like the idea of decoupage. This was a great post to find. I just have to find the material I want to use for the top because this post gives me all of the information I need.
Report Inappropriate Comment
Are you sure you would like to report this comment? It will be flagged for our moderators to take action.
Thank you for taking the time to improve the content on our site.