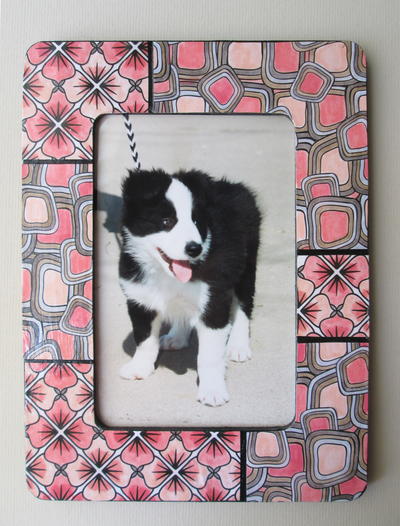
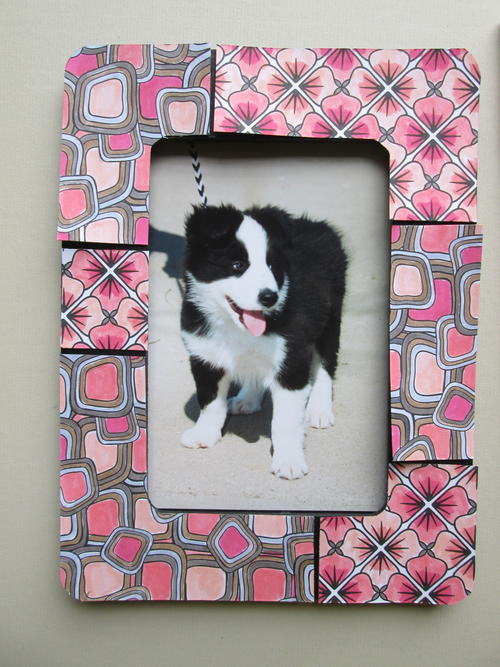
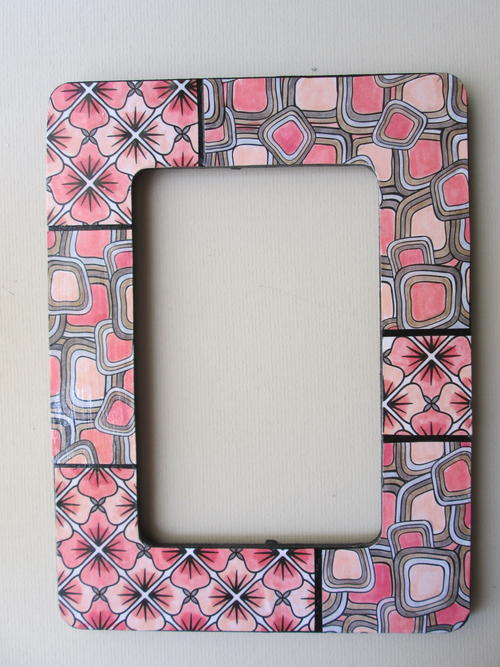
Best Friend Decoupage Coloring Pages Frame

Put your adult coloring pages to good use with the Best Friend Decoupage Coloring Pages Frame. This beautiful decoupage picture frame is a great way to use your already-colored adult coloring pages and practice your decoupage skills. If you're looking for a fantastic gift idea for your loved ones, you can make several of these beautiful frames with your coloring pages. It's a wonderful way to give a gift that's handmade and share your creativity with your loved ones. It's also a wonderful way to celebrate a new pet when you include a darling puppy photo in the frame! Enjoy making a fun decoupage project with the coloring pages that would otherwise stay inside your coloring book.
Estimated CostUnder $10
Time to CompleteIn an evening
MaterialsPaint, Paper
Primary TechniqueColoring

Project TypeMake a Project
Materials List
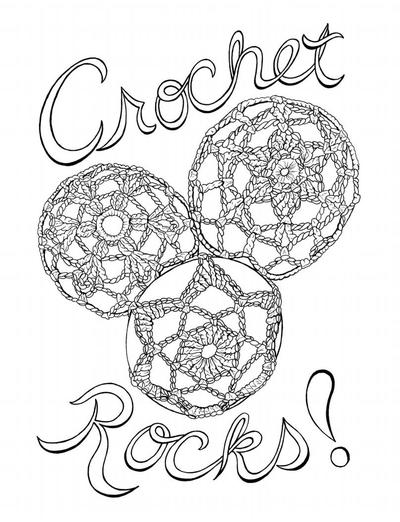
- Art of Coloring Vintage Collection Coloring Book (Leisure Arts)
- Dual Brush Pen Markers: 062, 133, 173, 243, 296 (Tombow USA)
- Ceramcoat® Multi-Surface Satin Acrylic Paint: 10139 Black (Plaid Enterprises)
- Mod Podge® Gloss and Super Gloss (Plaid Enterprises)
- Unfinished flat wood frame (to fit a 5” x 7” photo)
- Precision craft knife, ruler, pencil, cutting mat with grid, paint brush of your choice, old credit card or squeegee, protective table surface
Instructions:
-
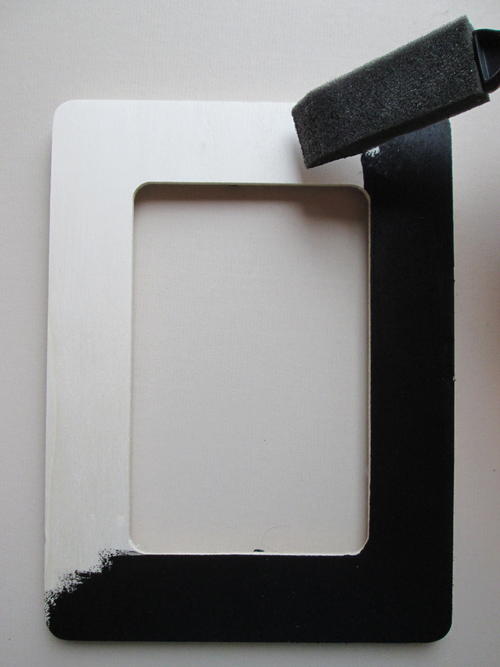
Wipe dust off frame with a slightly damp cloth; sand rough spots or edges if needed. Paint the front and sides black; dry.
-
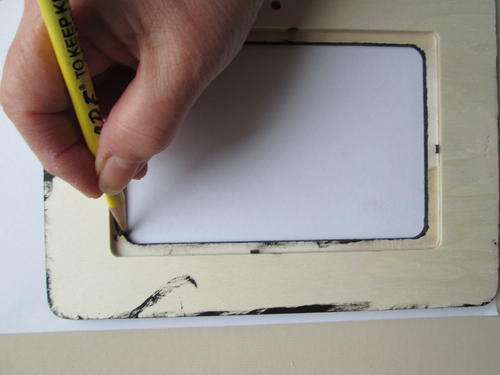
Tear out two coloring book pages of your choice. Place right side down. Trace frame on reverse side of both coloring page sheets. Carefully cut out frame shapes.
-
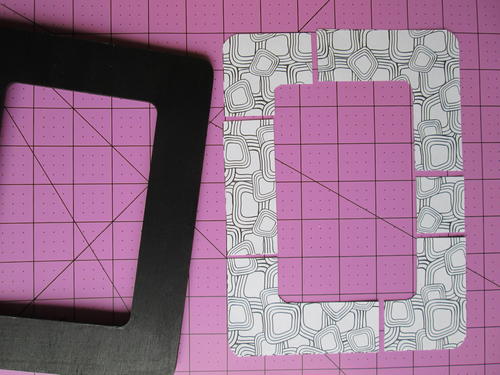
Stack both frame shapes with edges lined up along grid on cutting mat. Using the ruler and knife, cut sections, as shown, cutting through both layers at the same time. Cut a 1/4” strip out between sections.
-
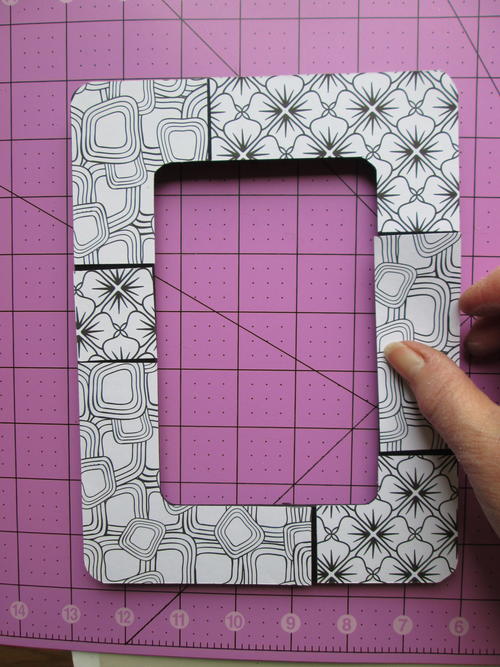
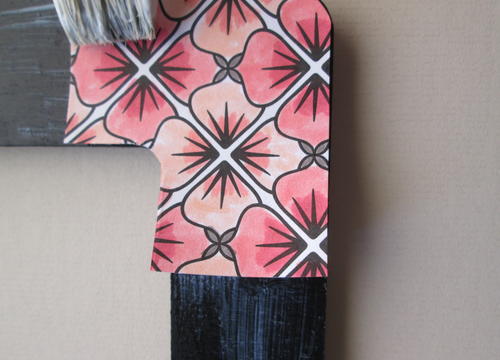
Alternating patterns, place sections on the frame until pleased with the arrangement. Cut additional sections or spacing strips if desired.
-
Choosing colors based on your photo, color the sections in as desired. Place sections on the frame to check color balance as you go.
-
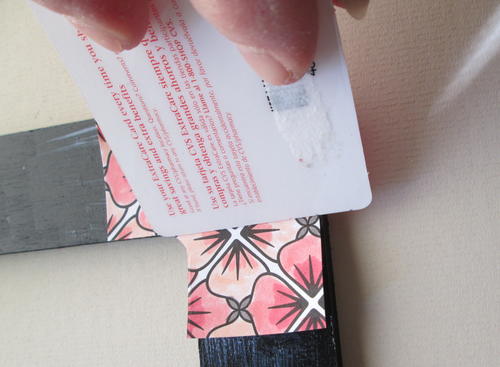
Working in one section, brush Gloss Mod Podge onto the frame. Apply Mod Podge to the back of one colored section; position, press and attach to the frame.
-
Smooth out bubbles with an old credit card or squeegee, where needed.
-
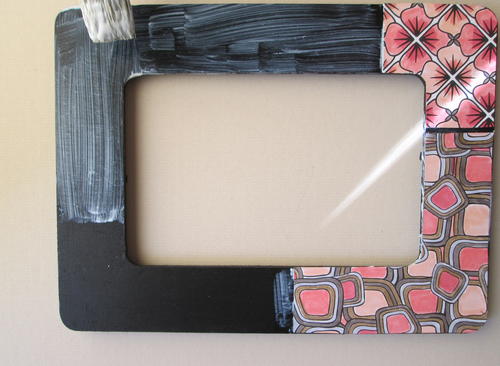
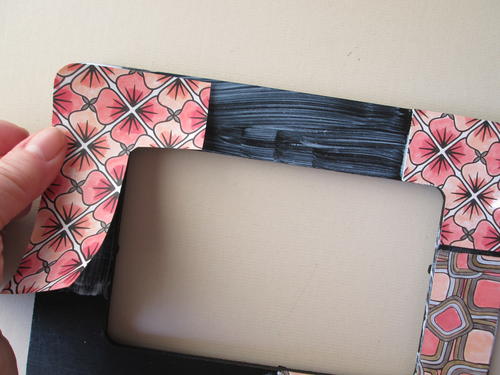
Continue with these steps until all the sections have been attached to the frame.
-
Brush a light coat of Gloss Mod Podge over entire frame; dry. Brush one or two light coats of Super Gloss Mod Podge over entire frame; dry.
Up Next:
Read NextColor Your Own Coasters