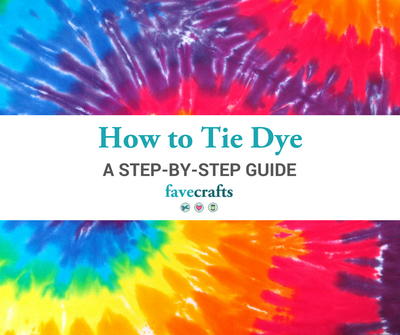
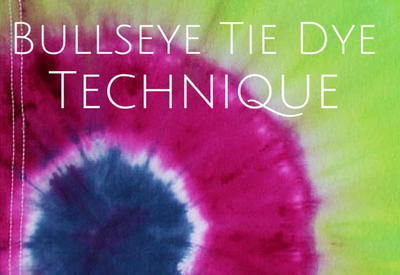
Lessons Learned from My First Shibori Dyeing Experience

Recently I was asked to write an article about shibori – a manual resist dyeing technique. Prior to the request, I had never heard of this technique before.
As a crafter, I believe that one should never be afraid to meet a challenge head-on. How else would one develop one’s skills?
Well, even though my first shibori project did not deliver the expected results, I learned many valuable lessons.
Getting Started
As shibori as such was completely new to me, I had to rely on the internet to learn more. The articles I saw had beautiful photos of items colored in indigo. The patterns were very bold, and personally, I felt it would be a better choice to use it on bed linen rather than on clothing items.
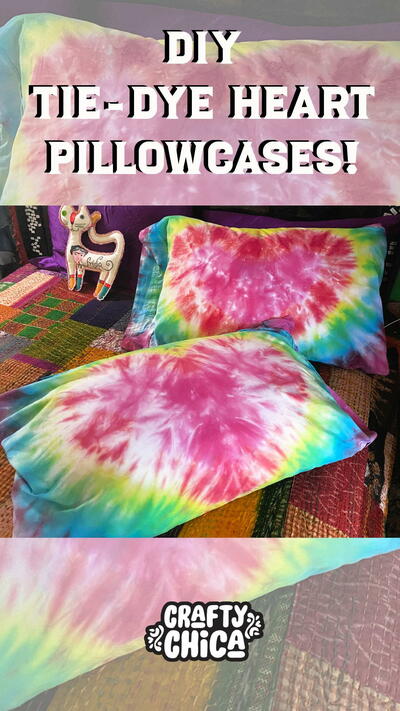
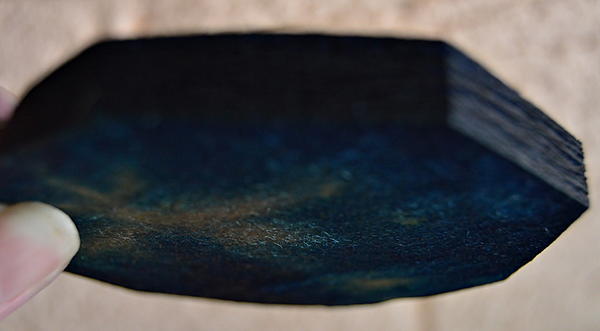
I read up on the history of shibori, and the technique that appealed most to me was itajime shibori. This involves a technique where the material is folded like an accordion. It is then folded again, but in the opposite direction, before it is placed between two pieces of wood, or any other flat shaped object, and secured with rubber bands or with string. I decided to try the technique on two pillow cases.

When possible, use the correct dye.
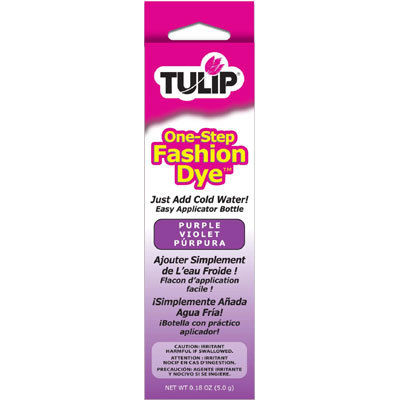
The first problem that raised its ugly head was obtaining the correct dye. In South Africa, shibori is not a trend yet. Phone calls to three craft shops yielded no results. In the end, I decided to use a dye from Tingecor Guarany, a dye that I normally use for tie and dye projects. The closest color to indigo that I could find was a color called natier.
Select the correct fabric.
My biggest mistake was when I had to select pillow cases. I wanted to buy ready-made pillow cases. I was looking for crisp white pillow cases. The ones I chose were made from polyester. However, I only remembered afterwards that polyester is not a natural fabric. Remember: you need to use natural fabrics like cotton, wool, linen, or silk.
Use the right binding material.
When doing itajime shibori, the fabric protruding from between the two pieces of wood is what will be dyed. I wanted to use octagon shaped pieces of wood, as I thought it would create a more interesting result. The second mistake I made was to buy coasters cut from MDF (medium-density fibreboard). It turned out that MDF absorbs a lot of water, and as a result, also soaked up a lot of dye. The end result was that the dyed pillowcases had fewer white patterns than I would have liked them to have.
Use enough rubber bands.
The third mistake I made was to use a single rubber band to secure the coasters horizontally across the accordions, and another single rubber band to secure them vertically. When dipping it into the boiling water, one of the rubber bands broke, which had a negative effect on the final pattern.
Next Time
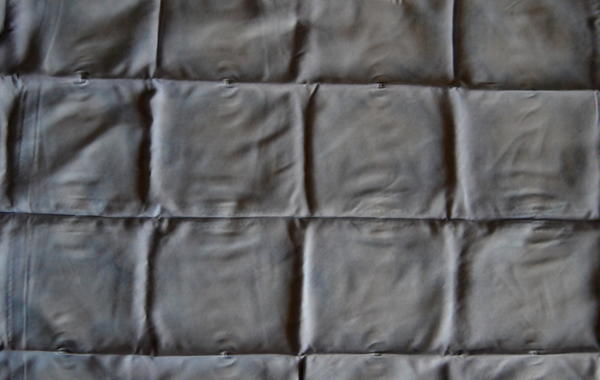
The pillowcases ended up with a rather dull color pattern. Will I try shibori again? Oh yes! But next time, I will use cotton or linen, secure the folds with string or C-clamps instead of rubber bands and use shapes cut from acrylic or plexiglass.
All in all, a valuable lesson of what NOT to do when trying your hand at shibori!
What tie dye or shibori mistakes have you made?
Read NextHow to Tie Dye Pillowcases