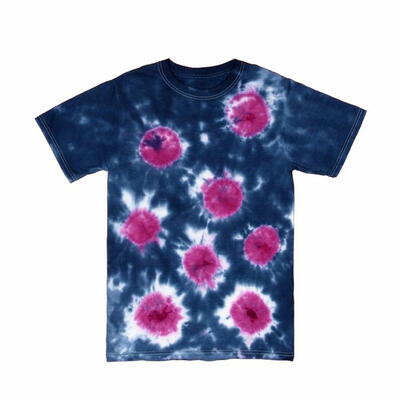
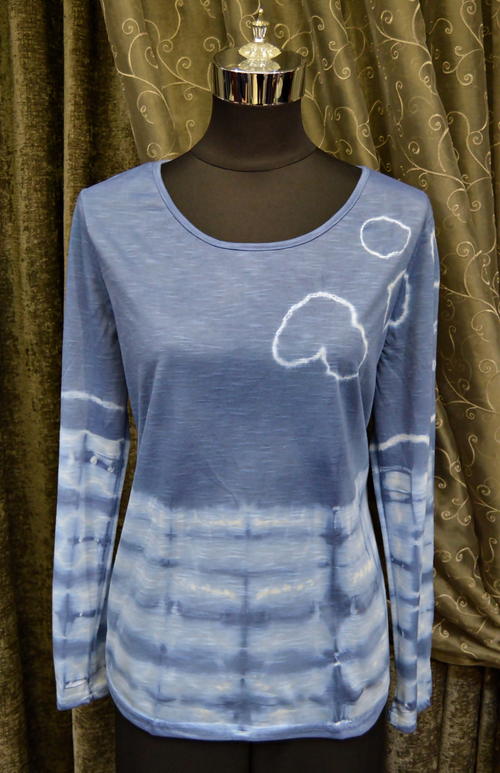
Mock Shibori Dyed T-Shirt
Consider this alternative to shibori tie dye patterns.

Recently I was asked to write an article about shibori – a manual resist dying technique. Prior to the request, I had never heard of this technique before.
As a crafter, I believe that one should never be afraid to meet a challenge head-on. How else would one develop one’s skills? As shibori as such was completely new to me, I had to rely on the internet to learn more. The articles I saw had beautiful photos of items colored in indigo. At first I thought it would not work on clothing items, but after looking at more photos of finished products, the idea of shibori on a shirt more and more appealed to me.
The biggest problem I experienced was obtaining the correct dye. In South Africa, shibori is not a trend yet. Phone calls to three craft shops close to my home yielded no results. I phoned two shops that are further away, and they both indicated that the shibori dye will only be available in South Africa in six months’ time.
What to do? I really wanted to experiment with the shibori techniques, and even more so, I wanted to honor the commitment I gave when asked to write the article. I especially liked two of the shibori techniques. The first was Kanoko shibori (commonly referred to in the West as tie-dye) and the second Itajime shibori (a shape-resist technique).
That is how the idea of a mock shibori T-shirt was born. It took me three teeth-grinding and frustrating days – and many mistakes were committed – but at the end the final result was very pleasing.
I could not find a cotton T-shirt anywhere, so eventually I came across a dye suitable for fabrics that are not natural. I could not find this dye in indigo, so I chose navy blue dye. On the color chart, navy blue and indigo are next to each other.
So, here is what I did ~ I am sure some of you might also not be able to get hold of the real shibori dye, but this mock shibori dye technique should at least yield acceptable results.
Materials List
- White T-shirt made from 100% polyester
- Navy blue Sintex Cor Guarany fabric dye
- Roll of 1mm wide cotton twine
- Seven 5.5” long, 0.6” wide wooden ice cream sticks
- Rubber bands
- 5.6” wide stainless steel silver metal paper clip
- Two 2” wide stainless steel silver metal paper clips
- Pair of rubber gloves
- Standard scissors
- Stainless steel pot
- Iron and ironing board
Instructions for making the project:
-
Wash the T-shirt and rinse it thoroughly in cold water to remove any sizing agent from the material.
Note: Do not add fabric softener when rinsing the shirt. -
Give the wet shirt a wring to get rid of excess water ~ the shirt needs to be damp only when you prepare it for dyeing.
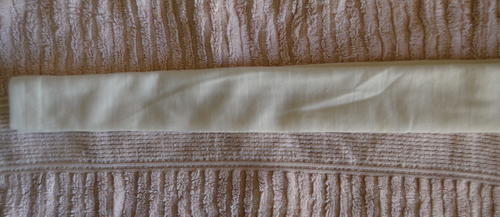
Lay the shirt out flat on a surface and prepare sleeves for dying:
-
Fold one sleeve lengthwise accordion style in three equal parts.
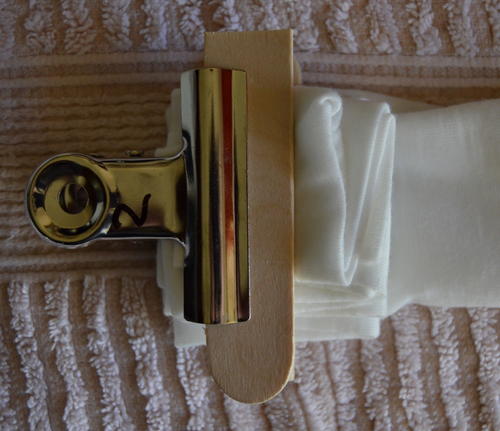
-
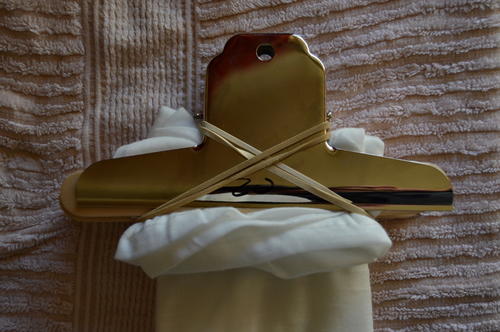
Now start at the bottom of the sleeve, folding it accordion style again, but in the opposite direction. Cut an ice cream stick in half, and place one half on the front and the other half on the back side of the accordion. Use a 2” wide metal paper clip to keep the sticks and accordion in place, and secure with rubber bands.
Note: Use three rubber bands, so that if a rubber band breaks during the boiling process, it will not negatively affect the dyeing process. -
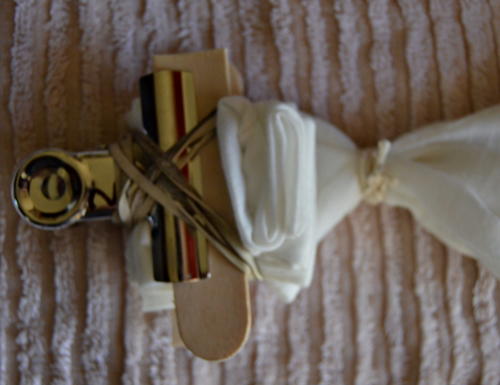
Tightly tie a piece of string just above the accordions and paper clip to add detail to the top of the sleeve. Secure the string with a knot and cut the ends of the string shorter.
-
Repeat steps a, b and c with the other sleeve.
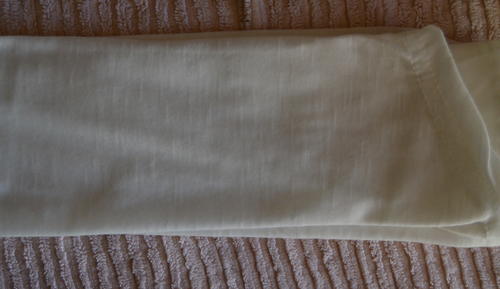
Lay the shirt out flat on a surface and prepare the body of the shirt for dying:
-
Fold the bottom of the shirt lengthwise accordion style.
-
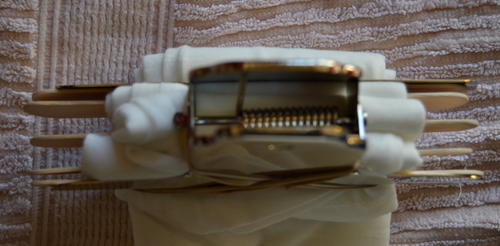
Fold it accordion style again, but in the opposite direction. Place an ice cream stick between each accordion fold, as well as on the front and back sides of the accordion. Use the 5.6” wide metal paper clip to keep the sticks and accordion in place, and secure with rubber bands.
Note: Remember again to secure with several rubber bands. -
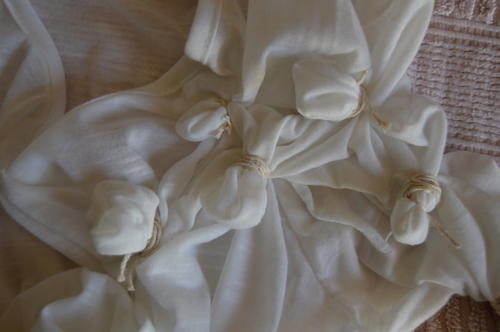
Add “abstract rings” to the top left front panel and left shoulder. Bunch up a small bit of fabric anywhere in these areas, and tie with string to secure. Repeat a total of five times.
Now you are ready to color!
-
Follow the instructions as printed on the dye bottle. Keep boiling the pot on the stove for 30 minutes. Stir the pot regularly to ensure that the shirt gets dyed on all sides.
-
Note: Wear rubber gloves when following this step. Take the shirt out of the pot and rinse it in your sink with cold water to remove any excess dye. Keep rinsing until the water is clean and then gently cut off the strings. Hang the shirt in a shady area, or toss it into the tumble dryer.
-
Iron it properly – and voila!
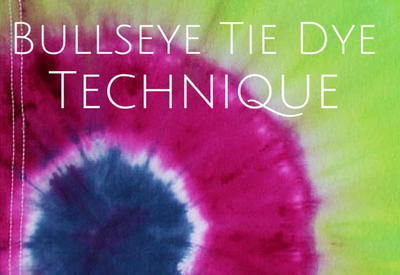
Read NextBullseye Tie Dye Technique