Zinnia Felt Flower Embroidery Hoop Art
This felt flowers DIY will show you how easy it is to make your own decor.

Make felt wall art with embroidery hoops! These darling zinnias are so easy to make with this tutorial. Once you master the art of making felt flowers, you can attach them to embroidery hoops for a trendy craft and lovely decoration.
This is a great piece of DIY home decor for the kids' bedrooms and even parties. In fact, this would be a wonderful party craft to make with friends.
This project is inexpensive since you're using basic materials to make it. And there's no need to sew! Use adhesive to create these pretty flowers, and hang them in a sunny spot for a bright wall decoration.
No-Sew Zinnia Felt Flower Embroidery Hoop Wall Art
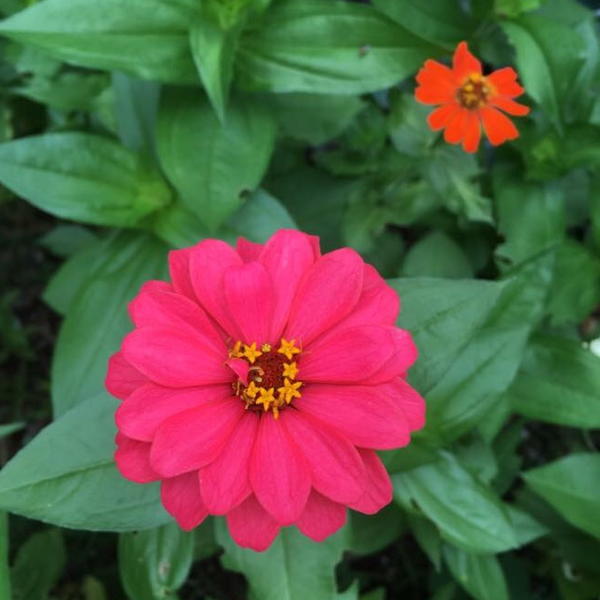
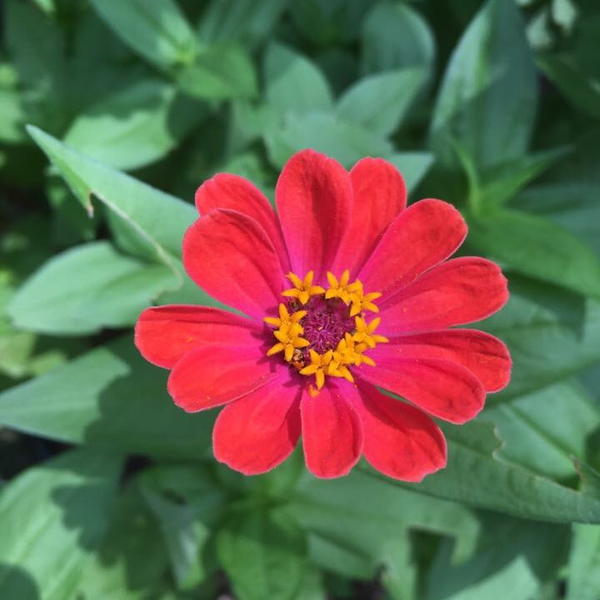
Flowers bring life and beauty to any room, whether they are real or artificial! The flowers in this tutorial are made of felt and attached with glue, making it the perfect project to do when you don't want to get out the sewing machine. They are displayed within a simple wooden embroidery hoop, perfect for displaying on a wall or other surface. I chose my favorite flowers (zinnias) for this tutorial because they are cheerful and come in a variety of colors! Technically they bloom during the summer, but they are beginning to get green shoots in the late spring. Zinnias come in a variety of colors and petal styles, so this is inspired by a common type you’ll see around.
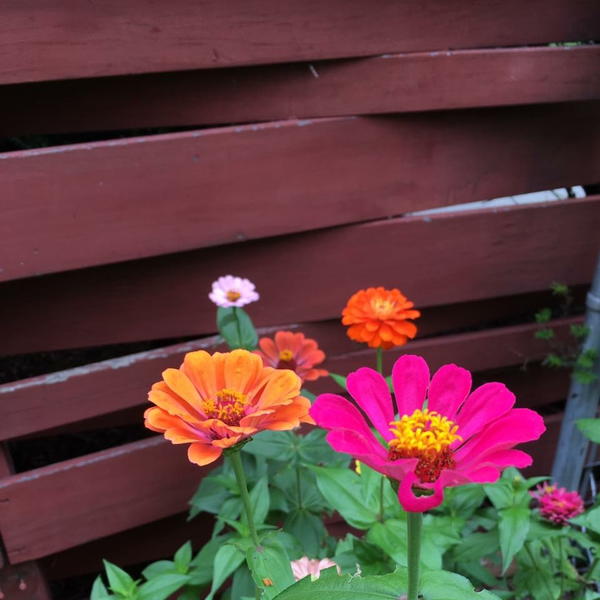
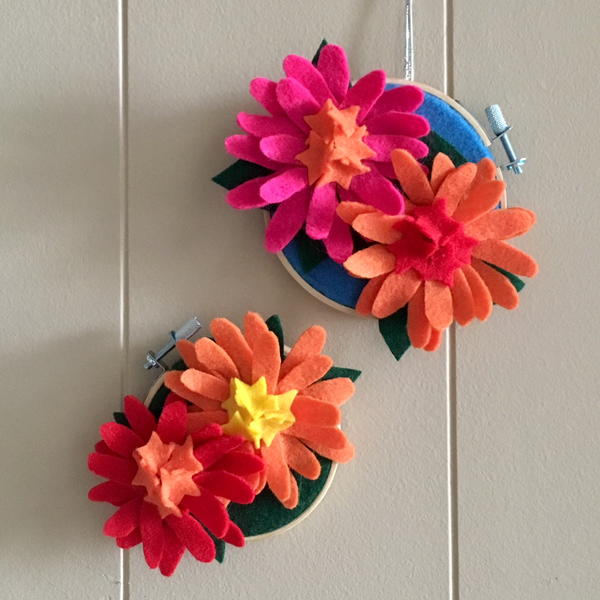
You can use the techniques in this tutorial to make any kind of flower(s) in any color you prefer. Included are a few photos from my garden to use as inspiration, as well as step-by-step directions using the two hoops made for the tutorial (one with a green background, one blue).
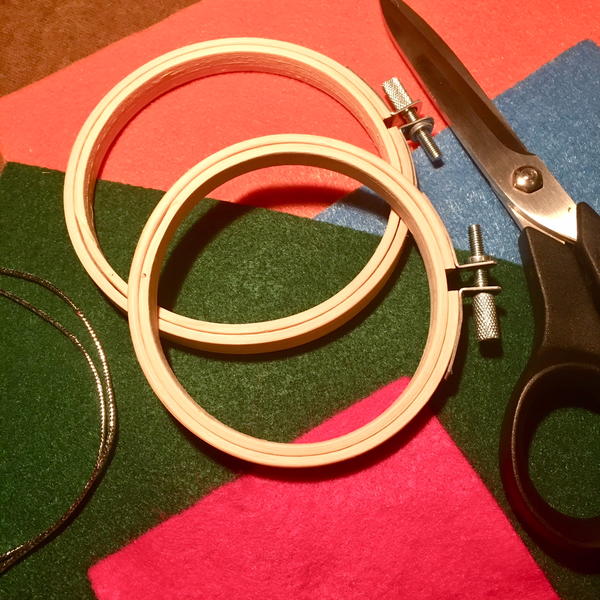
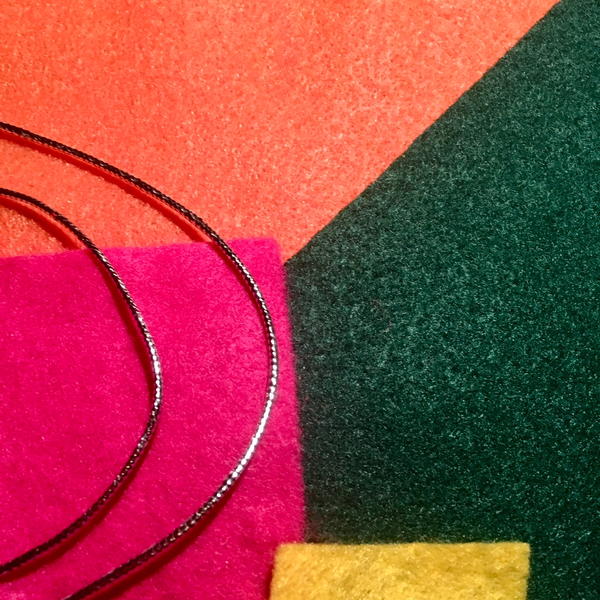
Materials
- Felt sheets (colors used in this project include orange, fuchsia pink, red, yellow, green, and blue): start with about 2 sheets of each color you’re using
- Wooden embroidery hoop in the size(s) of your choosing (in this post I use a 3” and a 4” hoop)
- Bottle of craft glue (make sure it’s a kind that dries clear)
- Fabric scissors
- String or twisted cord (optional)- about 11-12” long
- Clear tape (for removing lint, etc.)
Instructions
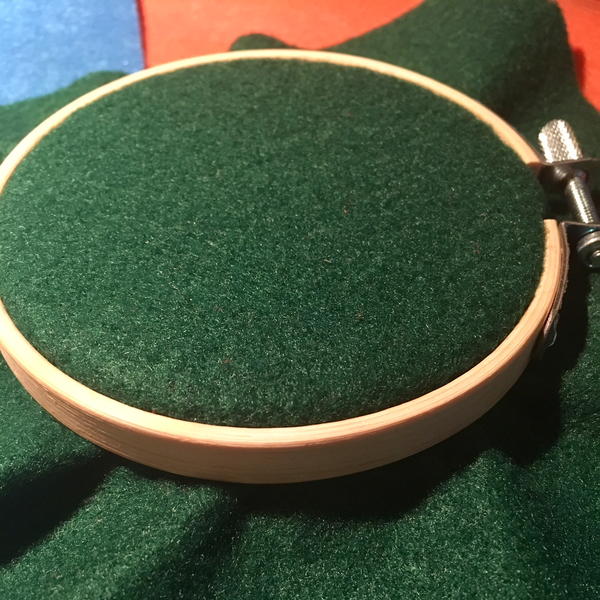
Step 1
Put your background felt fabric in the hoop by separating the two rings and placing the smaller one on the underside. Tighten the screws and make sure the fabric is smooth and pulled taut, but not overly tight as you don’t want it to break the hoop.
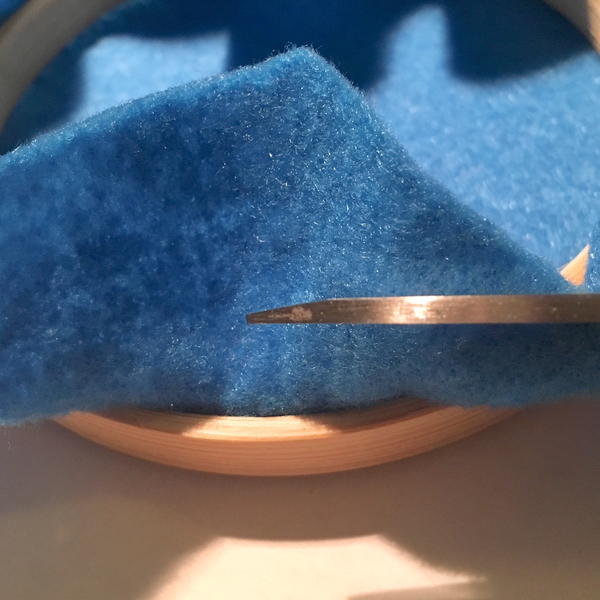
Step 2
After you’ve placed the fabric in the embroidery hoop, flip it over and trim down the extra felt, leaving about 3/4” of it remaining that you will soon glue down. The excess fabric should reach to the bottom inner edge of the hoop. Don’t gather the extra fabric against the stretched background fabric or it might show through.
Step 3
Using a bottle of fabric glue, apply it around the inner edge of your ring as seen in the photos. Don’t apply so much glue that it seeps into the front of your fabric!
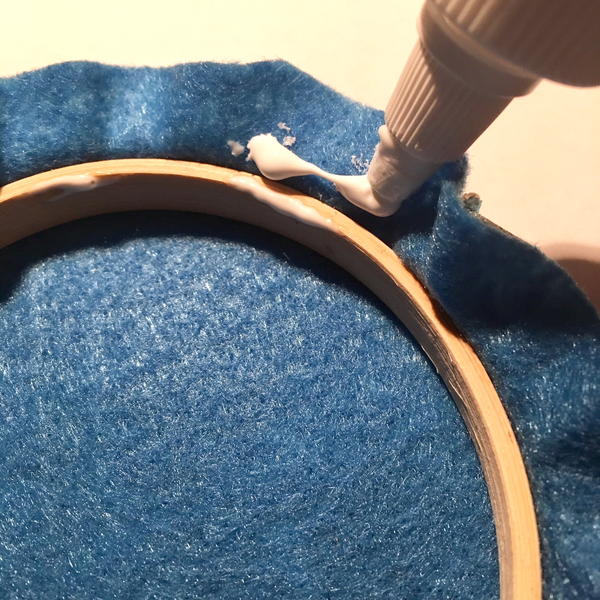

Next, pinch around the inside of the ring to make sure it’s staying stuck down, adding more glue and pressure if needed. Then let it dry (front side down) for an hour or so. You want it to be secure before you attach the flowers. The fabric in the back should never be visible in the front, and it should be smoothed down so that it will sit nicely on a wall.


Step 4
Next, cut out all of the petals, leaves, and star-shaped center stamen pieces for each flower. I think it looks more exciting to make the flowers slightly different sizes, but it’s up to you. Don’t worry if your felt flowers don’t look exactly like the zinnias in the photos- it’s really about having fun! The actual dimensions of your flower pieces will vary a little depending on your hoop size. See the accompanying photos for more details about the exact shapes to cut out.
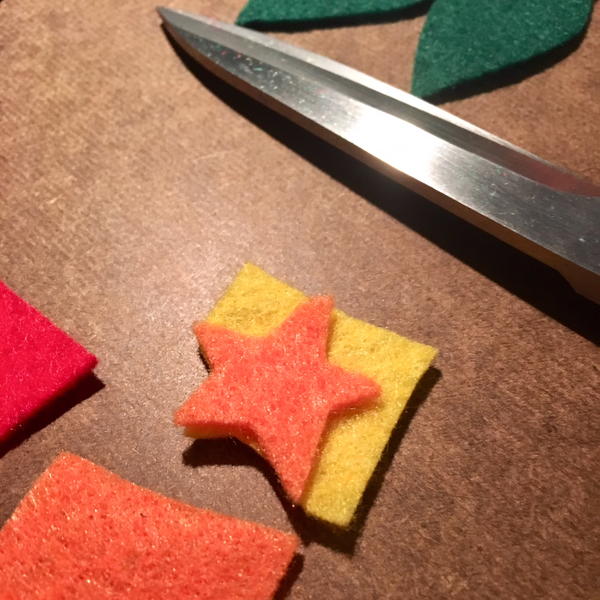
You’ll need about 5 stamen pieces per flower. When making the stamen it’s easiest to cut out small 1” squares, then a smaller star. This may take a little practice, but once you get a star you like, use it as a template for the other ones you make.
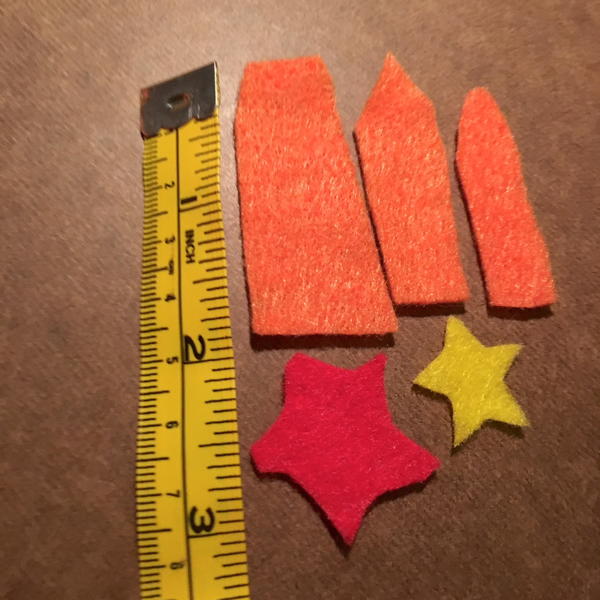
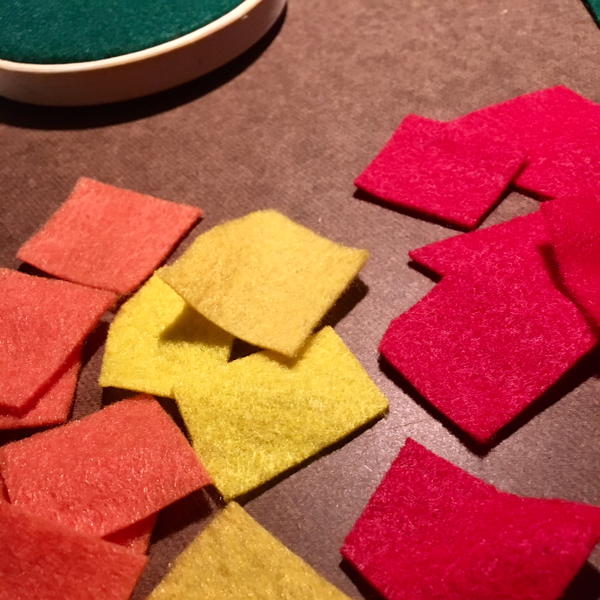
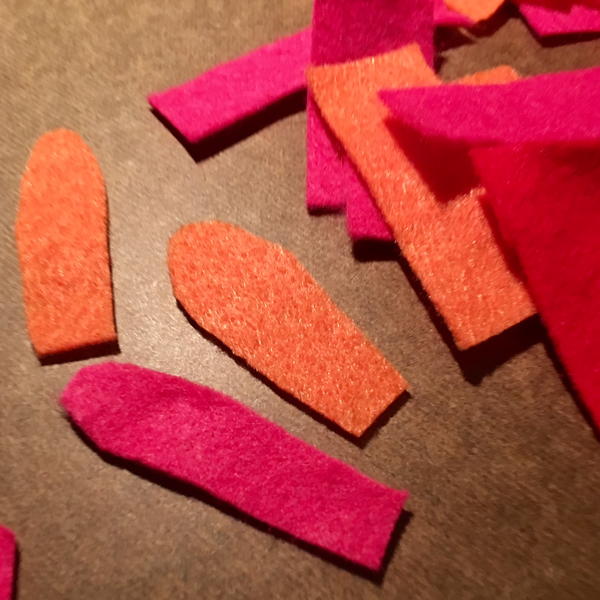
For the petals, cut out 15-20 narrow 2” long rectangles per flower. Cut a triangle from both sides at the top, then round it off. This can be done in three steps as shown in the photos.
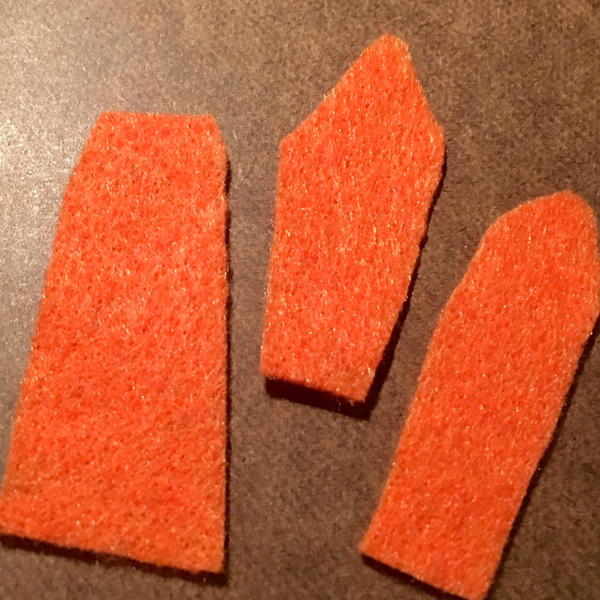
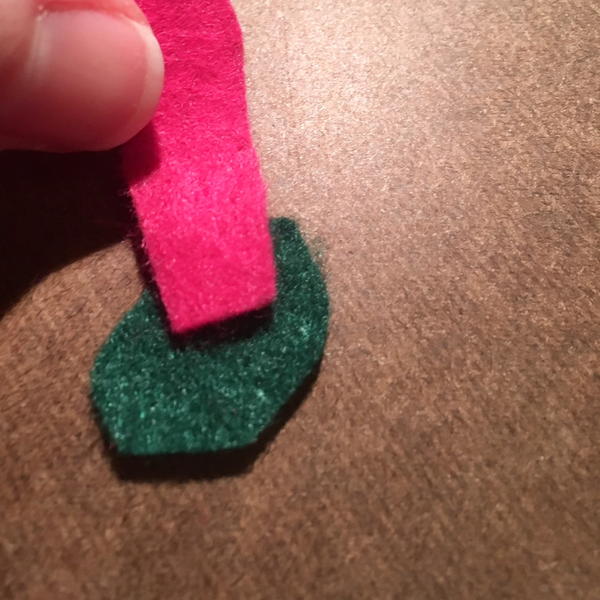
The 4 leaves per flower are a simple tapered shape. Start with a rectangle about 2” long (and wider than the petals) and adjust them accordingly for the size of your flowers. Also cut out a small green felt oval a little less than 1” wide for each flower you’re making.
Step 5
Practice arranging your flower petals and other pieces on your hoop before you glue them down. Start with the leaves, using 4 for every flower. Then try to layer the petals from larger on the bottom to smaller on top, checking the proportions. This will give you an idea of what it will look like and what you may need to change.
Step 6
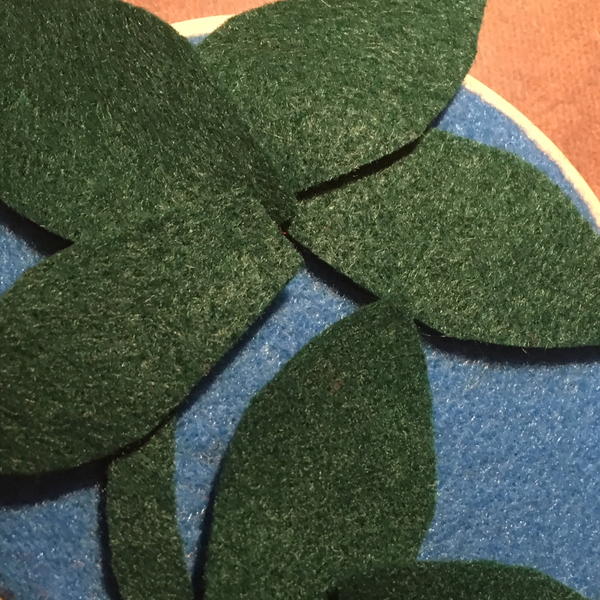
With your embroidery hoop right side up, glue down the green leaves in the same way you arranged them when practicing. Make a leaf base for each flower, staggering them at different heights and angles to add interest.
Step 7
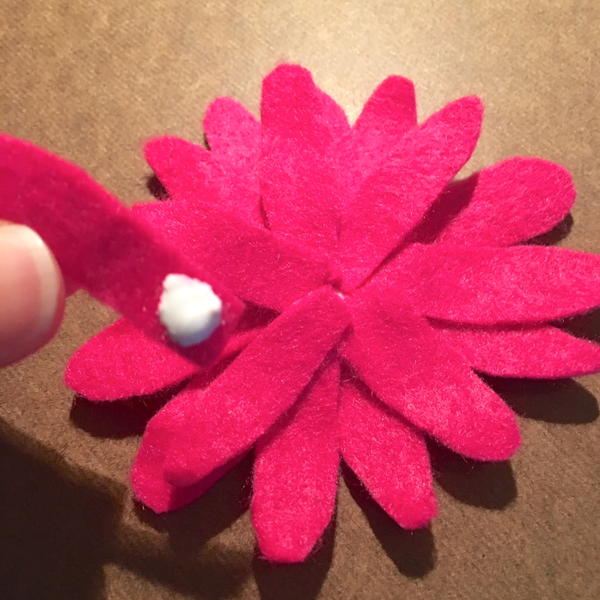
Now you’re ready to glue the flowers down! If you don’t have a pointed applicator on your glue bottle you can use a popsicle stick, toothpick, or a similar disposable object to apply it. Arrange all of your petals on a separate surface, gluing each one down at the base beginning on the oval piece of felt.
Layer them in between each blank space, choosing the smaller ones for the top petals as you go upward.
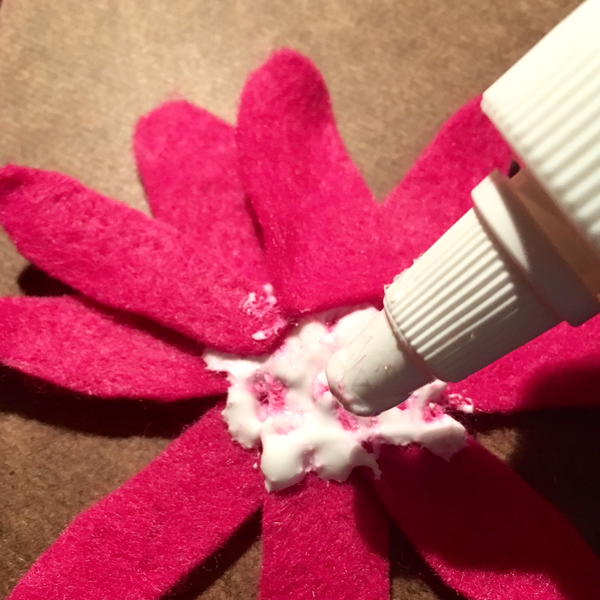
It will take about three layers of petals to get a dimensional-looking flower. Try not to get any glue on the front of the petals!
Step 8
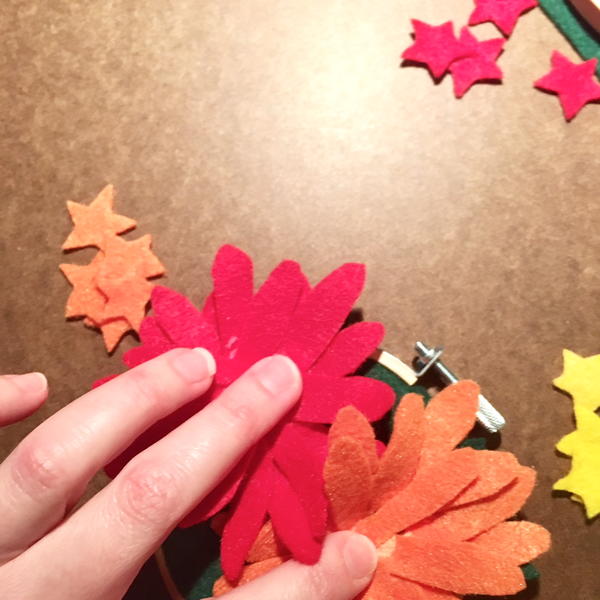
Add a dollop of glue in the middle of each leaf cluster on your hoop, then carefully move each flower (including the base oval of felt), centering it on the glue.
Step 9
Press the middles of the attached flowers down gently to make sure they are affixed securely. Wait about twenty minutes for them to dry before proceeding to the next step.
Step 10
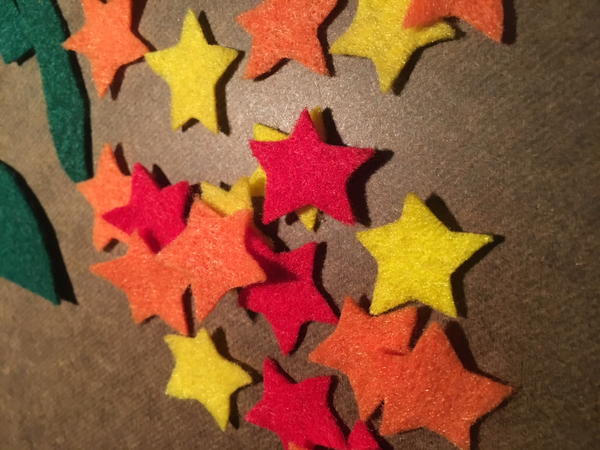
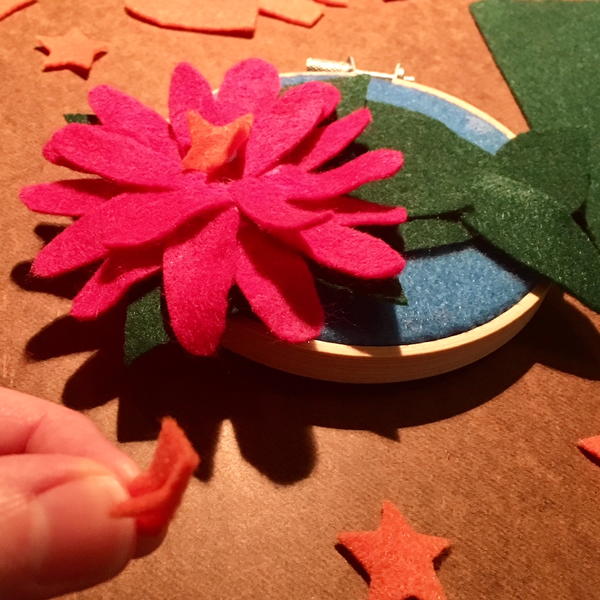
The final pieces of your flowers to glue down are the stamens. I’m using a simple five-pointed star because that’s the natural shape on many zinnias, even though the ones in this tutorial are a little larger than in real life. Put a dab of glue on the back of each star and sit them upwards so that they stand up against one another (see photos). They will almost form a cone shape in the center of each flower. You can add a little more glue in the middle to hold them all together. Alternating colors from flower to flower will give it more visual impact.
Step 11
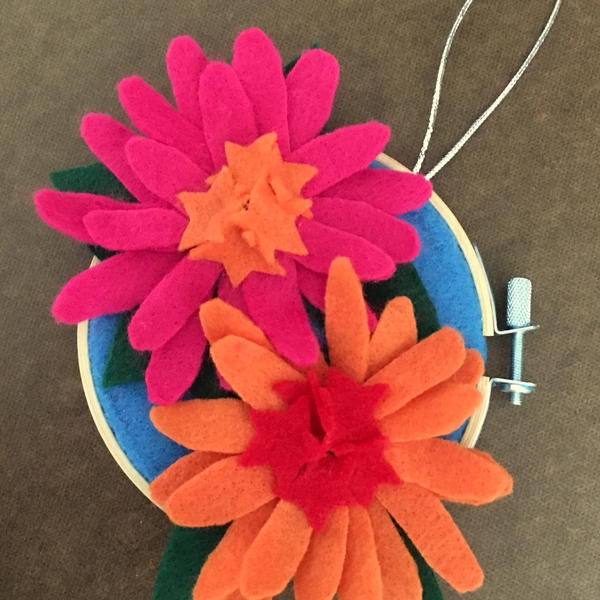
Now all of your flower pieces are glued down! I like to gently push together the star-shaped center stamen pieces so that they are extra secure, but not too much that the glue squeezes out and is visible. Any changes to your design should be made now before everything finishes drying.
Step 12
This step is optional. You can add some cording or string to the back of the hoop for easier displaying. Make sure the string is glued down in a way that it doesn’t make the entire piece sit unevenly, and add a little patch of felt to cover the string on the back. Prop it up to dry so the flowers don’t get flattened and the string can set for a while.
Step 13
Allow the art to dry for a day or so in a clean area away from moisture.
Step 14
Carefully trim down any overly-long petals and make sure everything is glued down well. You may need to add more glue under your flowers and leaves, being careful not to get it on the visible side of the petals. Also gently pull forward the flower petals so that they look more three-dimensional, as they may have flattened a bit during the creation process.
Step 15
Now you can enjoy your new wall decor by placing it on a nail or a little hook. If you attached a string to the hoop you can use that, and if you didn’t then simply rest the inner edge of the hoop on small nail. Cluster a few together on your wall for a fun spring look!
Up Next:
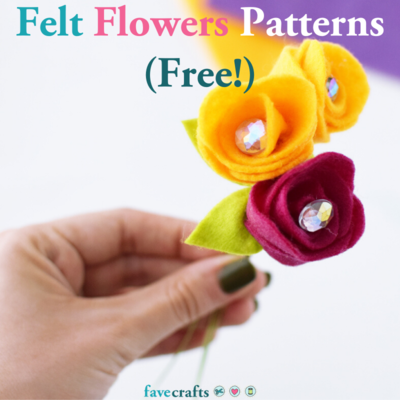
20 Felt Flowers Patterns (Free!)
What is your favorite flower?
Read Next5 Types of Felt: Felt 101