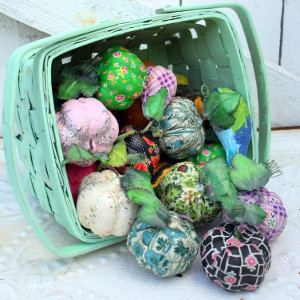
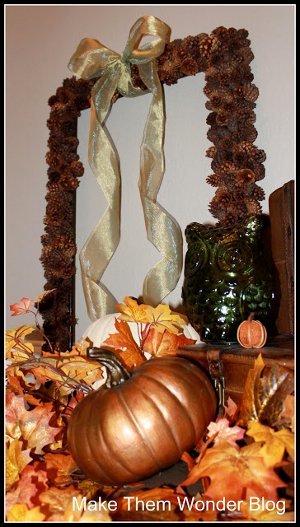
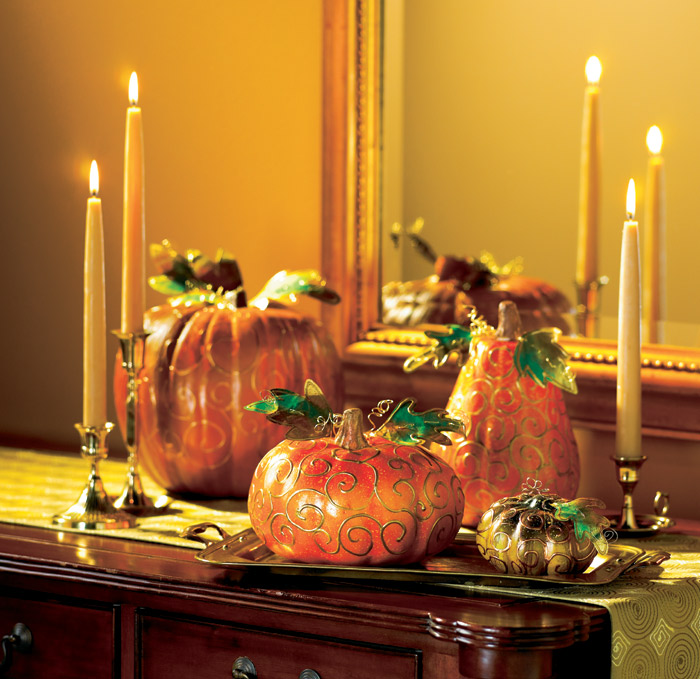
Gold Swirl Pumpkins
Add pizazz to papier mache pumpkins with swirls of gold paint and metallic green leaves on wire stems. These elegant pumpkins makes for fantastic autumn decorating, including as table decorations for a fall feast.
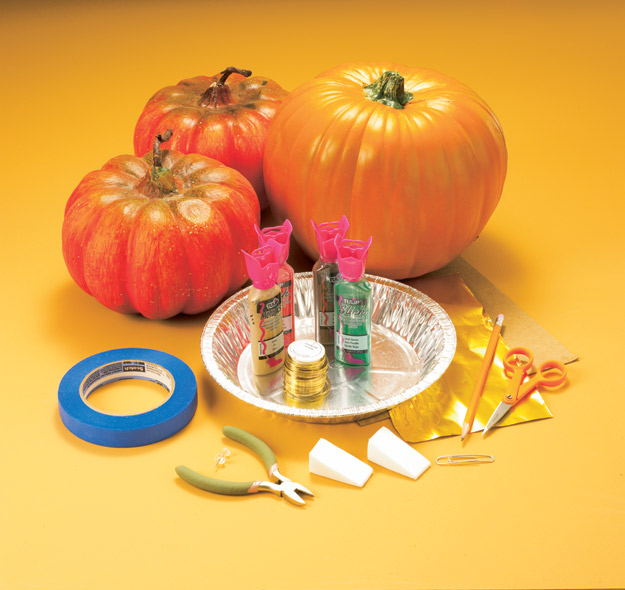
Materials:
- 3D fashion paint: Metallic Gold, Pearl Bronze, Pearl Copper, Slick Leaf Green
- Papier mâché pumpkins
- Light brass embossing metal • Gold 24-gauge wire
- Round needle-nose pliers
- Wedge sponges
- Corrugated cardboard, foil pan, low-tack masking tape, paper clip, pencil, pushpin, scissors, wire cutters
Instructions:
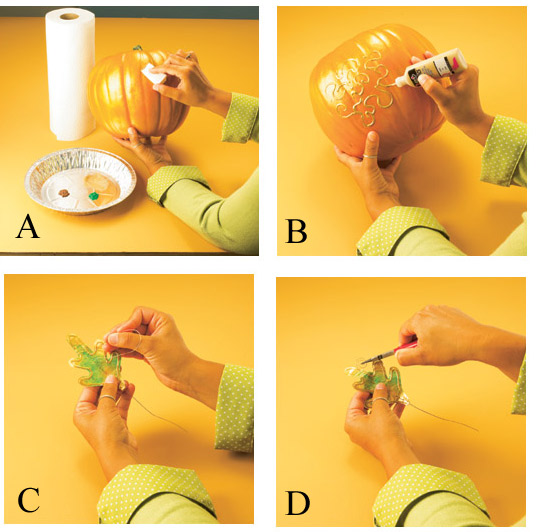
- Paint pumpkins. Squeeze puddles of three paints on foil pan. To give a shine to pumpkins, tap flat end of wedge sponge into Copper, then pounce on a pumpkin (Photo A). Use clean sponges to pounce Bronze and Gold on other pumpkins. Using bottle tip, paint swirls of Gold all over pumpkins (Photo B). Note: Use other colors for swirls if you like.
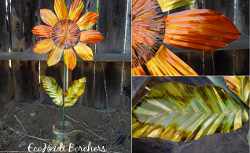
- Cut & paint leaves. With pencil, trace desired number of maple and oak leaves in a variety of sizes on brass embossing metal and cut out. Flatten metal on work surface. To hold leaves in place while painting, add a loop of tape to back of each leaf and press onto cardboard. Dab a wedge sponge into Leaf Green and tap off excess onto pan. Pounce paint on a section of each leaf, adding more paint as needed. Color will be light. Pounce Copper and Gold on remainder of each leaf. Paint additional coats if you like.
- Outline leaves. To practice, start flow of Gold paint on a paper towel, applying an even pressure on bottle for a smooth line. Outline each leaf just in from edge. When dry, carefully remove leaves from cardboard and remove tape.
- Make wire stems. Using a pushpin, make holes for inserting wire. Start at bottom of leaf and punch an odd number of holes 1/2" apart in a line along center of each leaf. Use wire cutters to cut a 12" length of wire. Insert wire through back of leaf, leaving a 4" length of wire at beginning. Thread wire in and out of each hole. (Photo C). Cut wire at top of wire to 3" length. Use round needle-nose pliers to form a spiral (Photo D).
- Attach leaves. Use a pushpin to create a hole to insert leaf next to pumpkin stem. Unbend a paper clip and insert into hole to create a larger and deeper hole. Fold wire in half and twist wires together. Insert wire into hole. Bend leaf to shape you like. Add remaining leaves.
- Attach tendrils. Cut a 12" length of wire. Fold wire in half and twist wires together. Wrap wire in a spiral around a pencil leaving about 1" uncurled. Make a hole in pumpkin in same way as for leaves and insert end of tendril. Repeat to make as many tendrils as you like for pumpkins.
Tips:
- For best results, read all instructions before beginning project.
- See photo for color and design placement.
- Allow paint to dry after each application.
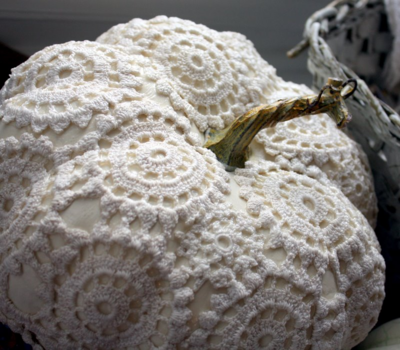
Read NextVintage Doily Pumpkins
Your Recently Viewed Projects


Thanks for your comment. Don't forget to share!
Report Inappropriate Comment
Are you sure you would like to report this comment? It will be flagged for our moderators to take action.
Thank you for taking the time to improve the content on our site.