Cork Tree Ornaments

Reuse those old corks to make your own Cork Tree Ornaments from Andrea Currie. This homemade Christmas ornament looks great on any tree.
Plus, if you love this adorable recycled christmas craft, try making this Paper Angel DIY Ornament! The video below shows you how easy it is to make it!
Materials List
- Corks (6 for a small ornament sized tree and 10 for a larger tree decoration)
- Screw cap (for larger tree)
- Small cork or half cork (for smaller tree)
- Hot glue gun and hot glue
- White glue (Aileen’s tacky glue)
- Fine glitter (3 colors for a festive look)
- Brads and/or other small festive embellishments (Making Memories Large Snowflake Brads and Crystal Brads)
- Small eyelet screws
- Craft knife
Cork Tree Ornaments
DIY Craft Decorations Instructions
-
If you have bottle caps fill them up with your decorative glitters (1 cap per color).
-
Reserve a cap for your white glue.
-
Decorate both ends of your corks by dipping them into a small amount of white glue. Immediately dip the glued ends into the glitter making sure not to rub off the glue or glitter.
-
Repeat this with all corks.
-
To insert brads into the corks use your craft knife to start a small hole and then gently push your brads into the cork. This should be secure enough without any glue. If it’s loose secure with a quick dry glue.
-
For other loose embellishments use a quick dry glue.
DIY Craft Assembly Instructions
-
To make your bottom row of corks start with a strip of hot glue on one side of your first cork then press your second corks’ side to it. Continue making your bottom row of corks this way. For Large tree your bottom row will be 4 corks. For the small tree it will be 3 corks.
-
Your second row of corks will rest within the valleys that the first row created but they valleys have small space in which you don’t want glue to show. To adhere the corks into the valleys without showing hot glue in your final piece you will need to place 2 strips of hot glue on either side of the valley and not directly into the valley.
-
Then quickly place your cork onto the hot glue before it dries.
-
Repeat step 2 but also add a small strip of hot glue to the cork you just placed so that its’ new neighbor will stick to it and the next valley. Repeat step 2 and 3 for subsequent rows.
-
For the trunk you will either adhere a screw bottle cap (open side facing down), small cork or half cork to the bottom layer of corks with a nickel size amount of hot glue.
-
For the ornament hook create a hole by working craft knife into the top cork. Screw in your eyelet screw.
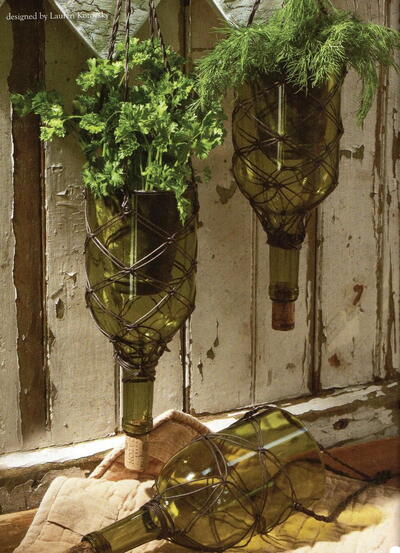
Read NextUpcycled Looking Glass Wine Bottles
Your Recently Viewed Projects
Thanks for your comment. Don't forget to share!
mulberrygalprinces s
Jul 02, 2018
Well they certainly are different and the grand kids can help me to make them. So that's a winner as far as I am concerned. The icing on the cake is that they are very easy and inexpensive to make. I have tons of let over ribbon, glitter, beads and more to use.
Report Inappropriate Comment
Are you sure you would like to report this comment? It will be flagged for our moderators to take action.
Thank you for taking the time to improve the content on our site.