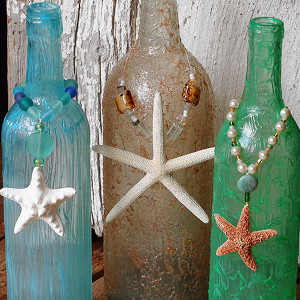
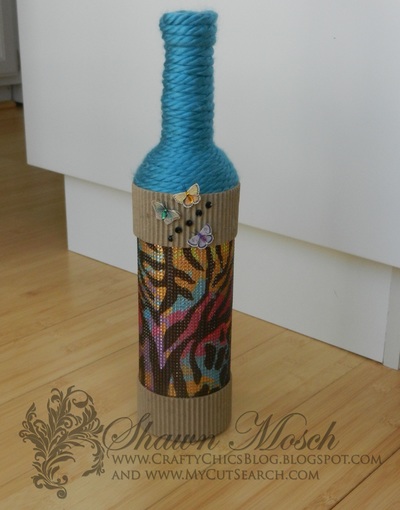
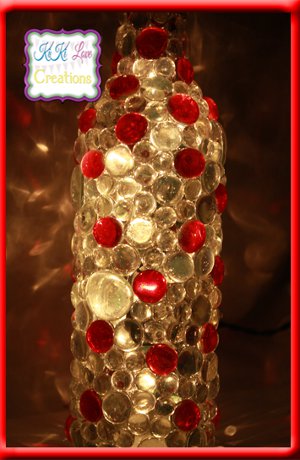
Illuminated Wine Bottle
Create a lovely ambiance with this Illuminated Wine Bottle project. Wine bottle craft ideas like this are great for centerpieces or adding a soft light to a bathroom or bedroom. Use different colored stones for a neat lighting effect. This is a clever and fun way to put those old wine bottles to use instead of letting them collect in the trash bin.

Materials:
- Empty glass bottle with a pre-drilled hole
- Small strand of Christmas lights
- 100-150 colored stones
- Hot glue gun and glue sticks
Instructions:
-
So the first thing I did was take a small handful of my smallest stones and glued them around the top most part of the outside of the bottle. This will give you a nice even flow into the rest of your bottle. From there I would test a few stones to make sure they would fit in properly and then I would glue them into place. I did this all the way down the bottle. I laid the red stones out sporadically and then placed 3 different sizes of clear stones to break up the flow and give it a bit of visual texture.
-
When gluing the stones down make sure that there are no air spot between where the stones touch the glass. Although try not to let to much squeeze out the sides either. If you do I found it best to take a toothpick or a paperclip and clear that away. This will give you a nice, clean finished appearance.
-
When you reach the bottom make sure you are testing each stone to make sure it fits properly and to not over extend the bottom of the bottle. I made sure that my stones were about 1/16th of an inch above the bottom brim line , by doing so you will ensure that the bottle will stand flat on the table or counter. Also when you are placing the lights around the back by the hole make sure you don't overlap the hole, otherwise you might not be able to get the lights in the bottle.
- After all your stones are in place you can then put your lights in through the bottom hole. Set the bottle on your counter plug it in and the lights will bounce through the stones projecting parts of the shapes and colors anywhere near it.
Your Recently Viewed Projects

Thanks for your comment. Don't forget to share!
linjoe21 3324584
Apr 14, 2013
This sounds great, but why not add a light kit and make it a real lamp with a shade, so you can use either part or both for light.
peggyb52 2778456
Apr 01, 2013
Love this idea. One question - is the hole on the side of the bottle or the bottom? How big did you make the hole? Thanks.
Phyllis 1
Mar 30, 2013
I have made quite a few of these bottles. i start at the bottom and work my way up...that way I know it will sit flat on a table.
Report Inappropriate Comment
Are you sure you would like to report this comment? It will be flagged for our moderators to take action.
Thank you for taking the time to improve the content on our site.