How to Save a Puzzle: What to Do With Jigsaw Puzzles When Finished
Don't know what to do with finished puzzles? Show them off!

A completed puzzle is a triumph, and it’s a shame that most finished puzzles get taken apart and put right back in the box after. They should be admired and adored in all their glory! You’ve clicked onto this page, so I’m sure you agree. There’s something amazing about adorning your walls with a gorgeous puzzle after you’ve worked hard to complete it.
A finished puzzle can be an incredibly unique (and inexpensive!) piece of home decor if it’s properly preserved and displayed. But how exactly do you preserve a puzzle? What are the best puzzle glues? Did you know about puzzle frames? Well, you’re about to find the answers to those questions and more!
How to Save and Display a Puzzle
The first step to displaying your finished puzzle is preserving it. You don’t want it falling apart or deteriorating on your wall! There are a few popular approaches when it comes to preserving puzzles:
- Use tape
- Buy puzzle glue
- DIY your own paste for puzzle preservation!
Whatever method you choose, you want to make sure the material is acid-free. Your puzzle will deteriorate and become discolored over time if there is any acid in your adhesive.
The most important step in any puzzle preservation method is to make sure that your puzzle is completely flat. It’s recommended to use a rolling pin to flatten the pieces out anytime you transfer an unpreserved puzzle to a new surface.
What happens after you preserve the puzzle? What do you do now? What’s the best way to display a finished puzzle? The best options are to either mount the puzzle on a backing board or frame it. Most major craft stores and framers will be able to do these things for you, but if you’re up for it, you can always DIY it!
How to Glue a Puzzle
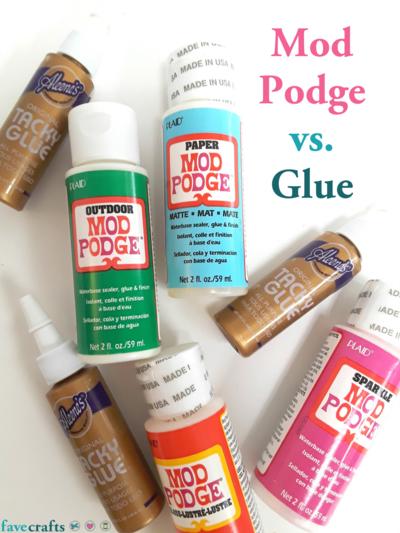
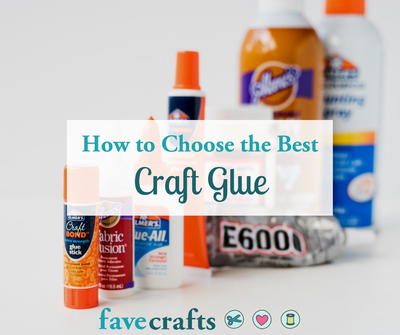
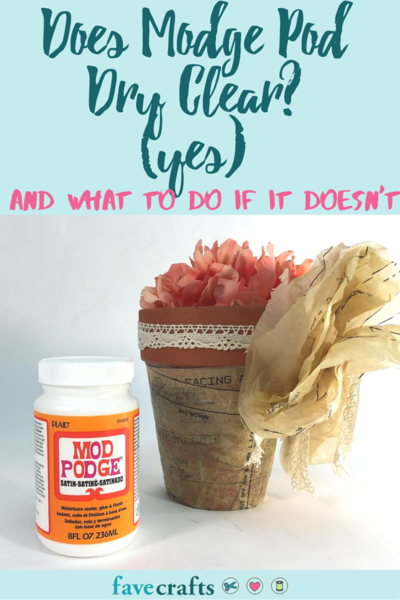
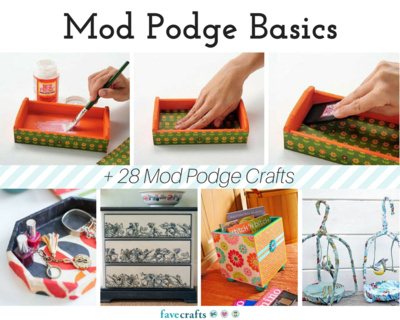
What glue is best? Any craft store will have a variety of dedicated puzzle glues to choose from. Mod Podge is a go-to for tons of crafting situations, and it’s definitely a top tier puzzle saver. The acid-free version of Mod Podge has a matte finish, and is probably best for your long term display. You can also DIY your puzzle glue for a fast and easy puzzle saver!
-
Slide wax paper or parchment paper under your puzzle. Leave about an inch of paper around the perimeter of the puzzle.
-
Make sure the puzzle lays flat on the paper.
-
Pour your glue right on top of the puzzle, then use a piece of cardboard or a business card to spread the glue around. You could also use a brush for spreading glue. Look for foam brushes, because bristled brushes run the risk of leaving stroke marks.
TIPS: Once you start gluing, do not stop until the entire puzzle is covered. The glue could dry during your bathroom break and leave you with lumpy and uneven art. Don’t pour or spread too much glue at once, this could oversaturate the puzzle and it could swell or peel. -
If the edges of your puzzle curl, don’t worry! Once the glue dries, carefully flip the puzzle over and apply a coat of glue to the back side, making sure to cover the areas that are giving you trouble.
How to DIY Puzzle Glue
It’s easy to make your own puzzle glue! Here are three popular methods:
-
Mix equal parts white Elmer’s glue and water. Shake until the consistency is even.
-
Mix half a cup of flour with enough water to create a thick paste. Add a sprinkle of salt and sugar to make the paste even stickier. This paste is best used on the back of your puzzle, as it may not dry clear.
-
Mix gum arabic with just enough water to dissolve it. This will create a strong glue that dries quickly when applied. This paste is best used on the back of your puzzle, as it may not dry clear.
How to Tape a Puzzle
Choosing to tape your puzzle may simply be a matter of cost or available materials. You’ll definitely want to use tape if your puzzle has a metallic or high quality finish like gloss or glitter. Keep in mind that tape will add some thickness to the final product, so make sure your frame can accommodate it.
-
Begin by carefully flipping the puzzle over. Place a piece of poster board or cardboard on each side of the puzzle (one on the top, one on the bottom). For extra security, you can place binder clips on the corners. Quickly flip the puzzle, then remove the back piece of poster board.
-
Make sure your puzzle lays flat (use a rolling pin!).
-
Apply tape thoroughly to the back of the puzzle. You can use a dedicated puzzle adhesive like Presto! Peel, or use regular packing tape. If you use tape, make sure it’s thick, sturdy, and at least 2 inches wide. You’ll want to overlap the pieces of tape to make your puzzle extra secure.
How to Mount a Puzzle
-
Get a quarter inch foam board, spray adhesive, and a razor blade. Unless you’re also going to frame your puzzle, don’t use puzzle glue or any other kinds of liquid glue on your backing board, they will cause the board to warp.
-
Position your glued puzzle on the backer board and outline it in pencil. Mark your line just inside the puzzle dimensions to help conceal the board for the smoothest look.
-
Cut out your board! A ruler or similar straightedge and a razor blade or craft blade will work just fine.
-
In a well ventilated area (like a garage or backyard), lay your foam board down. Spray the adhesive onto the board, then apply the puzzle. You’ll probably want an extra set of hands to help you properly center it, and you’ll have to work fast. Spray glue will dry much faster than liquid glue.
-
Use a rolling pin and go over the whole puzzle to flatten it out against the board. This will ensure that your puzzle displays smoothly, and that every piece will bond well to the board.
-
Once completely dry, your puzzle is ready to be displayed!
How to Frame a Puzzle
-
Measure! Measure! Measure! Measure your finished puzzle, and keep the thickness of your preserved puzzle in mind when frame shopping. Puzzles are much thicker than typical photos and prints. Most craft stores will have dedicated puzzle frames that are perfect for the job.
-
Keep in mind the weight of your puzzle, as it will be heavier than typical photos and prints. You may want to include an extra hook when hanging it, to make sure the frame doesn’t break or fall.
-
Once your puzzle is preserved and you’ve found the right sized frame, carefully place your puzzle in the frame and secure it.
What else can you do with puzzles?
If you want awesome puzzle decor, don't let anything stop you! Here are a couple of ways to use lonely puzzle pieces for decor, or make decor inspired by your favorite puzzle!

Check out this adorable wreath! It's perfect for that mostly-missing puzzle you found at a thrift store!

These jigsaw puzzle coasters have all the whimsy of a puzzle using things you probably already have at home!