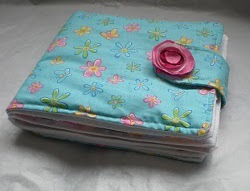
Soft Book Tutorial
Let the Soft Book Tutorial show you how to make a wonderful little keepsake for your kids. Toddlers especially will love to play with this soft book. Make this special craft by Cecilia Jorcin today.

Materials:
- Paper napkin
- Paint brush
- Glue for fabric (look for one that works for decoupage)
- Acrylic varnish
- Fabric
- Velcro
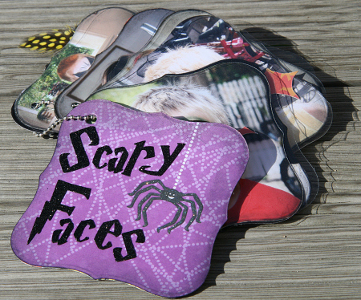
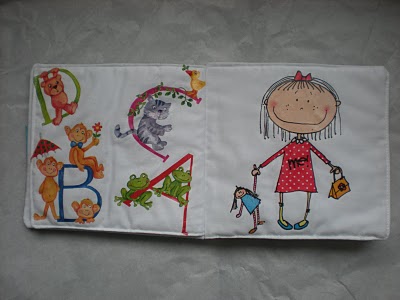
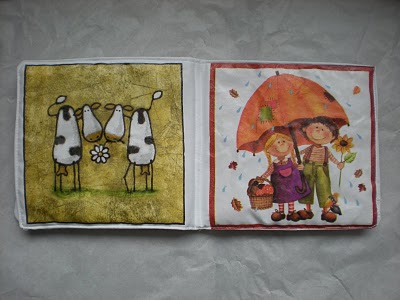
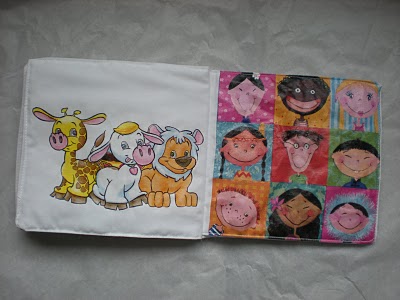
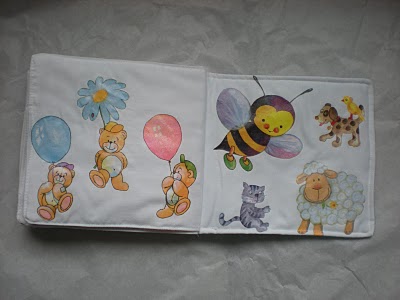
And here you have the pages...

Instructions:
- Cut rectangles of fabric, 2 rectangles for each page of your book (you choose the size).
- Cut one extra rectangle for the cover (same size of the pages).
- Cut some images from paper napkins.
- Decoupage the images as explained here. Make sure you leave a free area to sew all the pages together, to do this fold the rectangles in half (short sides together) and use pins to mark the middle plus 2 cm to each side.
- Take 2 of the pages together, right sides facing.
- Sew all around the edges but leave a 2.5 inches opening on one side.
- Turn the page right side out.
- Top stitch all around the edges (about 1/6" from the edge).
For the flap:
- Take 2 small rectangles of fabric, right side together, you can cut a rounded shape on one of the sides.
- Sew all around the edge except one of the short side or the not rounded one.
- Iron and top stick all round the edges.
- Sew a small piece of velcro on inner side of the rounded end of the flap.
For the cover:
- Take the rectangle for the cover, place the flap over the right side of the back side of the cover, align the not rounded edge of the flap with the edge of the cover. Sew it.
- Sew a piece of velcro on the other side of the cover, on the side that would be the top side.
- Take the first page of the book and the cover together, right sides facing. Make sure the flap is in between both fabrics.
- Sew as explained for the pages of the book, including the top stitching.
Put all together:
- Take the cover first, outside down, then place the pages one on the top of the other.
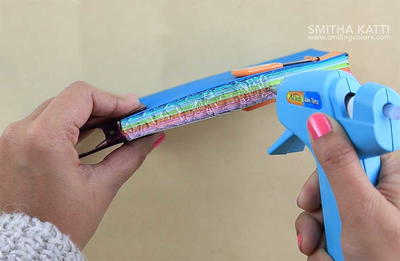
- Sew 2 row of stitches from top to bottom.
Read NextTravel Diary

Thanks for your comment. Don't forget to share!
M Altenberg
Jan 06, 2017
These books are adorable and are nice to make to give as gifts. Glad they gave us all of the instructions to make a nice finished product.
mamacobber
Mar 15, 2012
Hello, ADORABLE !! Thanks for the wonderful idea. But the decoupage tutorial you have us go to is in my thoughts. She shows the napkin going on a little girls shirt. How do you wash something that is decoupaged ? The regular decoupage we would buy would be washed out if I dropped it in the washer machine for a cycle. I would really like to learn more. mamacobber@yahoo.com
Report Inappropriate Comment
Are you sure you would like to report this comment? It will be flagged for our moderators to take action.
Thank you for taking the time to improve the content on our site.