Coptic Stitch Bookbinding Tutorial
Learn how to coptic stitch with this easy bookbinding tutorial

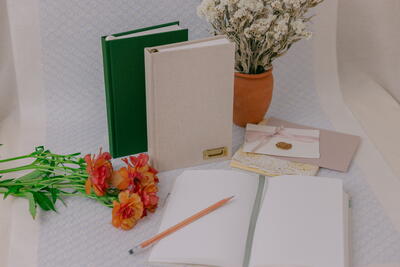
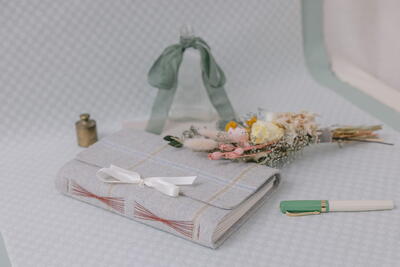
You'd never believe how easy it is to create and bind your own book. With this easy to follow Coptic Stitch Bookbinding Tutorial, binding your own book is easy and fun. Create sketch books or journals for yourself or as gifts for your loved ones. Have a stack of short stories and poems? Bind them together and create a book you and your family can cherish for years to come.
Estimated CostUnder $10
Time to CompleteIn an evening

Project TypeLearn a Technique
Materials List
- Cover boards
- Paper signatures to go inside.
- Roll of self-adhesive paper
- String to bind
- Needle
- Awl
- Hole punch
How to Coptic Stitch Bookbinding Tutorial
Instructions:
-
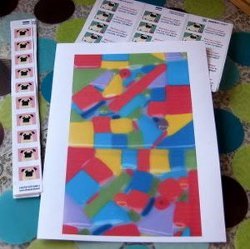
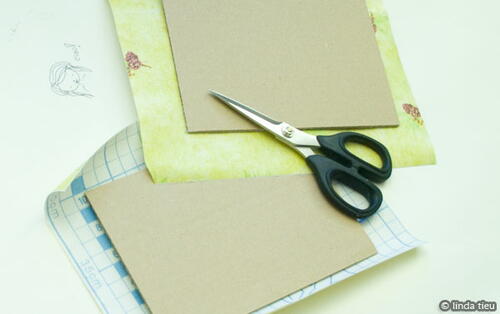
The first thing I do is to cover my cover boards with the decorative paper. You can use fabric or other decorative papers as well, just finish up your cover boards exactly how you want them to look bound into the book. You can see that I cut my decorative paper to size…
-
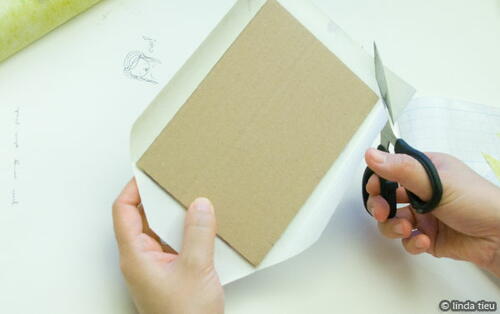
Then I stuck them on the boards, cutting the corners at a diagonal so that it’ll fold over nicely without too much bulk on the corners.
-
You just smooth down one corner and make sure everything is flat without bubbles and continuing securing the other sides.
-
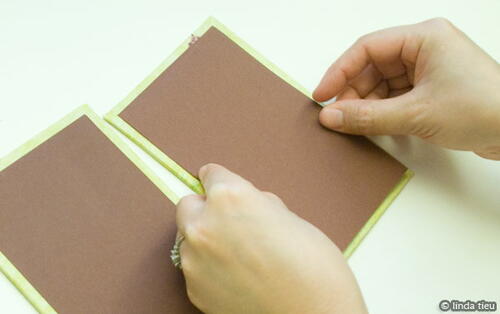
Then to cover up the empty side, I put in some dark brown liner paper…that will be the inside of my journal cover.
-
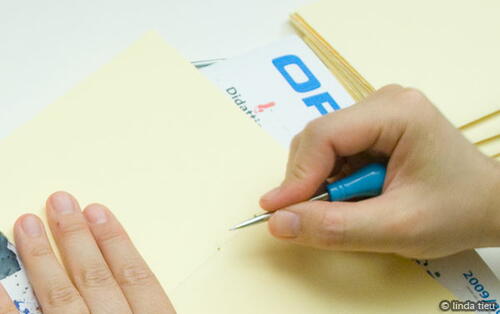
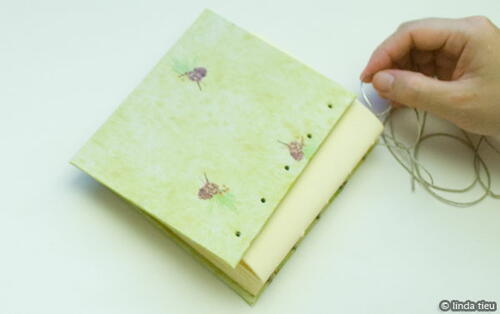
Once my cover boards and paper signatures are ready, I start to punch my holes for the binding. You don’t really have to space them evenly, just make sure they are spread throughout the spine to be secure. I’ve marked up my holes on the cover then punched them out with a holepuncher.
-
Then I use the cover as my guide to punch holes in all my signatures. It’s nice to use an awl just because the hole doesn’t need to be huge…it just needs to fit your string or thread type.
-
Once your materials are prepped, you are basically ready to sew. Pretty easy process at this point and not much different from other binding methods…it’s the stitching pattern that is special in this case. Note that you can have as many signatures you would like, however once it gets really fat, the sheer flexibility will allow your signatures to be more movable and not as “together” in my mind. They sort of “snake” around… but that’s just my experience.
-
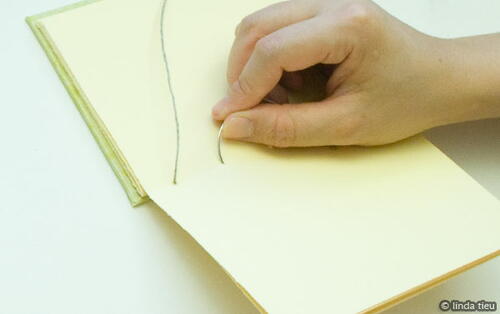
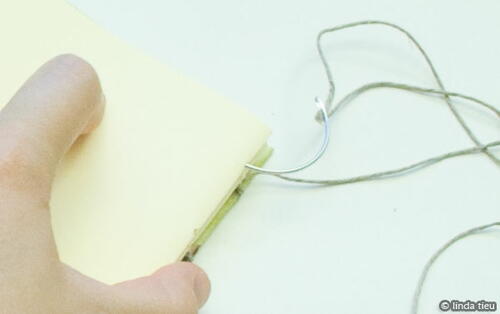
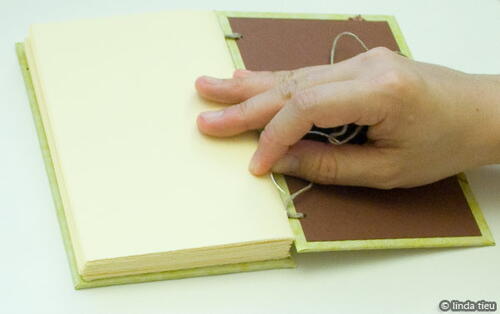
To start stitching, you go with one board and one signature inside. You can see I’m starting at the bottom hole inside the first signature.
-
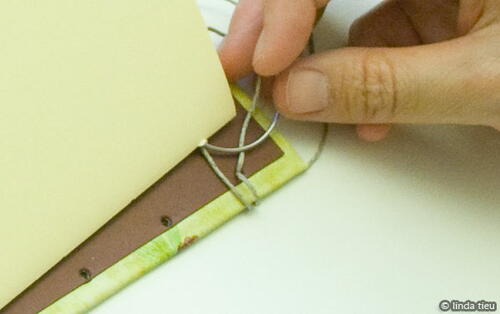
You bring the thread out and under the cover board to attach it to the signature…
-
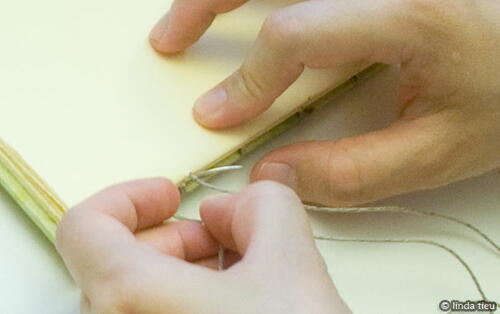
I like to wrap my thread around the cover board one more time, so it’s a double loop before putting my needle back into the signature bottom hole where I came from.
-
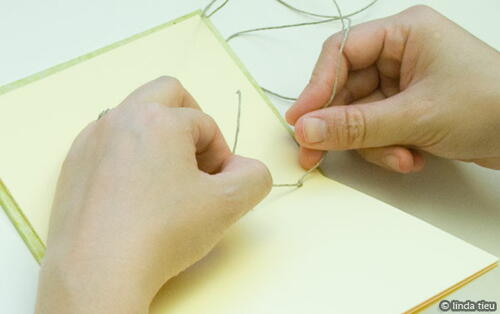
I make sure everything is tight and aligned, then tie a knot. The important part of this method of binding is keeping the cover and signatures on top all aligned…because that’s exactly how it’s going to end up in the end. You want a perfectly aligned stack of signatures on the covers, nice and tight.
-
From this point, I just move up one hole and repeat the process of looping around the cover and coming back up. Only difference is that there is no knot to tie, you just keep looping through to attach the signature to the cover.
-
When you get to the last hole, after looping onto the cover, instead of going back into the same signature you stack on another signature and go into that hole.
-
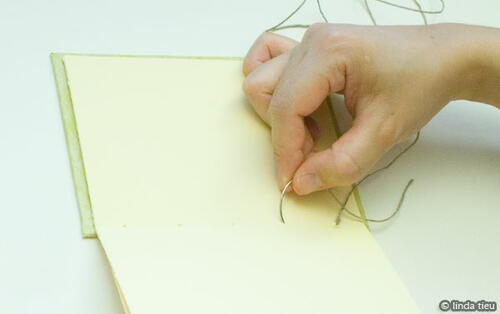
See how I’ve come up from the top hole in my second signature here…then I immediately go to the next hole.
-
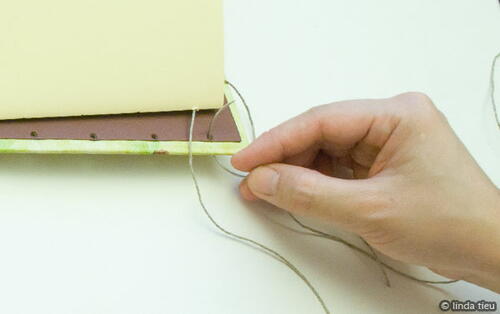
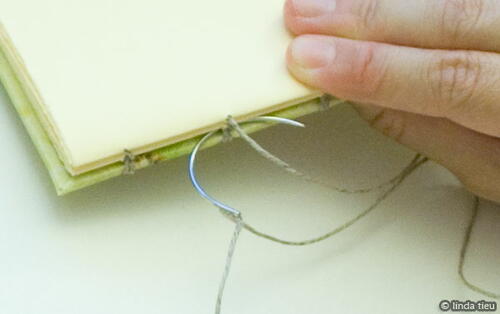
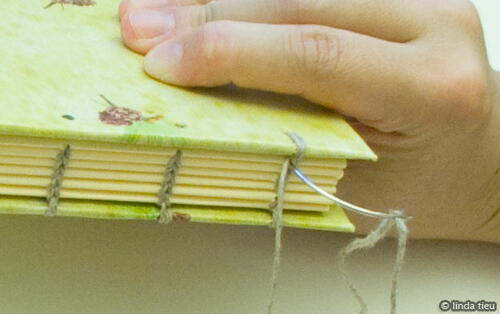
…and on the outside I want to attach this signature to something, but there are no holes to go through like with the cover. Instead I loop my thread in between the signatures below it, in this case the first signature and cover. Just stick your needle into the left side of the stitch already there and exit to the right of it. This is a kettle stitch that connects the stitches together and creates the cool pattern on the binding. It is for this stitch that I use the curved needle, because it’s so much easier to stitch it in between the signatures.
-
Here’s a close-up of the needle pulling the thread behind the existing stitch of previous signatures, from the left side to the right side. You are making a little loop to basically connect the new signature to the rest of the book.
-
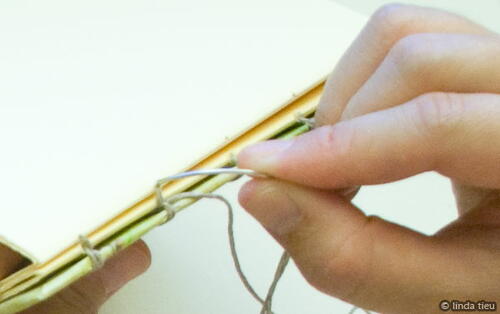
Once you’ve made this loop, the kettle stitch and tigtened it all, you stick the needle back into the hole you came from and repeat going down the line of holes.
-
Again, once I get to the last hole of that signature, after doing the kettle stitch instead of going into the same signature again, I add a new signature and go into that hole.
-
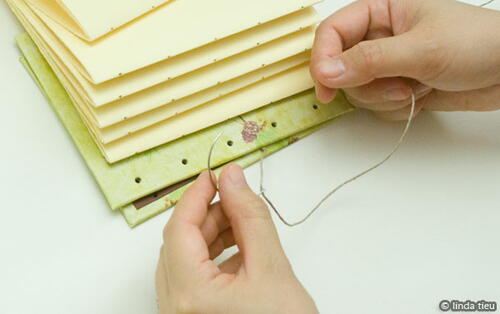
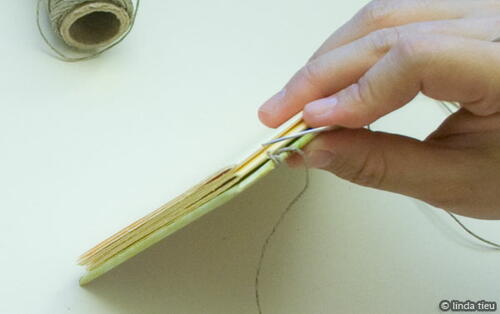
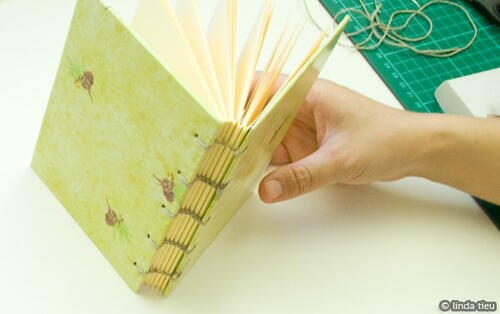
Repeat…repeat…repeat. Once you get the idea, you’ll be able to continue for as many signatures as you have, no problem! You’ll see here I’ve added all 5 of my signatures. There are ways of binding the last signature with the cover together…but I find it all confusing. So I bind all my signatures in the same fashion until there are none left.
-
Then when I just have the cover left to bind, I sort of do the same thing, but weaving through the last signature again. This means the signature will have a double thread inside, but I don’t mind that for the easy of understanding the process.
-
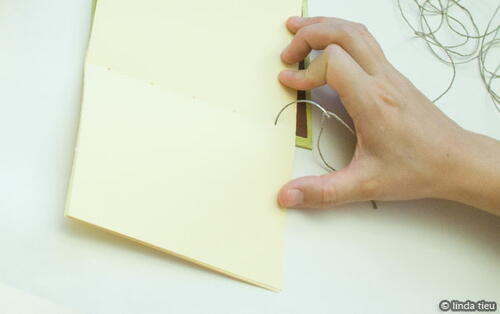
With my kettle stitch done on the last signature, to add the cover I go through the same process… I do my double loop around the cover, kettle stitch to attach it securely to the book and then go back into the signature of paper. I move up one hole and repeat the steps…
-
When I get to the last hole, instead of going back into the paper signature, I actually go in between the cover and paper signature. I loop it around that stitch and tie a knot here to finish binding the book. Pretty easy! One of these days I might learn another method, but this works really nicely for me anyway!
-
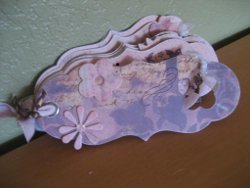
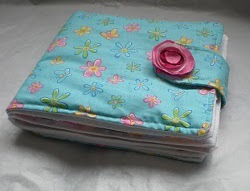
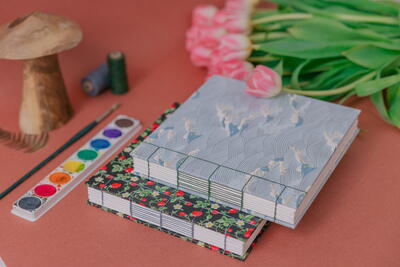
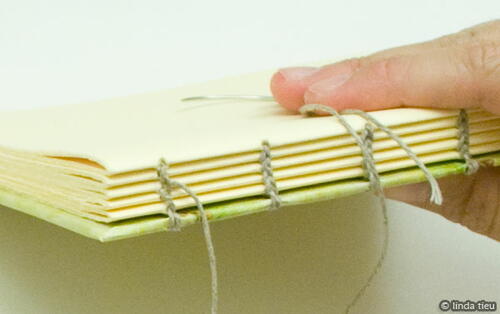
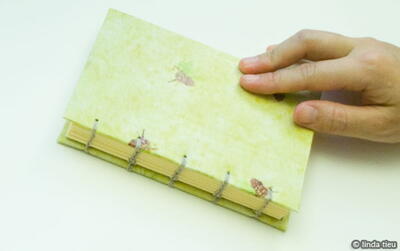
You’ll end up with a book that has a snazzy binding stitch showing, very neat and secure. You’ll notice that the kettle stitches create a column of “v” or “u” looking pattern in the binding. The very left and right holes will look like half of that design, since it’s the edge.


Read NextTravel Diary


Thanks for your comment. Don't forget to share!
SheLikesHats
Jul 12, 2016
I attended a basic bookbinding workshop at school and loved it! It's so cool to find more I can learn.
lpalmer59 7490208
Mar 06, 2016
This tutorial is wonderful. I normally either buy my journals or make my own from notebooks. Then if I want something a little more personal I cover them with decorative paper I like or material. With this tutorial I will now try to make my own and if it is as easy as it seems, I might do one for my daughters birthday.
Dana N
Feb 19, 2016
I love the look of Coptic stitching! The exposed stitches on the binding are such a rustic look. I feel like it goes with the recycling aesthetic that is so trendy right now. Love it. Love the idea of making my own journals! I go through something like a journal a month so I am always looking for more writing materials!!!
Member 4992009
Sep 09, 2014
A fantastic tutorial Linda! Thanks for taking the time to create it. I've added your site onto our page 'Top 10 Coptic Stitch Binding Tutorials on the Internet' - http://www.ibookbinding.com/blog/top-10-online-cop == tic-stitch-book-binding-tutorials/ I hope our post will draw in some more visitors to your site, you deserve it. Keep up the good work and again, many thanks for taking the time to make this post. Have a good rest of the day, Paul
alleneaveritt 8059 109
Sep 07, 2014
I think all you have to do is use another small strip of the contact paper to make a spine for it and other papers will work for this and the covering as well such as applying the larger sheets of scrapbook paper or even fabric to add texture and personality to your book. For more crafts check out my blog as well at: http://crazedcreativeden.blogspot.com/
JMitchell
May 22, 2013
Honestly, I don't care for the stitches showing in the spine. I would like to learn a different way to attach a cover to my books so that the spine looks more like a professionally bound book...
Report Inappropriate Comment
Are you sure you would like to report this comment? It will be flagged for our moderators to take action.
Thank you for taking the time to improve the content on our site.