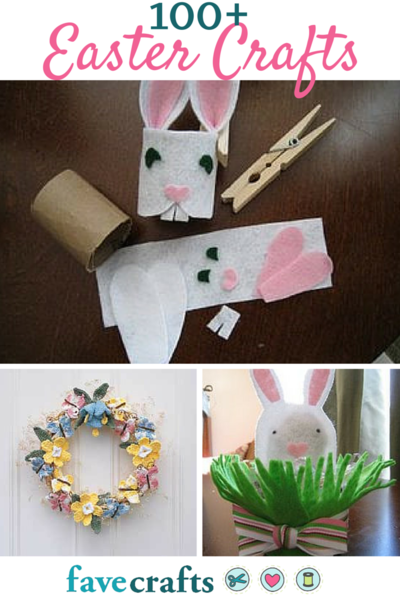
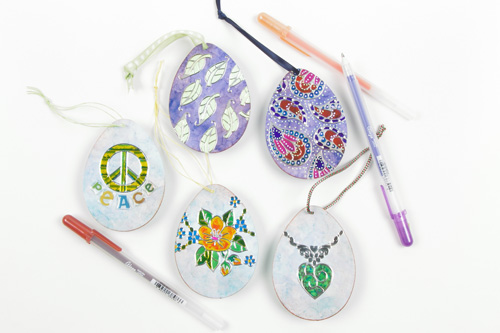
Die Cut Easter Eggs
Decorate smaller die-cut Easter eggs for place-cards and gift tags. Decorate larger Easter eggs for ornaments or homemade cards. Let your creativity guide you as you create these special Easter touches from Sakura of America.

Materials:
Sakura of America Materials:
- Sticklers™ vinyl outline stickers in silver or gold
- Glaze® dimensional ink pens
- Soufflé™ dimensional ink pens
Other Materials
- Polished stone or speckle pattern coated card stock (shown - Murdock Country Creations “Polished Stone”)
- Solid color card stock
- Easter text, Easter egg, and Easter patterned paper (Carolee’s Creations “Easter Collection”)
- Easter Egg brads #81036 (Hot Off The Press)
- Glue stick or Xyron with 2-sided adhesive cartridge
- Ellison 2 egg die (two sizes on one die, 2” and 3.5”)
- Quarter inch punch (for large tags) and eighth inch hole-punch (for smaller tags and hanging eggs)
- Assorted narrow ribbons or cord, Scrapper’s Floss (Karen Foster Design)
- Patterned ribbon (Carolee’s Creations)
- Paper party favor basket (from the wedding aisle at a craft store, or die cut your own)
- Tim Coffey Clearly Yours “School Days” alphabet stickers (K & Company)
- Option - Ranger Big & Juicy Rainbow Ink Pad “Spice” and a sponge
- For dimension on folded cards: Therm O Web Peel ‘n Stick double sided adhesive foam squares
Instructions:
- Adhere solid color card stock to the back of the polished stone or speckle pattern card stock to make it heavier and sturdier than a single layer. Die cut the eggs, cut out or die cut tags.
Option - Draw an egg pattern, trace around it and cut out your eggs or cut them out freehand without guidelines. (If you draw your own pattern you can make tiny eggs as well as much larger ones)
Option - To “Antique” the edges and some of the surface of the tags and eggs, lightly sponge with ink from the rainbow pad. Let the ink dry thoroughly before step 3.
Option - For a dimensional addition (butterfly, dragonfly, leaf, flower, etc.) Place the desired sticker on acetate. Color it, cut it out, and bend back the wings, petals, or a stem. Attach the dimensional element to the egg using a small dab of Ranger Glossy Accents to glue it in place.
- Arrange one or more stickers on the eggs. Color them with Glaze translucent dimensional ink or Soufflé pastel opaque dimensional ink as shown or as desired. Allow ink to dry thoroughly, at least 10 minutes.
- Add an Easter egg brad to the bodies of some of the butterflies and dragonflies. For the butterfly, the narrow end of the egg is near the antennae. For the dragonfly, the wide end of the egg is just below the dragonfly’s head. Be careful to notice where to pierce the hole for the legs of the brad so that it will be in the right spot! Add an Easter egg brad to the cat sticker just in front of the cat’s chest so the cat appears to be looking at it.
- Create folded, layered paper collage, or window cards on which to showcase photos and the decorated eggs and egg tags. Use decorated eggs on party favor baskets and place cards, or hang them as Easter ornaments.
Read NextEaster..."Oops"