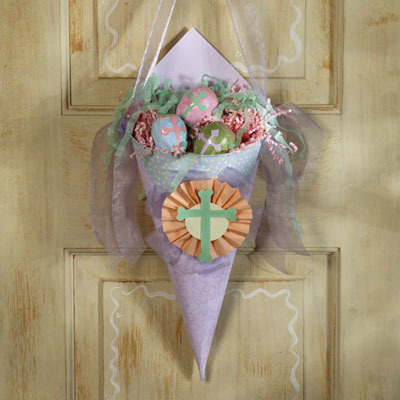
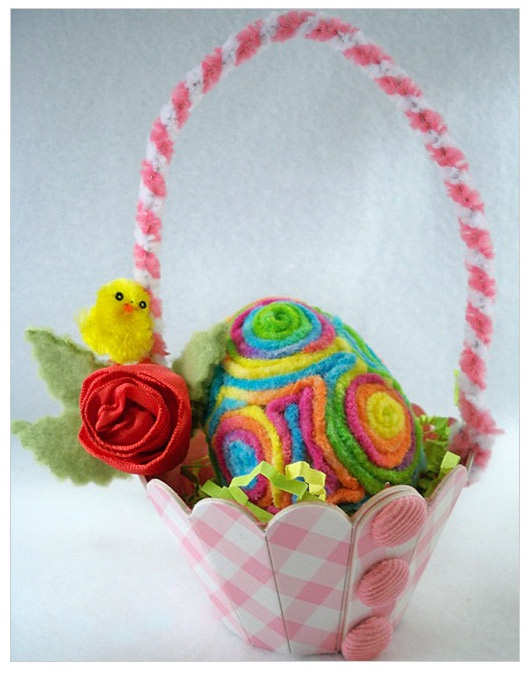
Mini Easter Basket
It was so much fun making this mini Easter basket out of my Sizzix ScoreBoards Cupcake Holder Ruffle. It is just the right size for eggs I made while experimenting with some beautiful chenille yarn.
Materials:
- Sizzix Big Shot Machine
- Sizzix ScoreBoards XL Die – Cupcake Holder, Ruffle
- Little Sizzles Mat Board, 6" x 13"
- Gingham tissue paper
- Spray adhesive
- Corduroy pink brads (www.imaginisce.com)
- White and pink pipe cleaners
- Crop-a-dile
Instructions for basket:
- Cut piece of tissue paper to size of mat board, 6" x 13". Apply a light coat of spray adhesive to mat board piece. Lay tissue on top of mat board and smooth out.
- Run mat board piece through Big Shot with right side facing the ScoreBoards Cupcake Holder die.
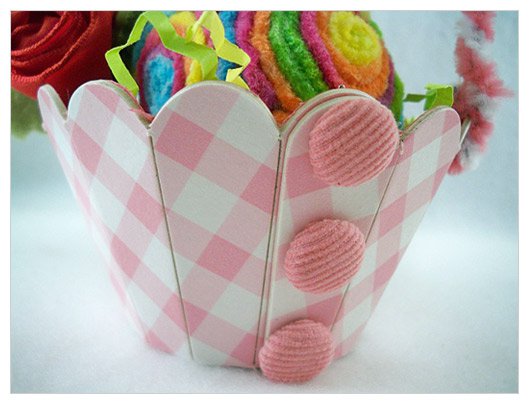
- Bend die-cut piece at each score line to shape into cupcake. Assemble basket with pink brads. Insert circle piece into bottom of cupcake basket and add dot of glue or double-sided tape to adhere bottom to basket.
- Punch two holes for handles on either side of basket.
- Twirl two pipe cleaners together to form handle piece and insert ends on either side of basket. Twist around each other to secure.
- Add embellishments and paper fill. Don't forget the jelly beans!
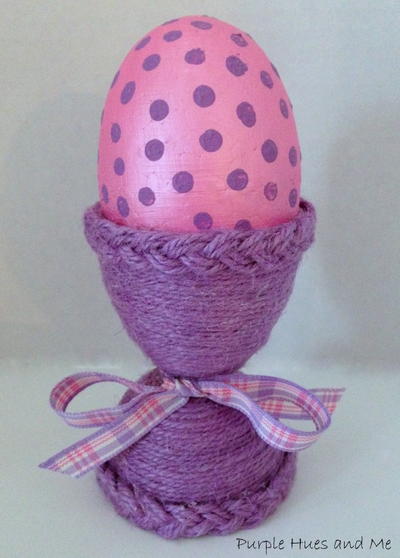
Easter Egg
Materials:
- STYROFOAM brand egg
- some variegated chenille yarn in bright Easter colors
- a small embossing tool, crochet hook or pointed bamboo skewer
- Zip-Dry Paper Glue. Cut a piece of yarn about a foot long.
Instructions:
- Cover about a square inch of the egg with glue and working quickly, start making circles of yarn. Use the pointy object to push the yarn into place. When the yarn ends, push the end into the egg.
- Start another circle nearby and repeat until the egg is full of circles. Then take the yarn and start filling in. That's it! So easy and looks so pretty!
Ribbon Rose
Materials:
- about 12"- 15" of wired ribbon- I like the ombre ribbon that fades from one color to another.
Instructions:
- Holding the ribbon piece in the middle, start gathering the ribbon from each side into the middle, leaving the wires exposed at either end.
- I went to a cool ribbon outlet last week and my ribbon rose instructor gave this tip. Take one end of the wire, grab a little section of the ribbon and just start twirling it around. The rest of the piece will follow. Adjust the ribbon as you go, making it looser if you would like an open rose and tighter for a closed flower.
- If you'd like a rosebud, just use a small piece of ribbon and make the same way, keeping the ribbon tight. When you get to the end, twist the remaining wire around the piece you have been twirling, and there you have a beautiful ribbon rose!
- I took my Fiskars scalloped shears and cut some free form leaves and glued them behind the rose. Felt would work well too, but the fleece was out for another project. the empty space with yarn. That's it! So easy and looks so pretty!
Learn more about Eileen Hull and see her other craft projects here.
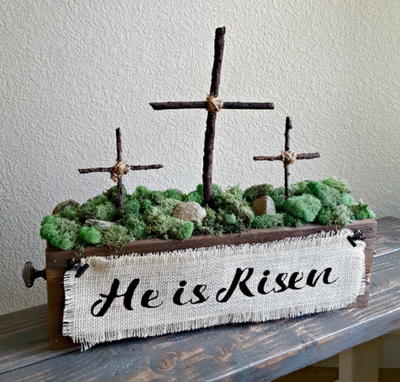
Read NextRustic Cross Centerpiece
Your Recently Viewed Projects

Thanks for your comment. Don't forget to share!
Joyce F
Mar 20, 2012
Why can I not get the pattern for the pink crocheted Easter basket. I continue getting the basket with the flowers when I try to get the pink basket?
Report Inappropriate Comment
Are you sure you would like to report this comment? It will be flagged for our moderators to take action.
Thank you for taking the time to improve the content on our site.