How to Remove Mod Podge and Other Tips
Try these tips to make removing mod podge from wood or paint brushes much easier.

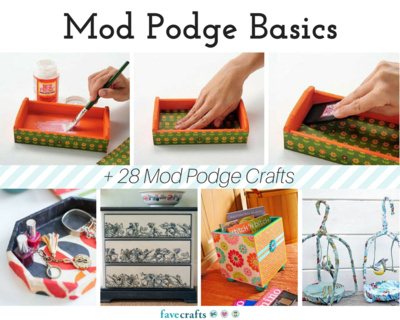
Mod podge is a strange sticky substance. It’s a clear “magic glue” that you apply beneath and on top of the piece of paper or fabric that you are trying to stick to a given surface. Once dry, it stays put and doesn’t move. Because of this, it can be a little tricky learning how to apply mod podge and how to remove mod podge if you make a mistake. Once you get the hang of it, though, it's a great item to work with when brainstorming decoupage craft ideas.
During the learning process, it's not uncommon to make a mess out of your mod podge projects. Many new crafters have wondered: Is it possible to “un-mod podge” something?
Well ... sort of.
Depending on the surface, it can be fairly easy or not-so-easy to learn how to remove mod podge. You might be able to remove decoupaged materials while the glue is still wet by attempting to peel back the edges. If this is tough, try saturating the area with water first. If the mod podge is completely dry when you want to get rid of it, use the steps below to remove the glue from your DIY decoupage projects.
In general, wood and other hard surfaces can sometimes be “saved” from a mod podge disaster by misting it with water and trying to scrape off the decoupaged area. You might have to sand down the surface after that. If you like to decoupage with fabric, it may not be salvageable after this process because the soaking and scraping would likely ruin what’s under the mod podge.
Note: Mod podge glue softens when soaked in water, so make sure you don’t dunk your decoupaged dishes or other mod podge crafts in water if you want them to last.
How to Remove Mod Podge from Common Surfaces
-
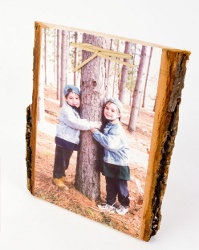
How to remove mod podge from WOOD: If you like to decoupage on wood but want to get rid of an old design, start with an old wash cloth and water. Soak the cloth in warm water and wring it out, then place it on top of your decoupaged wood surface. Cover the cloth with plastic wrap and put something heavy on top, like a stack of books or a box. This way, the water will really sink in to the mod podged area. Let this sit for about an hour, then check to see if the mod podge has turned white (this is a sign that the glue has become tacky again). Once it’s tacky, try to slowly peel the paper off the wood. If the wood is painted, this process may still save the paint. Wipe away the excess mod podge glue with a cloth.
If that doesn’t work or if the project is several years old, try wallpaper paste remover or paint stripper. Coat your surface with 2-3 coats and scrape it off with a wallpaper scraper. (This will obviously not save the paint job.) A third option is to sand the whole thing to get rid of the decoupaged parts. -
How to remove mod podge from GLASS: If you spill a little mod podge glue on glass while crafting, you can usually wipe it away with a damp cloth. If the glue has dried, however, you’ll need to rehydrate it to remove it. Spray the area heavily with water and let it sit for 30 minutes. Keep an eye on it and respray if the glue starts drying out. When the mod podge has turned milky, you can wipe it off with a cloth. If you have decoupaged paper or fabric onto the glass surface, you may have to scrub a bit or rewet the surface to get all of the gunk off. If the glue still doesn’t come off, try applying acetone to the area and scouring it.
Note: If you are looking to remove leftover paper scraps from your project, make your own “goo-gone” by combining one part coconut oil and one part baking soda. -
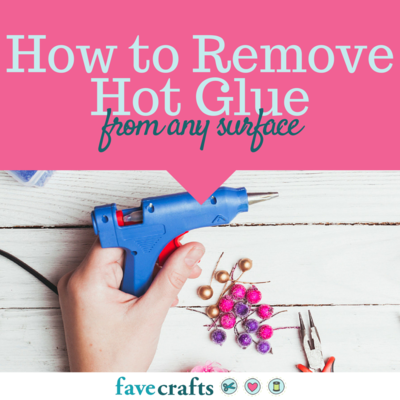
How to remove mod podge from PAINT BRUSHES: After you decoupage, make sure you immediately rinse your foam applicators and paint brushes thoroughly to remove the glue. If you have dried mod podge stuck on your paint brushes from previous mod podge projects, you can remove it by soaking the brushes in hot vinegar for few minutes, then using a paper towel to wipe them clean. You may also want to run them under warm water to dilute the vinegar smell. If you have dried glue stuck to a foam brush, it probably can’t be saved and reused.
Note: Sometimes mod podge can make paints kind of funky, so it's best to use separate paint brushes for your mod podge and painting projects. -
How to remove mod podge from CLOTHES: If you accidentally get mod podge on your shirt while crafting, you can try to get it out right away by rubbing some petroleum jelly into the fabric and letting it sit for one hour. Then wipe off the jelly, dampen the area, and apply some grease-cutting dishwashing liquid. Let it sit for 15 minutes. Rinse away the liquid and see if the mod podge stain remains.
If this doesn’t work, try soaking the fabric overnight in a mixture of water and washing soda (such as Arm & Hammer Laundry Booster Super Washing Soda) and then throwing it in the washing machine. This doesn’t always work, so make sure you wear an apron or older clothes when working on any type of DIY craft project involving paint or glue.
Note: Do not put stained clothing in the dryer, as heat can set stains into fabric.
Other Decoupage Tips
-
Preventing wrinkling: If wrinkles form while you are decoupaging a craft, sometimes they’ll go away as the glue dries. But wrinkles can’t always be fixed on a decoupaged project (though that’s not always a bad thing if you’re going for a vintage look). There are methods you can try, however (see below).
-
How to unwrinkle paper in a decoupage project: Lay a damp cloth over the wrinkled area and let it soak for 30 minutes. Check the area after a half hour and wait for the mod podge to turn milky. Wipe away the white part, then try to gently smooth out the wrinkles (taking care not to tear the paper). Apply more mod podge to the area while the paper is still wet to help it stay flat and re-adhere to the surface underneath.
-
Preventing bubbles: Mod podge bubbles often pop up on your decoupage projects when there isn’t enough time left between coats. Try smoothing your finger over each decoupaged layer to squeeze out air bubbles. Make sure you’re allowing enough time for your crafts to dry before applying the next layer of mod podge. It typically takes 15 to 20 minutes for mod podge to dry, but read the instructions on the back of the bottle for more information.
-
How to remove bubbles in a decoupage project: You can try using the same strategy to fix air bubbles in dried mod podge as you would for fixing wrinkles (see previous tip).
-
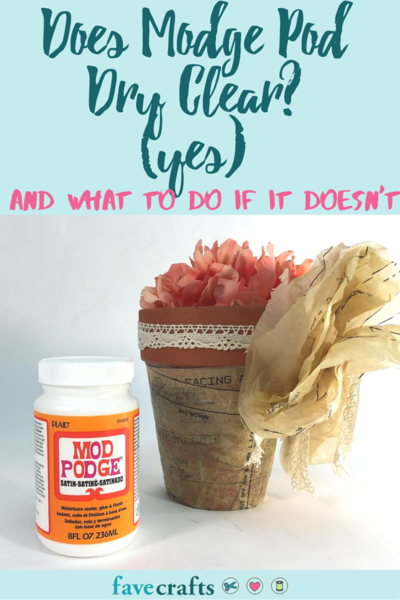
If your mod podge does not dry clear: We know that mod podge glue is supposed to be white when tacky and clear when dry. But what about when your glue feels dry but still looks milky? It could be a sign that your mod podge is old or that you're using the wrong kind. Read more about what to do if you mod podge does not dry clear.
Check Out These Darling Decoupage Projects

Let us know:
What other tips do you have for removing mod podge from different surfaces?