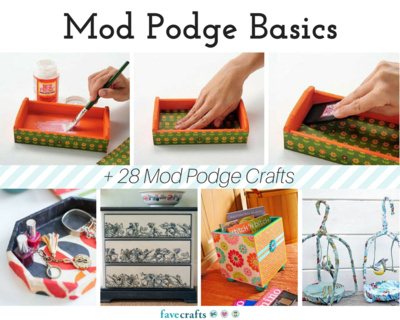
Mod Podge Basics + 28 Mod Podge Crafts
Learn how to Mod Podge with this step-by-step tutorial.

What is Mod Podge used for? Decoupage projects, of course! Learn how to decoupage perfectly every time. If you're new to Mod Podge, read these instructions thoroughly for hassle-free Mod Podging. Wrinkles are a common problem for many Mod Podge beginners.
We promise that if you follow these instructions, you will have success and be a very happy Mod Podger! Gather up your Mod Podge, paper towels, pens, paper and more to get started. This is a great excuse to get a little dirty while creating something amazing.
Mod Podge Basics + Mod Podge Crafts
Table of Contents
Before You Get Started
How To Use Mod Podge
Mod Podge Uses
Mod Podge Crafts
Before You Get Started
- Gather These Supplies: You will ALWAYS need these items on hand for any project. It is assumed with all of the instructions in this book that you have the following items at your disposal: Mod Podge, paper towels, foam plates or palette, scissors, craft knife and mat, water basin, craft glue, ruler and tape measure, pencil or pen, sandpaper.
- Prepare surface: Almost any surface can be used to create a decoupage project. Appropriate surfaces include wood, papier mache, terra cotta, tin, cardboard, glass and craft foam. Only SOME plastics are suitable for decoupage – we recommend testing a small area before completing your entire project to make sure that the Mod Podge will adhere.
Here are some surfaces that may need some extra attention in their preparation. All other surfaces can be decoupaged without any preparation, although you should always make sure that the surface you are working with is clean and dirt free.
- Glass: Wash and dry with a lint free cloth to remove surface oils.
- Tin: If it is an older tin surface, clean with a 50/50 vinegar and water solution. A wire brush can be used on stubborn rust spots.
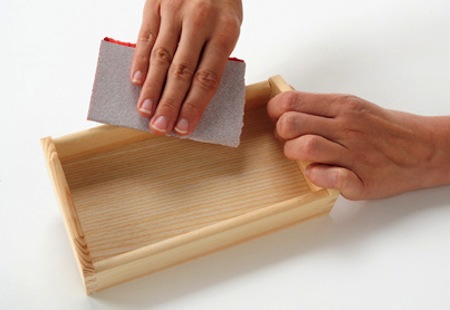
- Wood: Sand unfinished wood surfaces with fine grit sandpaper until smooth. Fill any holes with wood putty and sand again. Wipe clean with a damp paper towel.
- Note: You don’t have to, but you will want to paint many items before decoupaging if your surface is unfinished. We recommend FolkArt or Apple Barrel Acrylic Paints for basecoating.
How To Use Mod Podge
Most items, especially thicker papers, are ready to be Mod Podged as is.
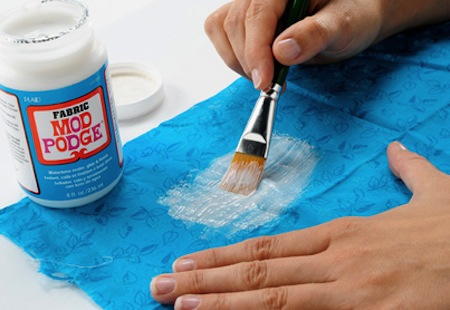
- Fabric – Wash and dry the fabric (do not use fabric softener). Iron and then lay out on a covered work surface. Wax paper is preferable for covering your table. Using a brush, paint a light coat of Fabric Mod Podge onto your fabric. Allow to dry. This will allow you to cut the fabric like paper without frayed edges.
- Paper – If you are working with thinner sheets of scrapbook paper, it may help to spray your paper with a clear acrylic sealer before Mod Podging. Spray both sides and allow to dry before using.
- Tissue Paper – There is nothing that you need to do to prepare tissue paper, but just be advised that because it is so thin, it is very difficult to Mod Podge without wrinkles. The good news is that wrinkles are typically part of the charm of using tissue paper and add a little character to your surface. Mod Podge tissue paper carefully so that it doesn’t tear.
Plan Your Design
- Cut out your paper or whatever it is that you are planning to decoupage.
- Experiment with design elements to determine the layout of your piece.
- Add interest to your design by using large and small pieces, layering and overlapping elements and coordinating colors.

Adhere Your Design
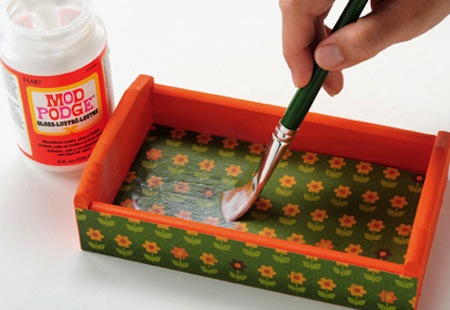
- Adhere each element with the Mod Podge finish of your choice. Always start with the underlying design elements and work your way upward. Apply a medium coat of Mod Podge to the surface. Too little Mod Podge and you will get wrinkles – you can always wipe away excess Mod Podge. Place your item(s) to be decoupaged on top of the Mod Podge and smooth thoroughly.

- Keep smoothing until all of the bubbles are removed.
- When working with large pieces, smooth from the center outward. Air bubbles can be removed with the Mod Podge Tool Set. Use the squeegee with smaller items such as trays – it was developed specifically for getting into corners.
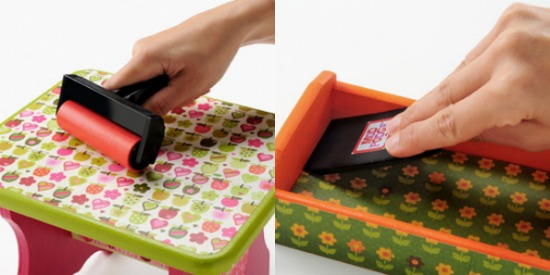
- Use the brayer for larger items such as furniture. Wipe away excess Mod Podge with your brush. For very small elements, brush adhesive onto the project surface and apply each element with tweezers.
Note: Once you have adhered all your elements to your surface, allow the design to dry for NO LESS than 15 minutes before moving to step 4.
Seal Your Project
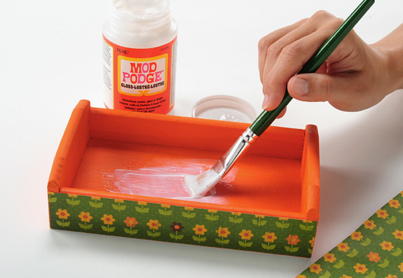
- Add a protective coat of Mod Podge to your project using a sponge or flat brush. Allow to dry and then repeat. The number of coats you finish with is up to you, but we recommend at least two.
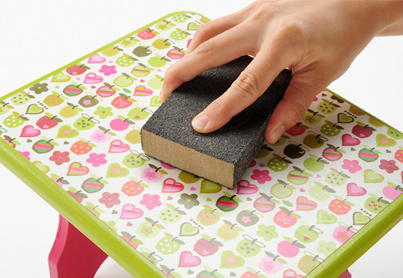
- For a very smooth finish, wet a piece of #400 grit sandpaper with water and sand lightly between coats. Wipe dry and polish with #0000 steel wool on the final coat.
- To avoid tackiness, use a clear acrylic spray.
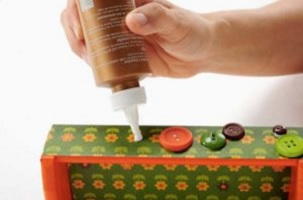
Add Embellishments
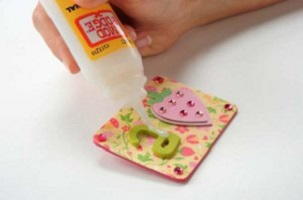
- Once your project is dry, add embellishments as desired. Adhere them with a suitable adhesive such as hot glue, craft glue or epoxy.
- Mod Podge Dimensional Magic can also be used as an embellishment. Dimensional Magic creates a raised surface similar to an epoxy sticker. It can be used on top of a Mod Podged surface, on top of a painted surface and works especially well with jewelry. Your project is now complete! Allow it to dry for 24 – 48 hours before using.
Mod Podge Tips and Tricks
In addition to the must-know mod podge basics above, the following tips and tricks articles will help you have the best mod podge experience possible.
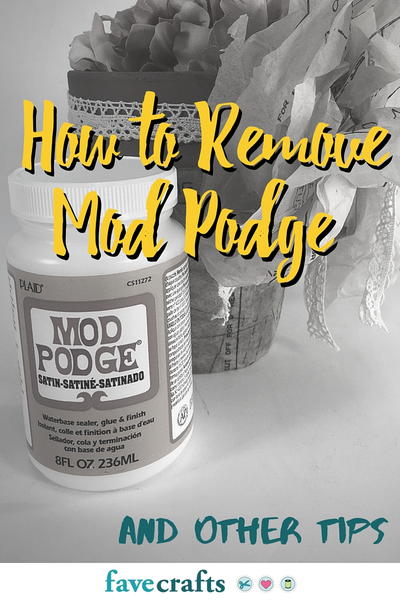
- How to Remove Mod Podge and Other Tips: Regret that mod podge project? This tutorial shows you how to undo decoupage.

- Does Mod Podge Dry Clear? + What to Do if It Doesn't: Having issues with your mod podge projects? Check out this helpful article on what to do if your mod podge isn't work just right.

Mod Podge Uses
We learned above that Mod Podge is used for decoupage projects, but it has a variety of other qualities and uses you might be interested in, such as:
- Decoupage projects
- Sealing acrylic painting projects
- Use as glue, sealer, and finish
- Tint Mod Podge with paint for a stained glass look
- Fabric decoupage projects
Mod Podge Crafts
Mod podge crafts are some of the most versatile craft project ideas out there. Not only can you use mod podge to create brand new creations, but you can easily upgrade just about anything with a few layers of mod podge and intricate designs. Check out these stunning mod podge crafts for just a few ideas.
- Easy Decoupage Frames
- Decoupage Dresser
- Awesome Comic Wrapped Decorative Balls
- Decoupage Pendant Necklace
- Upcycled Containers
- Yarn Storage Box
- Decoupage Sewing Storage Box
- Decoupage Storage Bin
- Easy Fabric Ornaments
- Lovely Mod Podge Tray
- Decoupaged Flower Pot Crafts
- DIY Colorful Paperweights
- DIY Mod Podge Necklace and Ring
- Beautiful Birdcage T-Shirt Craft
- Instagram DIY Coasters
- Angel DIY Glitter Ornaments
- Comic Book Page Coaster
- Adorable DIY Onesies
- Paper Mache Christmas Trees
- Map Placemat Decoupage Ideas
- Mod Podge Magazine File
- Modern DIY Jewelry Tray
- Superhero Wall Art with Paint Can Lids
- Flip Flop Mod Podge Re-Do
Tell us about your experience with Mod Podge! What questions do you have about decoupage projects?
Your Recently Viewed Projects
Thanks for your comment. Don't forget to share!
arielnotterman
Mar 26, 2019
Great tips! I've always had issues with air bubbles when working with Mod Podge. I had no idea that there were tools to help remove them. I bet an old gift card or credit card would also do the trick!
ambartonphotogirl 9761162
Jun 20, 2018
Can you mod podge a large 6 foot balloon? Looking to make the balloon look like a moon.
Editor Dana
Jun 26, 2018
I don't see why not! Here's a tutorial about Mod Podging balloons that will hopefully help with the process: http://www.mericherry.com/2010/09/20/tissue-paper-balloon-bowls-happiness/
Weberme
Jan 30, 2018
I have done some decopodge crafts before and some times I run across things that make it a challenge. This mod podge basic tutorial is a good read. I found out some ways to make it easier to work with. Some good tips and some nice projects. So whether you have never done it before or just want some tips this is a good read. Thanks for the inforation and projects.
Report Inappropriate Comment
Are you sure you would like to report this comment? It will be flagged for our moderators to take action.
Thank you for taking the time to improve the content on our site.