How to Photo Transfer with Adhesive Sheets

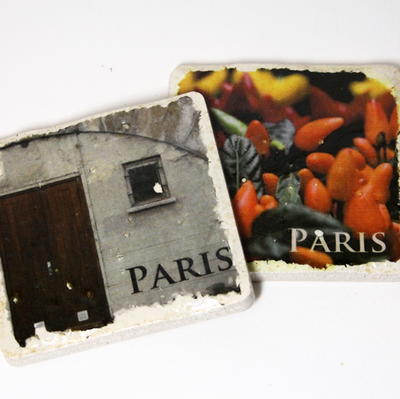
If you're looking for no-fuss photo transfer techniques, give this method a try! Learn How to Photo Transfer with Adhesive Sheets. All you need are the photo, adhesive sheets, and water to transfer your image. Make coasters or any other lovely personalized projects using this method. It's great to just be able to burnish your image and call it a day. Some other photo transferring methods require using the iron or applying liquid adhesive that can get a little messy! This method is one of the easiest out there, and you just need basic materials to achieve the finished product.
Estimated CostUnder $10
Time to CompleteIn an evening

Project TypeLearn a Technique
Materials List
- Scrapbook Adhesives by 3L® Used:
- Adhesive Sheets – 4 x 6″. Note: Adhesive Sheets are available in 12×12″ and 6×12″ sizes too!
- Other Materials:
- Coasters
- Trajan Pro Font
- Spray Sealer
Instructions
-
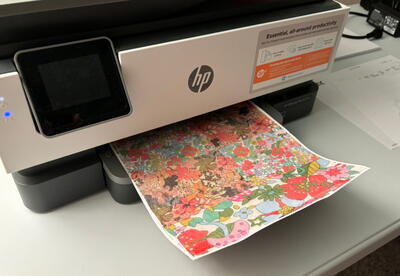
Print a reverse image of your photograph large enough to cover your coaster (this step is only necessary if you have text either in or added to your photo).
-
Make a color photocopy of your photo (this keeps the ink from running when it gets wet). Cut off any excess copy paper. Peel back the yellow protective layer from the Adhesive Sheet 4 x 6″ and place the photo GOOD SIDE down onto the adhesive.
-
Burnish the good side of the photo, then remove photo from adhesive sheet. Place adhesive covered photo face up on your work table.
-
Align and place a clean coaster face side down onto adhesive covered photo. Flip over and burnish aggressively.
Photo Transfer Details
-
Wet the back side of the photo. Starting in the center, begin to remove the paper with gentle scrubbing. I used a scouring kitchen sponge to gently rub the paper off, but you could use your fingers or even steel wool if you want a more aggressively aged look. Here’s a picture of the paper partially removed:
-
Continue until all the paper is removed. Minimize the additional water you use….too much makes it too easy to rub the entire project off the coaster, not enough and you can’t remove the paper effectively. The photo should look like a slighted muted version of the original when done. While still damp, the photo will cloud over again as it dries).
DAMP project (with most paper removed): -
DRY project (with most paper removed):
-
Let the project COMPLETELY dry at this point. I used a heat tool with no ill effect. Seal with a commercially available spray sealer.x.mine was solvent-borne and worked fine provided the project was COMPLETELY dry!
-
I love the distressed edges on my coasters and consequently, some of the distressing carried through the body of the project. Fabulous!