
This project was submitted by one of our readers, just like you.
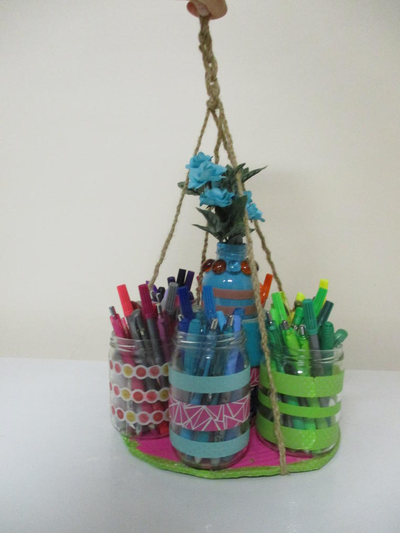
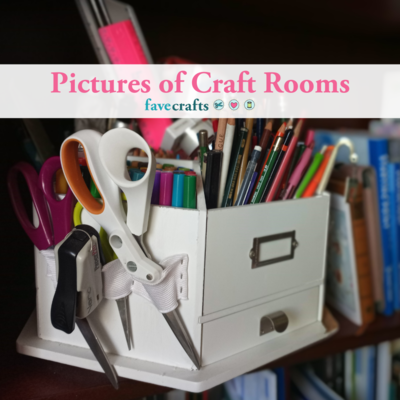
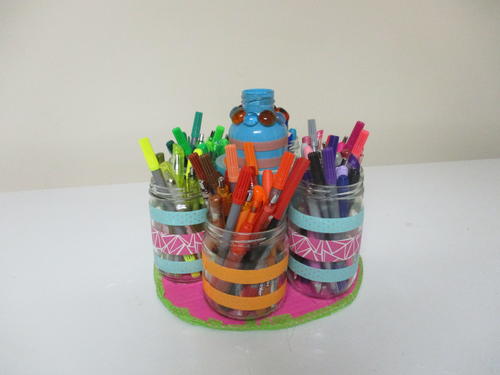
Easy, Colorful Pen/Craft Organizer

Easy Colorful PenCraft Organizer
"I have been collecting old jars and bottles for a while now, but didn't quite know what to do with them. Once I was delighted to find a box of old jelly jars and other kinds of jars for free. Finally, I came up with this idea of how to use some jars as well as keep my pens, markers, and duct tape organized. Now they are also organized by color which should make it easier when I'm making cards or scrapbooking."
Primary TechniqueGeneral Crafts

Materials List
- A collection of old jars or vases of different sizes (Tin cans should work also)
- Hot glue gun as well as five or six small glue sticks
- Goo gone or another adhesive remover
- Decorative tape, fabric, stickers, pebbles, or some other kind of embellishment
- Paint (opt.)
- Jute twine for handle
Instructions
Click any image to see larger version.
-
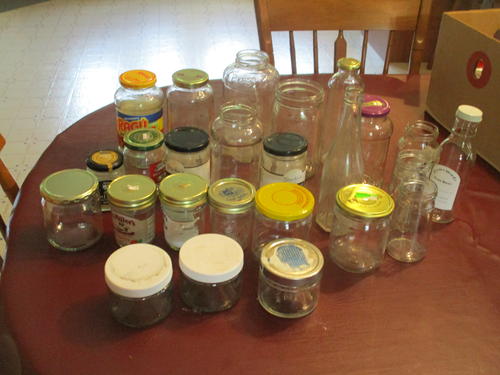
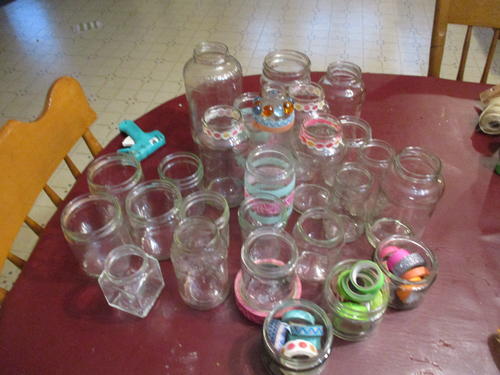
Gather a collection of old jars such as jars from spaghetti sauce, jelly, pickles, or whatever glass jars you have. Remove all the labels. Soaking them in warm water for a little while helps.
-
Follow the directions on the adhesive remover to remove all the sticky goo and wash with warm, soapy water. (I usually stick them in the dishwasher as soon as they're empty. That way they get washed right away, and it also helps to loosen the labels.)
-
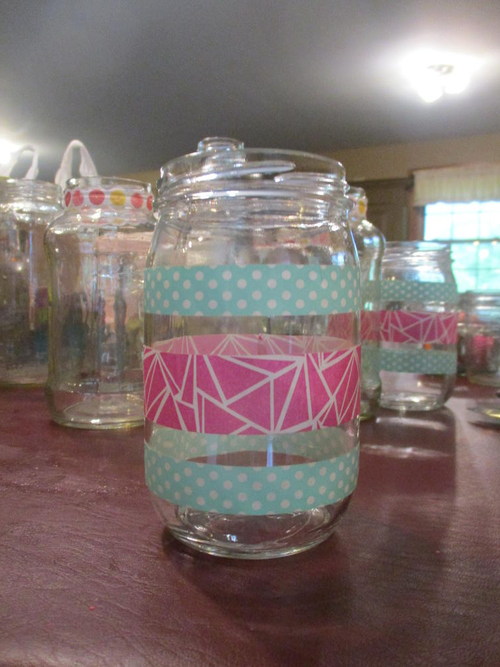
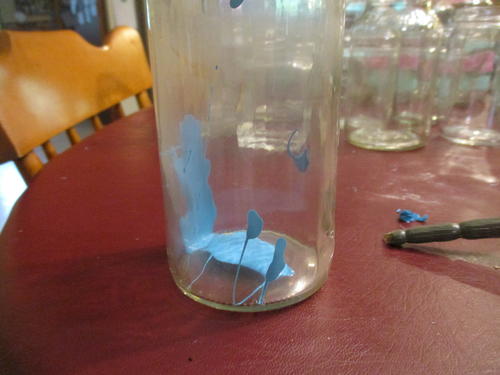
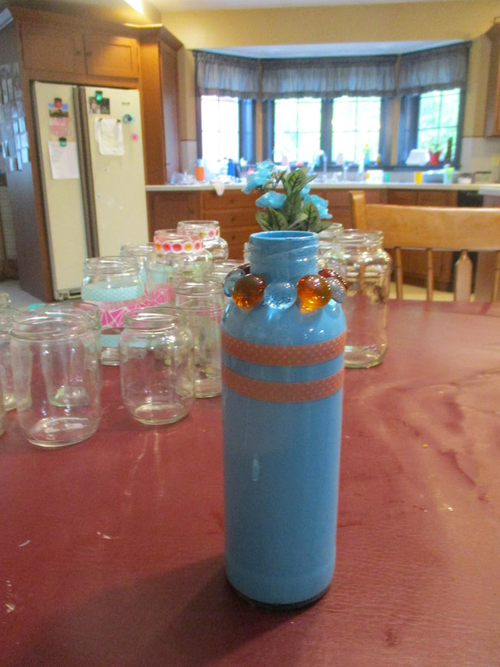
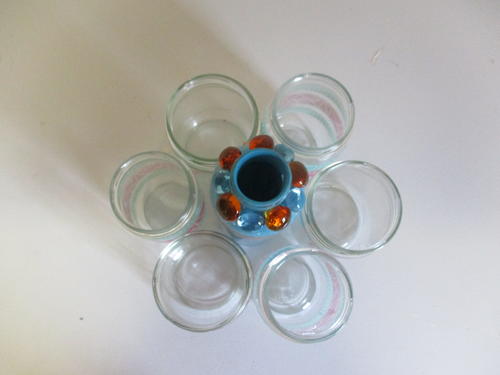
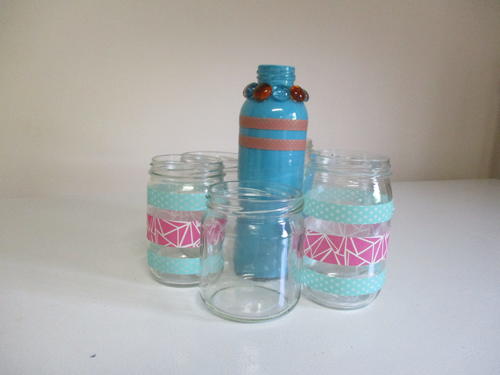
Now the work part is over and you can do the fun part. Decorate the jars by gluing pebbles on with the hot glue gun or wrap them in washi tape. For the blue jar in the middle, I squirted acrylic paint in the inside, popped the lid on, and shook it so it would spread around. The nice thing is that it's not wet on the outside but the down side is that it takes a LOT of paint and a while to dry. You could also spray paint some jars.
-
Next, get the jars that you decide will work best for this particular project and arrange them in a circle. As you can see in the photos, I cleaned way more jars than I needed. You might want to do this before you decorate any jars. I decorated some jars first and the rest after I decided exactly how I'll do it. If you're copying my project exactly, you should be able to decorate all the jars first. You can use more jars than I did and make a bigger circle, but the reason I didn't do that is because it got pretty heavy.
-
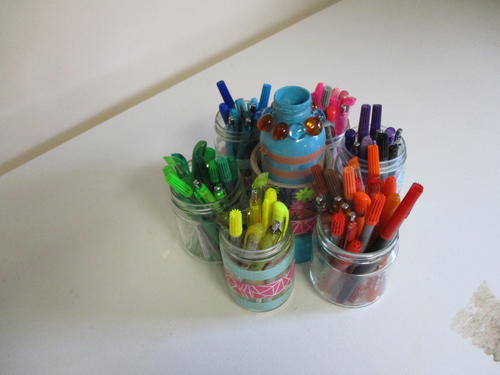
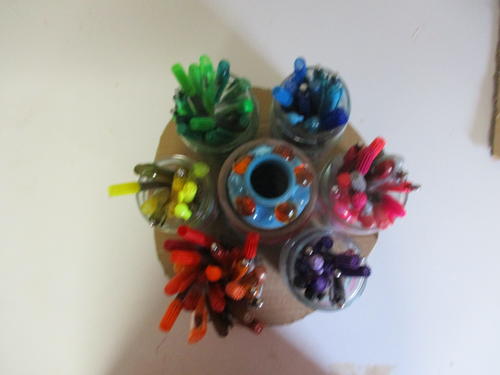
Fill the jars with your pens and markers according to their colors. Slip the duct tape over the narrow jar in the middle as a way to organize that. For every other jar I used a wider one so I could fit more pens in it for colors that I have more of.
-
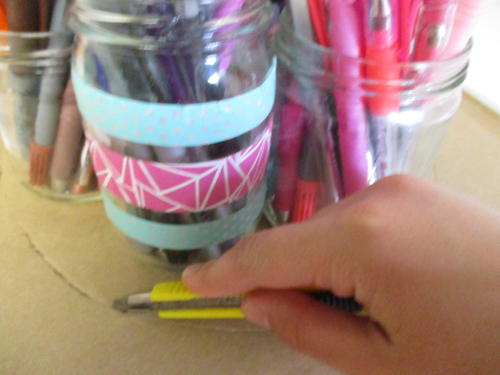
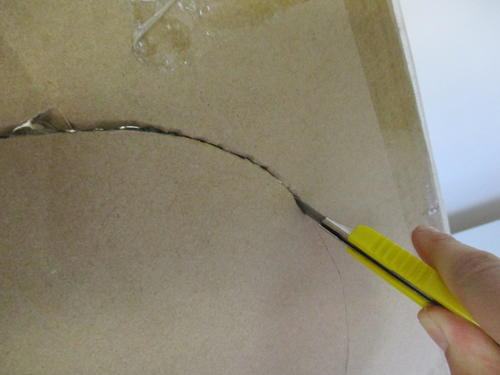
Use a razor blade to cut a rough shape from the side of a cardboard box. Make sure it is a bit bigger than your jar arrangement. Take the piece of the cardboard and place your jar arrangement on it. Cut around the jars in a circle, but don't cut quite the whole way through the cardboard. Then take the cardboard out from underneath and stand it up on its side to cut the rest of the way through.
-
Place the jars and the duct tape back on the cardboard and cut off any extra that's sticking out. If you want to, you can take the jars off again and try to make sure the cardboard looks circular, but it doesn't have to be perfect. (Just don't do like I did and cut the circle too small so that the wider jars were sticking a little bit off the edge.)
-
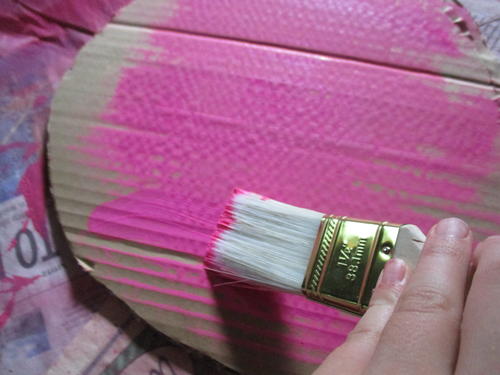
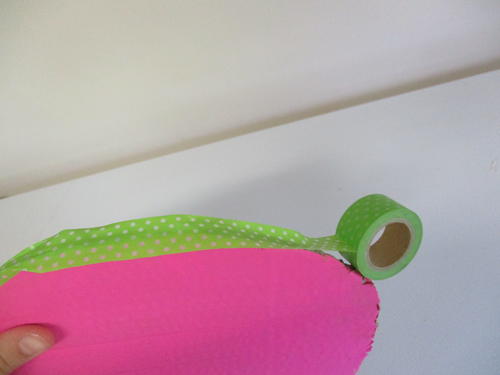
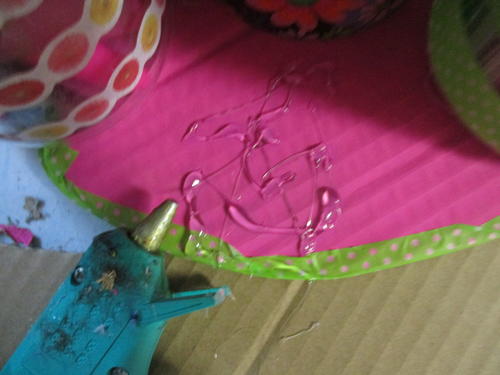
This step is optional but strongly encouraged. Paint the cardboard circle with your favorite color of acrylic paint. Give it a second coat ten to fifteen minutes later since the cardboard tends to absorb the paint a little. Then take washi tape or masking tape and run it along the edge so the raw cardboard doesn't show.
-
Now it's time to glue the jars on. Arrange all the jars on the circle again with the duct tape over the middle one. Use a hot glue to glue the middle jar on first. It is very important to make sure you glue it exactly in the middle so all the jars fit around it. Hold it tightly against the cardboard for a few seconds until the glue is pretty dry. Glue the outside jars on one at a time the same way until you are done. Now step back and look at your project. You're almost done!
-
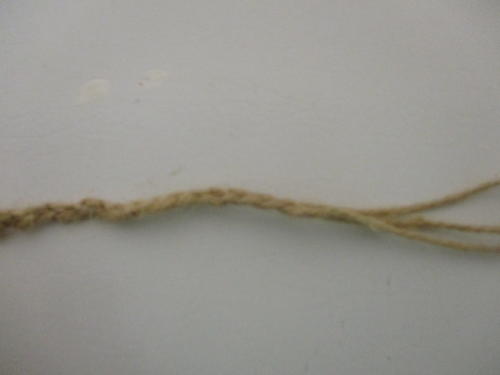
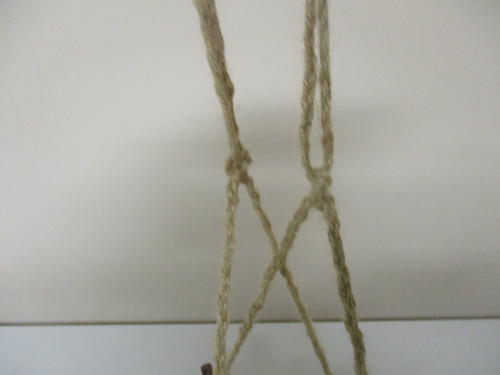
Making the handle is probably the most boring and time consuming part. Cut three strings of twine each 65 inches long. Hot glue them together at the top. Then braid them down to the bottom and hot glue the ends together. Repeat with three more strings the same length.
-
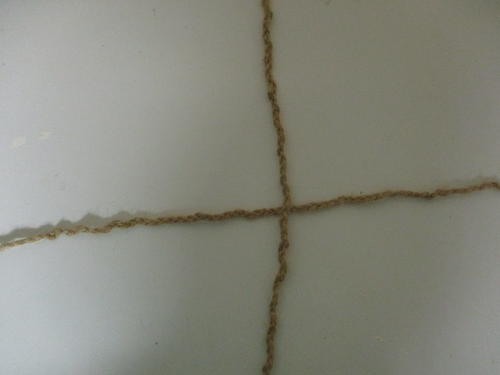
Lay the one braid over top of the other so they cross like it shows in the picture. Put the organizer on top with the spot where the braided twine crosses right in the middle. Bring the two ends of the one braid up over the middle vase and tie a knot. (Make sure to leave room for a flower.) Do the same with the two ends of the other braid. When you hold the two knots up it should look like the picture with four loose braids above the knot. Take two loose braids in one hand and the other two loose braids in the other hand and knot them together once or twice. Then tie the first half of a knot several times until you don't have much string left. Now you are finished with your pen organizer and you can either hang it up or set it somewhere handy.

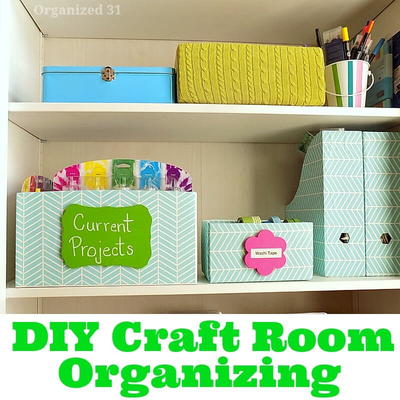
Read NextDIY Craft Room Organization