Rustic and Simple DIY Jewelry Tree
A DIY jewelry organizer like this one is both decorative and functional!

Use materials from nature to make a literal DIY jewelry tree! Wrap twine around branches and "plant" them in a chic pot with decorative moss for a jewelry organizer with a rustic look. Spend an afternoon with the kids gathering branches from your yard that have several smaller twigs branching off. The more intricate your branches, the better! From there you will have your main material already on hand to make this organizer. You have a great deal of flexibility with the size and location of the organizer, making it perfect for any crafter! Make a jewelry display in neutral colors so the jewelry itself really shines.
Time to CompleteWeekend project
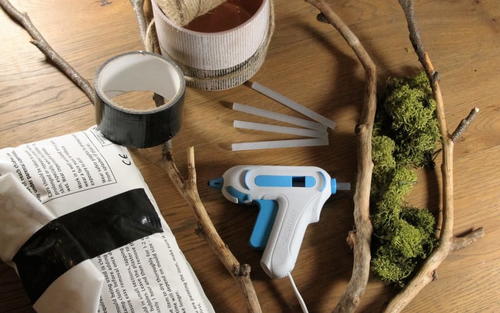
MaterialsNature Material
Primary TechniqueHome Decor

Project TypeMake a Project
Materials List
- Rustic and Simple DIY Jewelry Tree
- Westcott Hot Glue Gun and Glue Sticks
- Twine
- Westcott Scissors
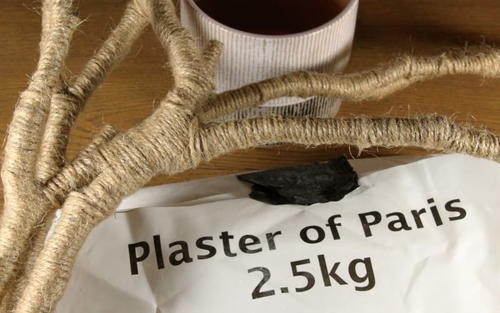
- Plaster of paris
- Water
- A stick to stir the plaster of paris
- Container for base (ceramic plant pot, with no hole in the base)
- Strong tape (optional)
- Moss for decoration (optional)
Instructions
From Westcott: "Put your earrings and necklaces on display with this decorative piece, a cute addition to your dresser or bathroom counter!"
-
Strip any loose bark away from the branches, rinse away any soil, and allow to fully dry indoors next to a radiator.
-
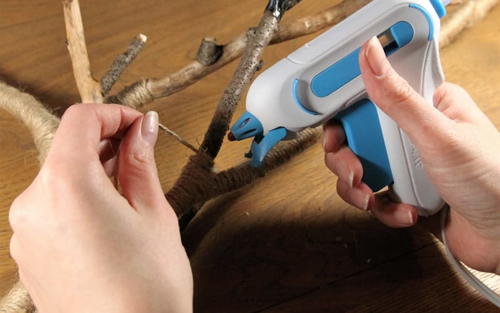
Gather branches and tape them together at the base. You can cheat a little by using the Westcott Glue Gun and tape to add extra twigs where needed! Cut twine into manageable lengths, and apply the glue, using your Westcott Glue Gun, in a strip along the branch, approximately 1 cm at a time. Wrap twine, then add more glue further along the branch, and so on.
-
Once branches are fully wrapped, mix the plaster of paris and water into your chosen base. Leave space for decoration once dry, to hide the plaster. Stand branches upright and support against a wall.
-
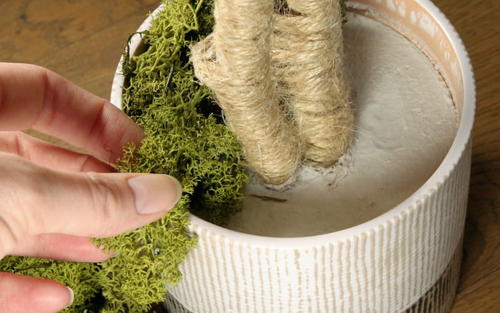
Once plaster is fully dry, drizzle some glue to the plaster and add some reindeer moss for decoration. Sand, soil or pebbles are other options.
-
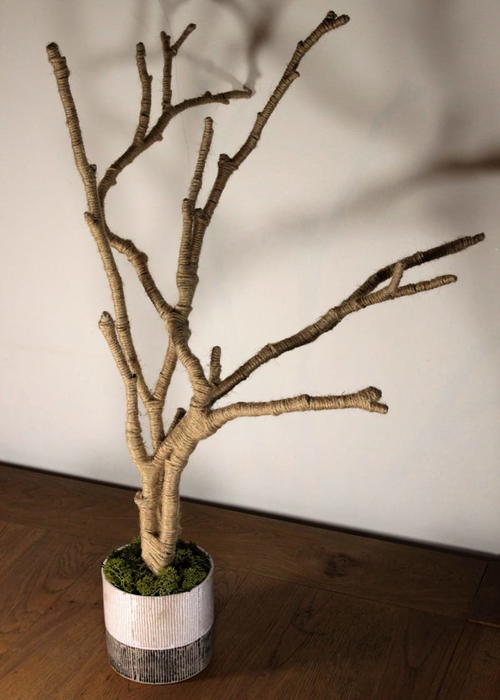
Finished! Enjoy your new bespoke jewelry tree.
Contest Rules:
- There is a maximum of one extra entry per person. The extra entry will be based upon a comment left on this post. Duplicate comments are not tallied.
- The winner will be selected at random from the comments on this page and the entries on the contest page.
- The winner will be contacted on the morning of December 24th, 2018.
- Email Address provided in your account (please do NOT leave your email address in the comments--you already provided it when you created your account)
- You have until December 23rd, 2018 at 11:59pm EST to leave your comment on this post. Comments posted after that will not be counted.
- Contest open to anyone 18+ in US and/or Canada. Excludes Quebec and Puerto Rico.
Do you have a method for organizing or displaying your jewelry? What does it look like?
Read NextDollar Store Spice Rack
Your Recently Viewed Projects


Thanks for your comment. Don't forget to share!
Knittingdancer on Ravelry
Dec 09, 2018
I have several jewelry cases with clear zippered pockets where I keep my necklaces and pins. I also have a couple of ring cases with a clear top that I keep about 50 pairs of earrings. I also have a jewelry box and a hanging jewelry case with clear pouches that I keep my holiday theme jewelry and costume jewelry.
aketch
Dec 05, 2018
I have a big stand up jewelry chest that I keep in my closet. It holds and organizes all my pieces, which I can always find easily and quickly.
ridiculosity 67303 43
Dec 03, 2018
I have a pretty piece of wood trim on my wall with a double row of brass cup hooks for hanging necklaces. It makes a colorful wall decoration!
Report Inappropriate Comment
Are you sure you would like to report this comment? It will be flagged for our moderators to take action.
Thank you for taking the time to improve the content on our site.