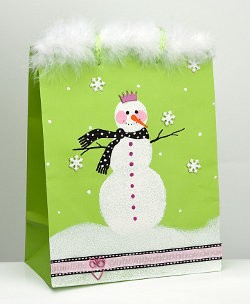
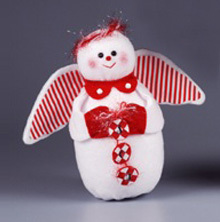
Snowy Gift Bag
Create a snowy gift bag to give all your gifts in. Acrylics, scrapbooking materials and ribbon make this look pretty. Add a little boa feathers and you have yourself a great gift bag.
.jpg "Snowy Gift Bag")
Materials:
- DecoArt Products Required
- Americana Acrylics
- DAO2 - White Wash
- DAO31 - Baby Pink
- DAO67 - Lamp (Ebony) Black
- DA196 - Tangelo Orange
- DA232 - Vivid Violet
- Scrapbooking brads/clips: Spare Parts by the Paper Studio, purple crown brad #LLB-09-PNK; snowflake glitter brads #286641 (D40-WHT); pink heart clip HO4-VAL
- Ribbon: 3/4" black with white, Ribbon FX #497693; 3/8" light pink with white polka dot, Ribbon Trends #886614
- 7" x 9" lime green gift bag
- White craft boa, Make it Christmas #620534
- Foam plate
- 1/4", 1 1/4", and 1 3/4" round foam pouncer brushes
- #1 liner brush
- 3" round pottery or cosmetic sponge
- Craft knife
- Craft glue
- Scissors
Steps:
- Refer to photo for placement and use two largest pouncers and sponge dipped in White Wash to paint three overlapping circles for snow woman. Use large pouncer to pounce across bottom of sack to make snow hills; let dry.
- Use small pouncer dipped in Baby Pink to dot on cheeks; let dry.
- Use liner brush and Lamp Black to paint scarf and stick arms on snowwoman; use end of brush handle to paint small dots for eyes and dotted line for mouth. Let dry.
- Use liner brush and Tangelo Orange to paint carrot nose and let dry.
- Use end of brush handle dipped in Vivid Violet to dot on buttons; let dry.
- Use end of brush handle dipped in White Wash to paint small dots in background for snow and dots on scarf; let dry.
- Use tip of craft knife to make small holes for crown and snowflake brads. Insert brads and spread prongs on inside of sack. (Note: To avoid snagging or scratching of items put in gift bag, place piece of tape over prongs)
- Cut boa piece to fit across width of bag. Use craft glue to attach piece of boa across top edge of bag and let glue dry.
- Glue back of black ribbon across bottom area of bag. Place clip near left end of narrow pink ribbon. Glue back of narrow ribbon over center of wide black ribbon; let dry. Trim ribbon ends where it extends off sides of bag.
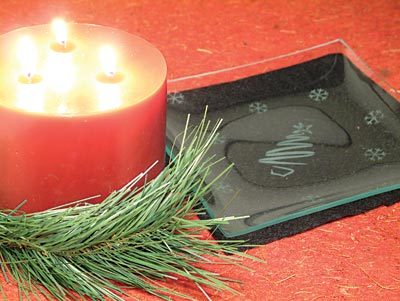
Read NextDIY Christmas Etched Plates