Polymer Clay Skeleton
Polymer clay beads form the basis of this fun skeleton. Fall crafts don't get much cuter than this Polymer Clay Skeleton by Candace Jedrowicz. In addition to polymer clay, use wire to make your own creepy craft.

Materials:
- Polymer clay – white and any color you want to make accessories
- 26 gauge wire – I used white coated wire
- Permanent markers – fine and regular points
- Accessory supplies – feathers, gems, etc.
Instructions:
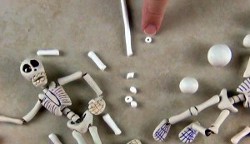
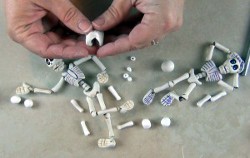
- Here are two completed skeletons with polymer clay pieces next to the bone beads they will make.

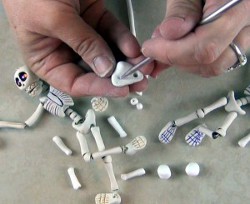
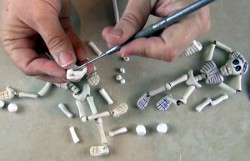
- Long bone beads and vertebra beads are cut from a small roll. Holes are made with a needle tool, which is large enough to accommodate two 26 gauge wires at a time.
- To make holes in the long bones, hold the clay without applying any pressure at all.Twist the needle tool back and forth as you gently push it through.

- The skull is made from two clay balls. One is twice the size of the other.Place the smaller ball close to one edge of the larger – that’s the jaws. Insert a 12″ wire folded in half in behind the jaws.Press tooth patterns on the jaw section and cut the mouth open.
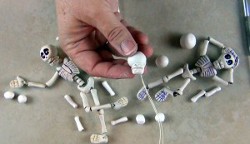
- Press eyes into the skull. If you plan to use gems in the eyes, make sure the hole is large enough.
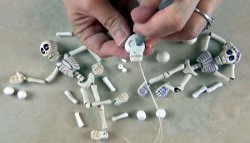
- The rib cage is a flattened, elongated piece.Squeeze the center for the front of the ribs. Mark any number of ribs you want.
- Bend the ends of the rib cage back and join to a bone shaped bead. Shape it into an oval to open up the top to be wider than the bottom.
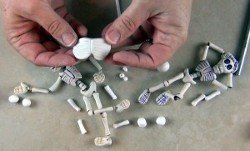
- The pelvis is kind of a bicycle seat shape. Make holes in the sides and bend them up slightly.
- The pelvis has two leg wire holes that start near the center and angle out to the sides of what would be the hips. Bake according to polymer clay package directions.
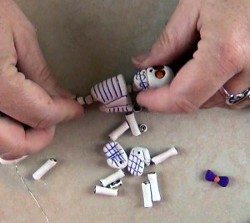
- Use your permanent markers to draw lines and mark the ends of the bones.String 2 or 3 vertebra beads on the doubled wire.Add the rib cage and 3 or 4 more beads. Add beads until it looks right to you.
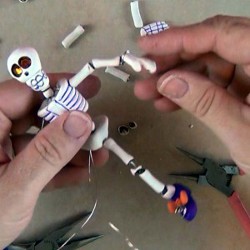
- Separate the doubled wire and put one wire through each leg hole. Add another 12″ length of wire through the leg holes so that each leg has a double wire.

- String a upper leg bone bead, a vertebra bead, a lower leg bead and a foot or shoe bead. Coil the tail of the wire being careful not to tighten the leg wire too much. You should be able to position the leg easily.Flatten the coil to the bottom of the foot or shoe.Or you can wrap the tail of the wire around the ankle bone.
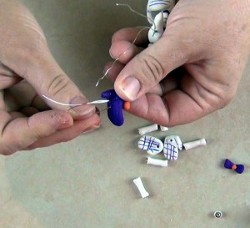
- Cut a 14″ length of wire and fold in half. Wrap around the neck just above the rib cage.String on both arm bones and hands. Secure by wrapping the wire around the wrist.
- Glue accessories in place.

For a comprehensive video tutorial, check out How to Make an Articulated Polymer Clay Skeleton.