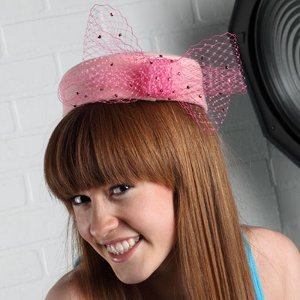
Pretty in Pink Pillbox Hat
Bring back glitz and glamor with this Pretty in Pink Pillbox Hat. Made from a pillbox hat form and some colorful felt, this dainty and feminine accessory is great for transforming any outfit from drab to fab! Wear it for an upcoming wedding or use it to add a little touch of flair to your holiday ensemble. No matter what the occasion, this Pretty in Pink Pillbox hat is sure to impress, and you'll just love telling everyone that you made it yourself!

Materials:
- Aleene's® Fabric Fusion® Permanent Fabric Adhesive
- Tulip® Cordless Heat Setting Tool™
- Tulip® Glam-It-Up!™ Iron-On Crystals™
- Aleene's® Fabric Fusion® Peel and Stick Sheets™
- Pencil or pen
- Pillbox hat form
- Russian netting in matching color – 8” x 24”
- Felt in color of choice – 1/3 yard
- Scissors
Instructions:
-
Lay hat form on felt and trace around plus an extra ½” around.
-
Clip around oval making 3/8” cuts.
-
Center felt oval on top of hat form and use Fabric Fusion to glue down clipped tabs. Let dry.
-
Cut a strip of felt 2½ times the depth of the hat and the circumference of the hat plus an extra 1”.
-
Cut ½” wide strips of Peel & Stick sheets. Along one long edge of felt strip, place Peel & Stick strips ½” from the edge. Remove Peel & Stick liner and fold down edge. Press in place.
-
Place more ½” wide Peel & Stick strips along folded edge to meet the top of hat and cover the clipped tabs.
-
Peel away liner one strip at a time and press the felt against the hat form as you work your way around the hat.
-
When you get to the center back, overlap the edges slightly and trim the felt. Glue the seam together with adhesive. Let dry.
-
Place small dots of Fabric Fusion on the underside of the felt that overlaps the edge of the hat and press evenly to the inside of the hat. Let dry.
-
Cut a strip of netting. For a large bow, use 18”. Bring netting ends into the center, gather and press a piece of Peel & Stick sheet over the center. Cut a second piece of netting 4” long. Remove liner and wrap around the center. If desired, add another rolled piece of netting under the center to add dimension and cover any adhesive.
-
Use heat-setting tool to randomly adhere crystals to netting bow.
- Add a strip of Peel & Stick sheet to the hat and press the netting bow onto hat to cover the seam.
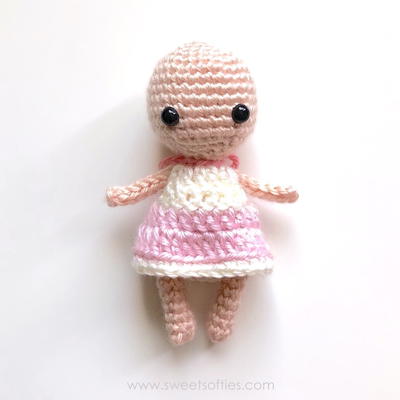
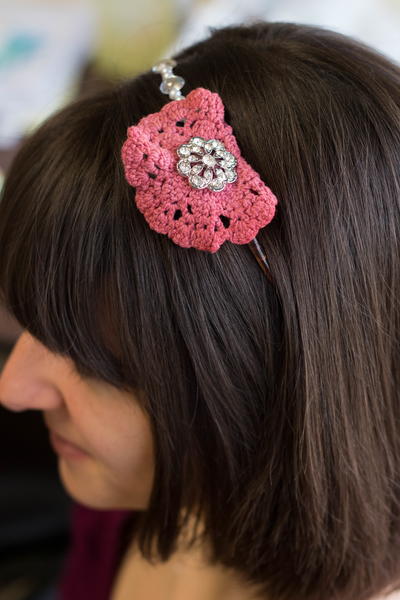
Read NextMake Your Own Crochet Headband