This project was submitted by one of our readers, just like you.
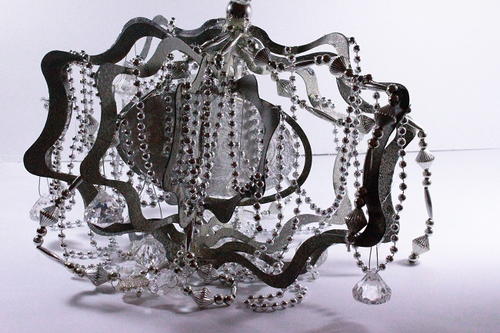
Handmade Chandelier

Handmade Chandelier
Learn how to make your own chandelier by repurposing materials from the dollar store.
From the Designer: "This was a super fun project. I set out with one thing in mind and just kept playing and having fun. It's can be done with kids on a low impact glue gun (10 yrs and older). I used Testors whirly gig, Testors Intense Glitter/Brillance Silver, Mod Podge Plaid Folk Art Paint, Tissue paper Silver, Beads and Crystals,battery operated lights."
Estimated CostUnder $10
Primary TechniqueGreen Crafting

Project TypeMake a Project
Materials List
- Metal Whirly gig (can be found at the $ tree)
- Sandpaper 100, 220
- Glitter paint, (I used Testors Intense Glitter/Brillance Silver (your choice of color)
- Plaid/Folk Art Paint “Outdoor” Silver (your choice of color)
- Lots of beads I used silver (found at Wal-Mart 8pcs for under a dollar)
- Decorative beads (Christmas décor)
- 1 extra-large dangling Crystal
- Crystal Diamonds (Christmas Ornaments found at Hobby Lobby year around)
- 1 silver ring (broken piece of jewelry)
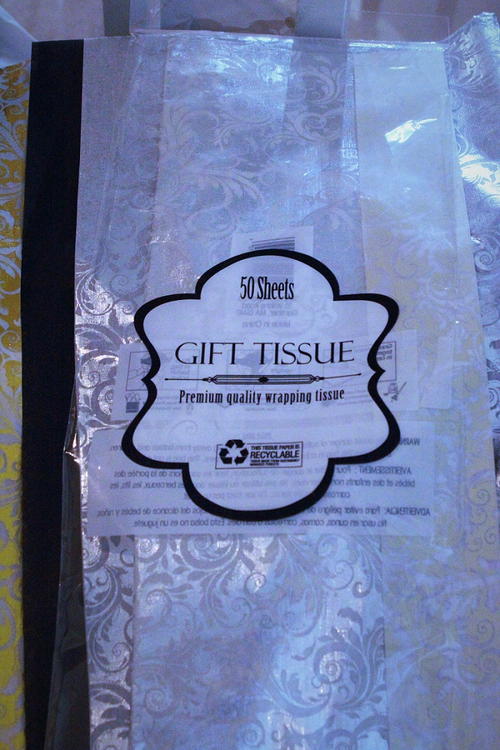
- Silver Damask tissue paper
- Glitter Mod Podge
- Battery operated Christmas Lights white wires (Michaels)
- Glue gun (Sure bonder)
Instructions
-
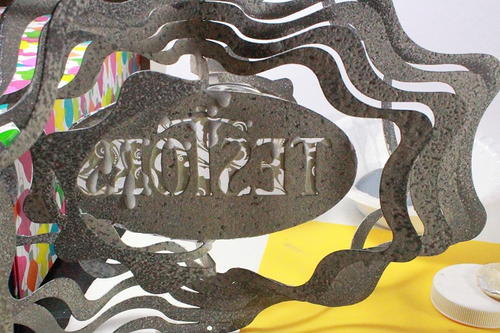
I took the whirly gig (my made up name) with sandpaper 100 grit to give it texture did not apply to all areas ( I used a blow dryer to clean the dust off).
-
Once clean I used a layer of the Plaid/Folk Art Silver “Outdoor “ paint and waited for it to dry (fast acting paint).
-
I added a second layer of the Folk Art Paint mixing it with Testors Glitter paint and waited for it to dry. After drying I added two layers of the glitter paint by its self. I used the 220 sandpaper and gently sanded some of the paint off not in all areas. It give me a vintage look.
-
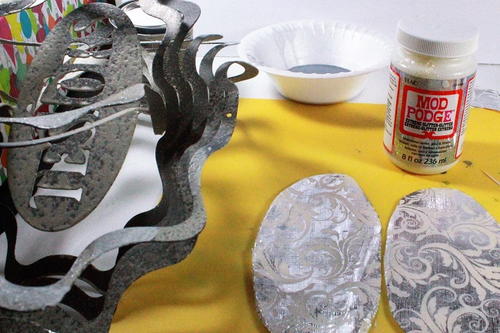
I measured the inside oval of the Whirly gig and spread Mod Podge over both sides of the oval
-
I cut tissue paper to fit the oval and place the tissue paper on the oval both sides. I put a layer of Glitter Mod Podge on top of the tissue paper both sides.
-
I hot glued the wires of the lights to both the inside and outside of arms of the Whirly gig. I painted over the wires with both paints it took a little while to dry.
-
Using the beads I took them together and cut between the top giving the same exact length.
-
On the inside arms of the Whirly gig, I looped beads 20 in count on the outer arms I left the beads straight and added various lengths.
-
I added the crystal diamonds in both the back and front of the arms of the Whirly gig.
-
I glued a Crystal Diamond inside the Silver ring and glued both together to the top of the Whirly gig.
-
The decorative beads were more challenging, the beads are strung on string and if cut the beads would fall off. I measured the decorative beads starting with the ball bead-easier to glue I ended on a ball bead.
-
I hot glued the top and bottom ball beads I applied hot glue inside the hole of the bead.
-
I hot glued the bottom diamond shaped bead to the rope added the hot glue to the top of the bead hole and the bottom of the bead hole and attached the bottom ball bead.
-
I hot glue the last ball bead in the hole of on the bottom and the next ball bead in the top hole.
-
I then cut the beads apart and they didn’t unravel.
-
I cut the decorative beads, into eight stands I glued some to the arms of the Whirly gig and others dangle.
-
I added one large crystal in the middle.
-
Everything was used with a Hot Glue Gun. This can be a kid friendly project with adult supervision and using a LOW TEMP glue gun. I would not say it was for kids eight and under parents discretion.
More Recycled Crafts You'll Love
If you love creating handmade chandeliers, we have some great recommendations for you to try out! For those who enjoy working with beads and crystals, we suggest making a beaded chandelier using a wire frame and a variety of beautiful beads. This project allows you to get creative with the design and add your own personal touch to your chandelier.
If you are looking for a more rustic and natural look, you might enjoy making a macrame chandelier using jute or rope. This project is perfect for those who appreciate bohemian style and want to add a unique touch to their space. Macrame chandeliers can be customized with different knotting techniques and materials to create a one-of-a-kind piece.
For those who prefer a more modern and minimalist style, we recommend creating a geometric chandelier using metal wire or pipes. This project is perfect for someone who enjoys working with clean lines and shapes, and it can be customized to fit the aesthetic of any room. Geometric chandeliers are a great way to add a contemporary touch to your home decor.
No matter your crafting style or skill level, there is a handmade chandelier project out there for you to try. Whether you are creating a chandelier for yourself or as a gift for a friend, these projects are sure to impress with their unique handmade charm. Happy crafting!

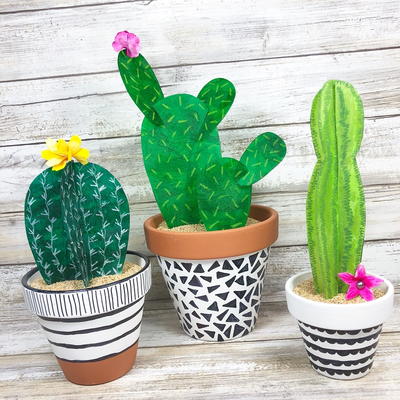
Read NextModern Recycled Faux Cactus


![Pill Bottle Crafts: Reuse Pill Bottles [15 Ideas]](http://irepo.primecp.com/2017/06/334076/PILL-BOTTLE-CRAFTS-Header_Category-CategoryPageDefault_ID-2274135.jpg?v=2274135)