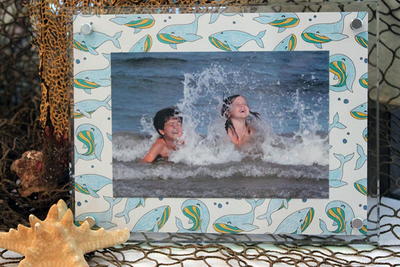
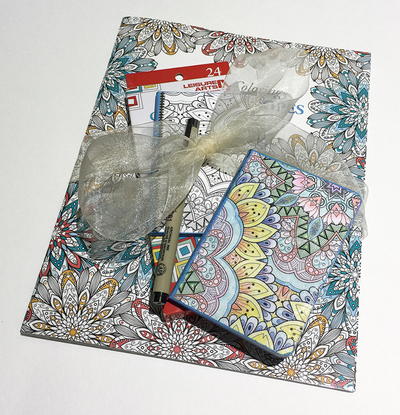
Seaside Memories Coloring Page Frame

From the Designer: "Not just for kids, coloring with pencils, markers and crayons has become a soothing pastime and a great stress reliever for all ages. Finished pages are beautiful to look at, but with so many themes and patterns to choose from, your colored pages can add a personal touch when used as a mat for framed photos and more!"
Time to CompleteIn an evening
Primary TechniqueColoring

Project TypeMake a Project
Materials List
- Tape Runner
- 5"x7" Superior Image Frame
- Coloring Book
- Colored Pencils
- Gelly Roll Markers
- Micron Pigma Pen
- Paper Trimmer
- Hole Punch 1/4"
Instructions
-
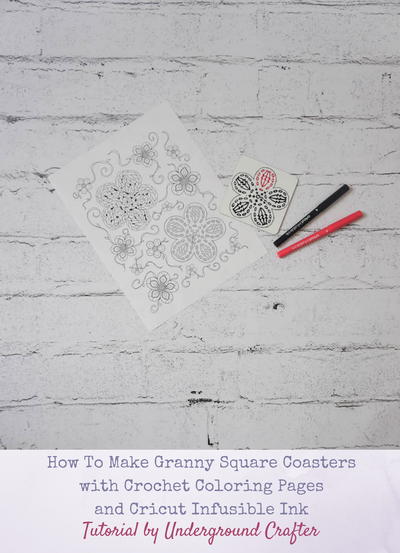
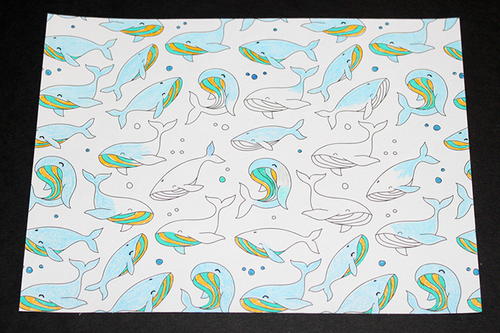
Select a page from a coloring book that complements your photo. There is a wide variety of themes to choose from. Carefully remove the page from the coloring book along the perforation, then trim to 5"x7". Trim along the perforated edge to remove hanging "chads" and create a clean cut.
-
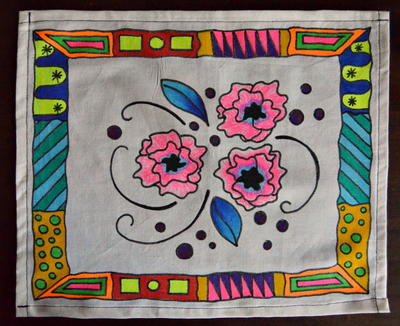
Select the colors of pencils and/or markers then color the images in the area around where the photograph will be placed. I used a blue colored pencil for the large areas and Gelly Roll markers for smaller areas. Practice on an image that will be hidden by the photograph to help you decide which colors to use. Use the black micron pen to go over any small details that have been covered by the colored pencil.
-
Separate the 2 pieces of the frame by unscrewing the posts at each corner then lay one piece on top of the back of your colored paper. Mark where the holes are at each corner of the frame then punch a hole over the mark. The holes will accommodate the post when the frame is assembled.
-
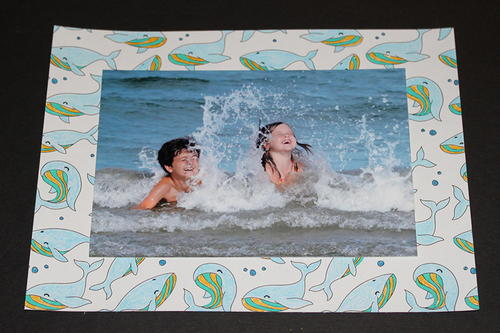
Adhere the photo to the center of the colored paper then place between the two pieces of the frame. Secure at each corner with the posts and screws. NOTE: Place the long posts at the bottom of the frame, the short ones at the top.
-
TIPS for Coloring with Pencils: 1. Make sure you have a pencil sharpener to keep the tip of the colored pencils sharp and lengthen the life of your pencils. 2. Use a light touch to start with and color with the side of the pencil point. Add more pressure to make the color darker if desired.


Read NextColor ME Mini Composition Journals