Winter Snowman Note Cards Tutorial
On the hunt for snowman Christmas card ideas? If so, you won't want to miss this sweet card tutorial.

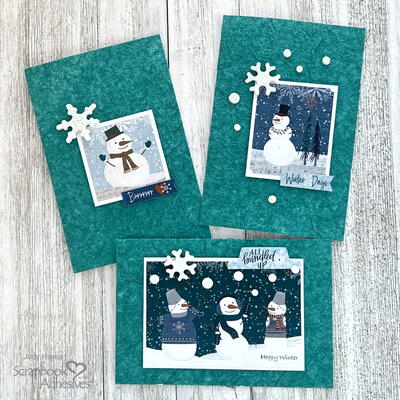
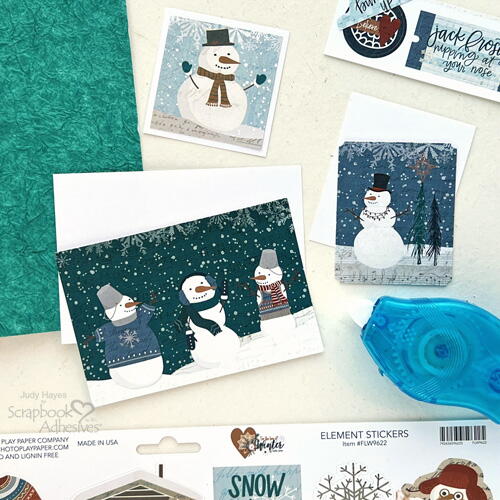
Sweet snowman-themed pattern papers, stickers, and ephemera inspired this creation of a wonderful Winter Snowman Note Card Set.
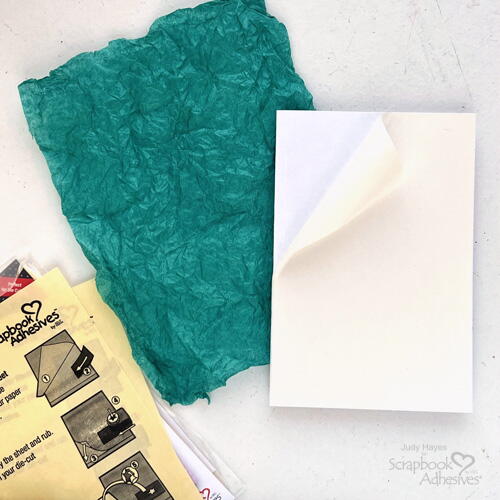
Judy Hayes uses a super easy technique for the backgrounds with a combination of crumpled tissue paper and Adhesive Sheets 4×6 inch. She saved this pretty tissue from a package that was crumpled so it’s perfect for these cards.
Once you follow this Winter Snowman Note Cards Tutorial, you will surely be hooked. Make these to send for seasonal greetings, thank yous, holiday party invites, and more!
PLUS: it's Christmas in July here at FaveCrafts! Enter to win the Scrapbook Adhesives Project Bundle Giveaway as part of our Christmas in July celebration! AND be sure to enter our GRAND PRIZE Sleigh of Prizes Giveaway!
Estimated Cost$11-$20
Time to CompleteIn an evening
Main MaterialPaper
Project or Page SizeCard
Type of Paper UsedCardstock

SeasonWinter
HolidayChristmas, Winter
Project TypeMake a Project
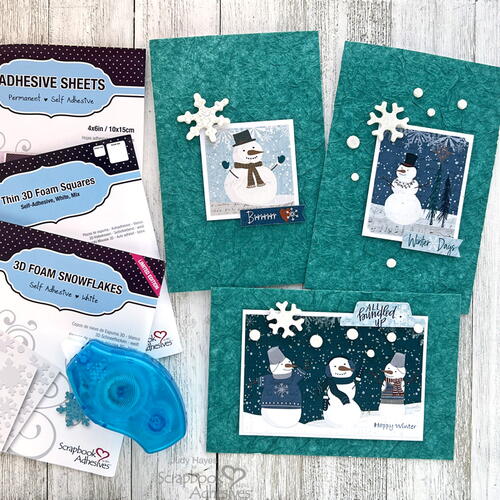
Materials List
- Scrapbook Adhesives by 3L® Adhesive Sheets 4×6 inch
- Scrapbook Adhesives by 3L® E-Z Runner® Petite Permanent Dots Refillable Dispenser
- Scrapbook Adhesives by 3L® Thin 3D Foam Squares White Mix
- Scrapbook Adhesives by 3L® 3D Foam Snowflakes
- Photo Play Paper (For the Love of Winter Collection Pack and Cardstock Ephemera pack), Teal
- Tissue Paper
- White Cardstock
Winter Snowman Note Cards Tutorial:
Creating the Card Base and Card Front
-
Cut a piece of 6 x 8-inch white cardstock and fold for a 4 x 6-inch card base. Repeat to make a total of three cards.
-
Peel the liner strip from the edge of one Adhesive Sheets 4×6 inch. Align the edge along the fold of the card and press in place. Curl back the Adhesive Sheet, remove the remaining liner, and smooth in place across the card front. Repeat for each card.
-
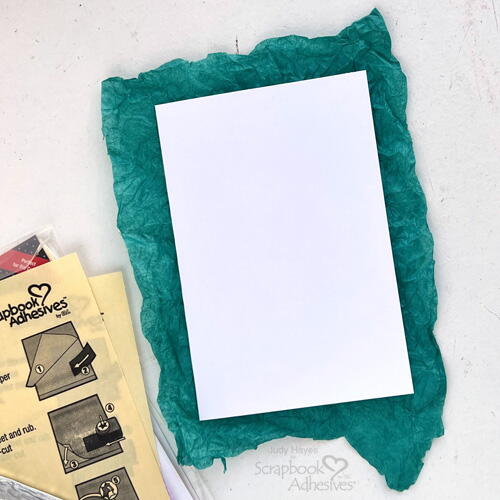
If Adhesive Sheets 4×6 inch doesn’t entirely cover the card, trim the card edges. Cut a piece of tissue paper about 5 x 7 inches and crumple several times.
-
Slightly smooth out the tissue so it lays flat on the work surface but make sure it still has wrinkles.
-
Place card front with adhesive face down on tissue and press to secure. Then flip it to the front side up and press the tissue paper firmly in place.
-
Use scissors to cut away excess tissue paper at the card fold edge and a paper trimmer or scissors to trim tissue on other edges. Repeat for each card.

Assemble Snowmen Pieces
-
Cut a white cardstock mat for each snowman piece and adhere them together using E-Z Runner® Petite Permanent Dots Refillable Dispenser. Repeat for all the snowmen pieces.
-
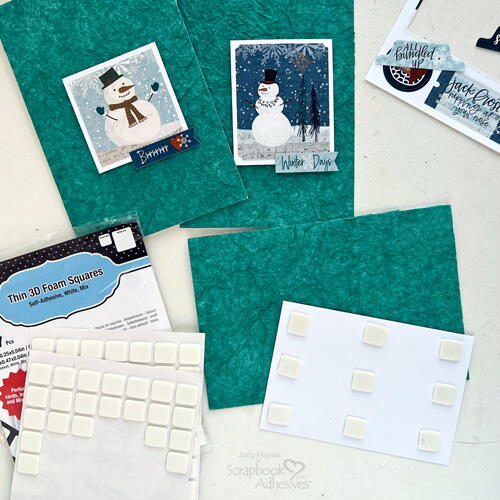
Apply Thin 3D Foam Squares White Mix to the back of each snowman piece and attach one to each card front.
-
Place the word sticker to the snowman piece as shown in the photo. If needed, use Thin 3D Foam Squares White Mix under edges that extend beyond snowmen prints.
-
Use E-Z Runner® Petite Permanent Dots Refillable Dispenser to apply adhesive to the cardstock ephemera pieces and secure them in place.
Add Snowflakes
-
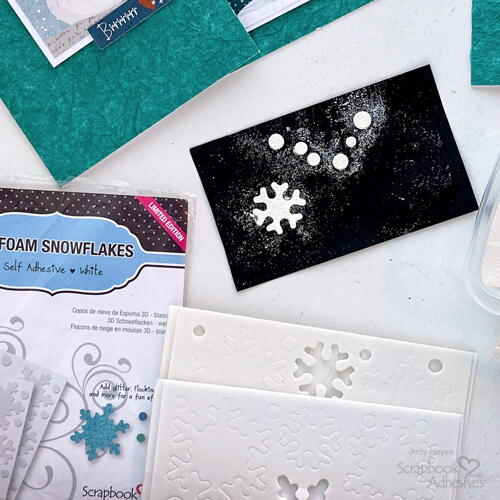
Peel off the small snowflakes and dots from the 3D Foam Snowflakes sheet and place them on a non-stick craft sheet. Remove the top liners, cover the snowflake with white embossing powder, remove excess and heat emboss with a heat tool. Repeat for all snowflakes and dots.
-
Remove the embellished snowflake and dots from the non-stick craft sheet and secure them to each card. If needed, use Thin 3D Foam Squares White Mix under snowflakes to make them more dimensional.
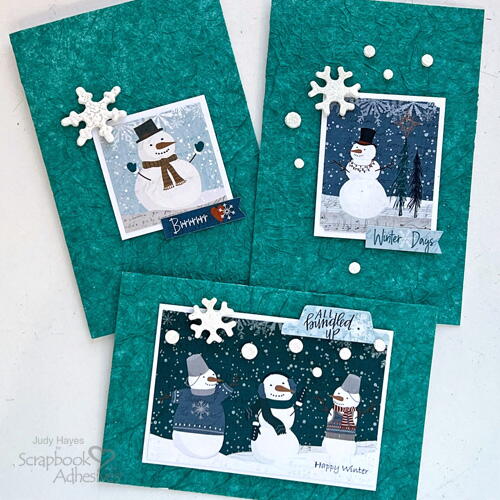
Now to send them as a winter greeting to friends!
Thanks for visiting!
Judy Hayes
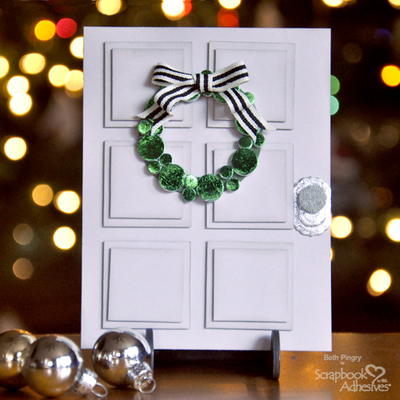
Read NextChristmas Door DIY Greeting Card