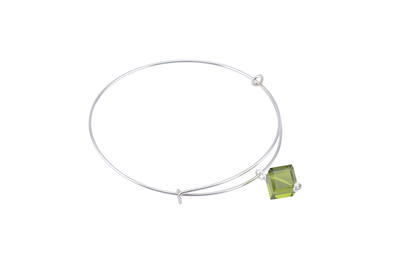
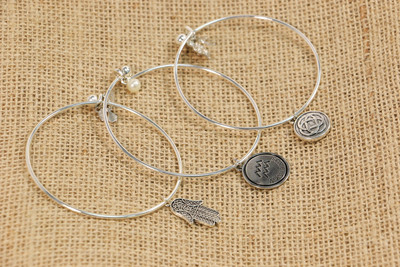
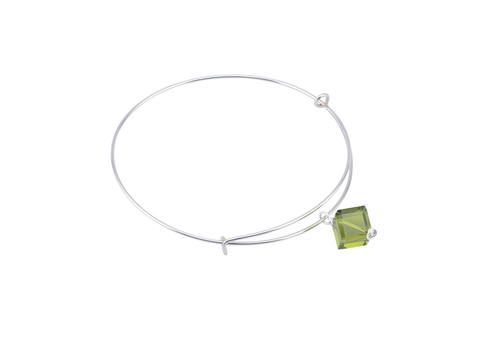
DIY Adjustable Bangle Bracelet

Crafters who are wild about wire jewelry patterns and adding some style to their accessorizing are going to love this jewelry-making tutorial. This gorgeous free beaded bracelet pattern shows you how to make a bangle bracelet that is adorned with one pendant or bead. This minimalist design allows you to display a pendant in a simply stunning way, allowing its beauty to shine through. Follow the step-by-step below to learn how to make a bracelet in just 20 steps. Don’t worry if you are brand new to jewelry-making, this beginner jewelry making tutorial shows you exactly how to create this masterpiece from wrapping the wire to attaching the pendant.
Time to CompleteUnder an hour
Bead Technique UsedChainmail/Wirework
Bead Project TypeBracelet

Materials List
- 3D Bracelet Jig
- Artistic Wire
- Battery Operated Reamer
- Bent Chain Nose Pliers
- Charm or Dangle

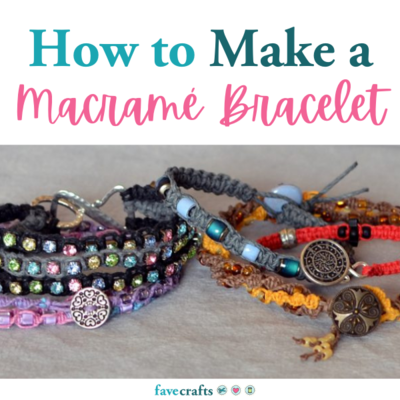
Check out even more pretty DIY crafts in13 DIY Home Decor Ideas, Paper Crafts, and More
How to Make a Bangle DIY Bracelet
-
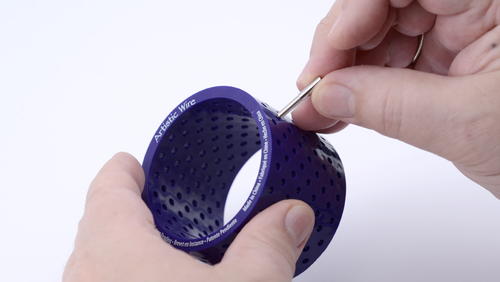
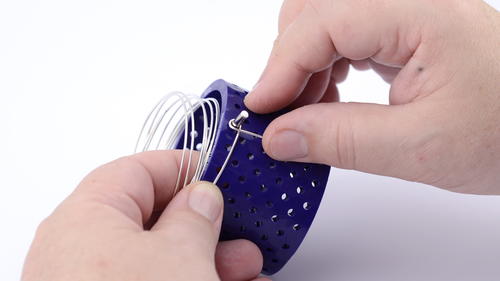
Insert one pin into one of the holes on the edge of the 3D Bracelet Jig.
-
Push the peg all the way into the Jig.
-
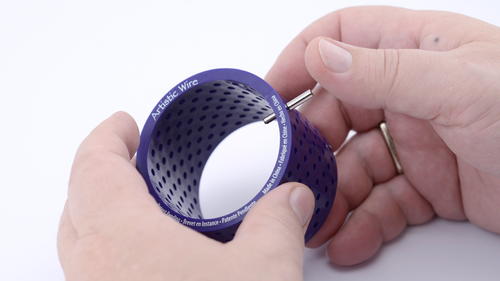
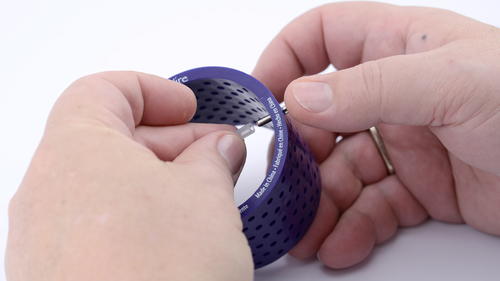
Carefully push one of the holder tubes onto the portion of the pin on the inside of the Jig.
-
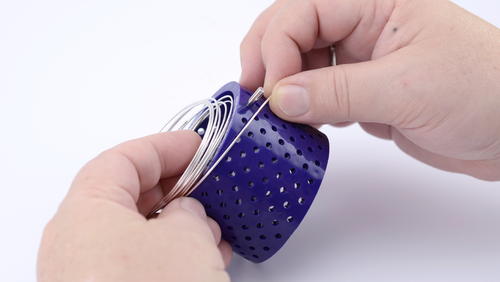
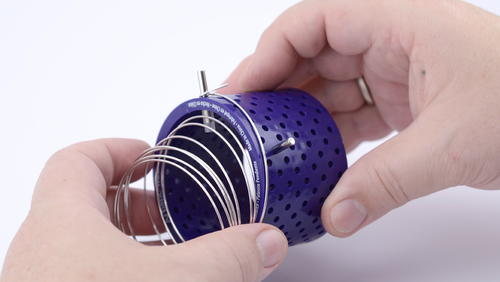
Wrap the 16Ga Artistic Wire with the curve of the wire matching that of the 3D bracelet Jig.
-
Wrap the end of the wire around the peg using as little wire as possible to make the loop, make sure the wire is wrapped as shown.
-
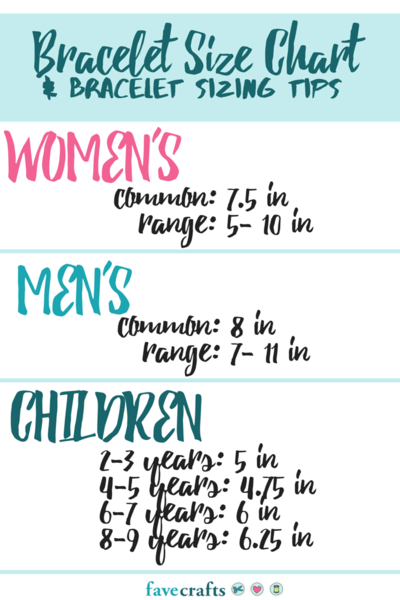
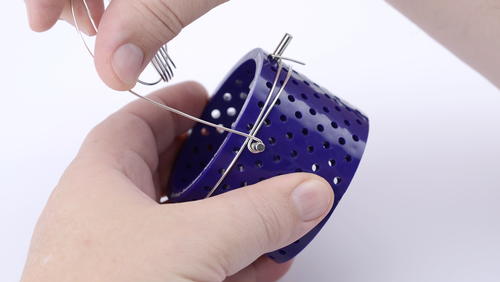
Insert a second peg one row of holes to the right of the first pin and cound toward you.
- 3 holes for a small bracelet,
- 4 for medium,
- 5 for large and more for larger wrists.
Make sure to attach the plastic holder on the inside. -
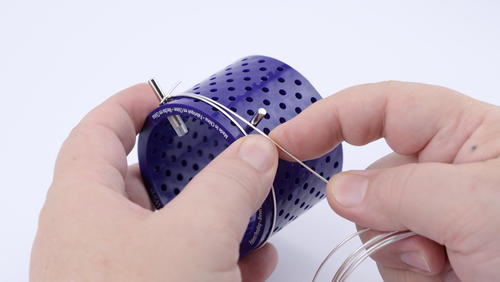
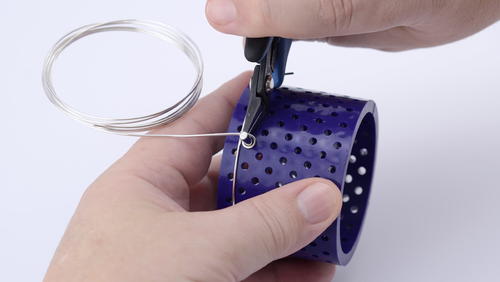
Pull the wire all the way around the circumference of the 3D Bracelet jig and rest it next to the last peg inserted.
-
Pull the wire with your dominant hand and twist the jig clockwise with your other hand to form the loop. Forming oops on jigs is much easier when you use your index finger to guide the wire around the loop for a tight wrap. Make the jig do the wrapping instead of attempting to wrap with your hand around the small pegs.
-
Use the Flush Cutter to cut 1/4 of the loop off, make certain that the flush part of the cutter is facing the part of the loop that will stay on the bracelet.
-
This drawing is a correctly cut 3/4 loop. Only cut 1/4 of the loop. Repeat this cut on the opposite side.This drawing is a correctly cut 3/4 loop. Only cut 1/4 of the loop. Repeat this cut on the opposite side.
-
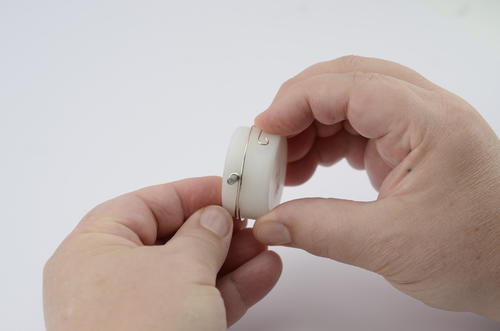
Remove the pin holding one of the ends of the bracelet. The Bracelet should spring off of the 3D Bangle Bracelet Jig.
-
Attach one of the open rings to the Proper size Bending Accessory and pull the wire around the circumference. 1 5/8” diameter is for Hard Wires. 2” diameter is for soft Wires.
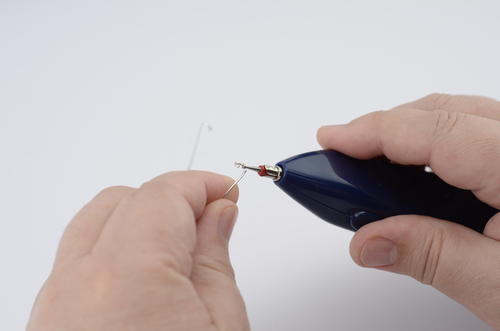
-
Use the 18-16Ga Wire Rounder tip in the Battery Operated Reamer to smooth the end of the cut wire. Make sure not to scratch the wire with the collet of the reamer when rounding the wire.
-
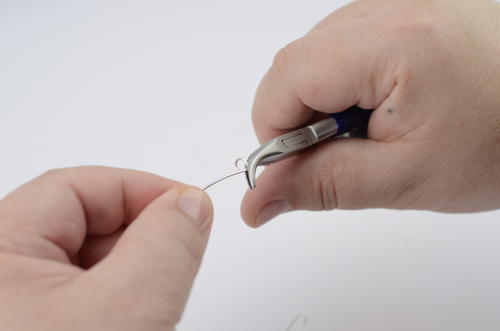
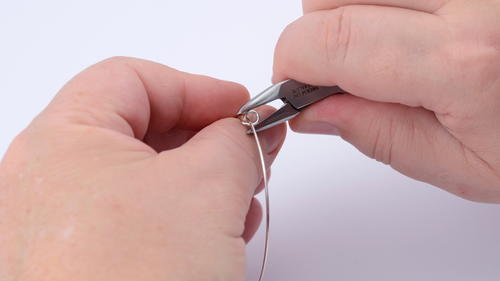
Grasp one of the loops with the bent portion of the Bent Chain Nose Pliers.
-
Grasp the right angle bend as shown.
-
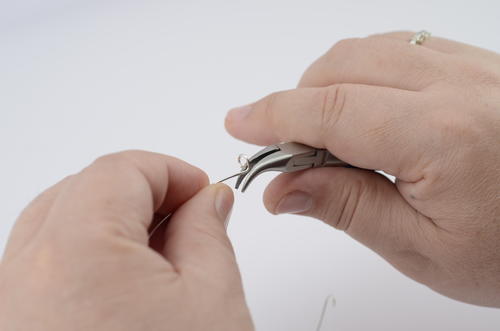
Twist the opening away from you about 1/4 turn. Do the same for the other side of the loop.
-
A correctly bent end. Be careful not to change the angle of the wire. Repeat steps 12-16 on the other loop.
-
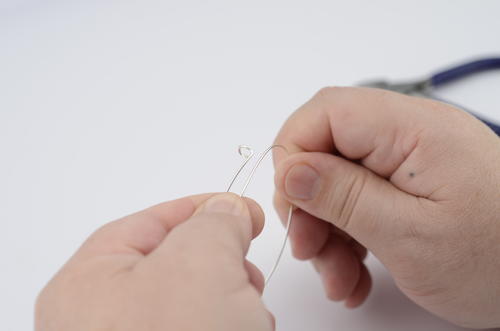
Slip one of the loops onto the wire as shown.
-
Carefully close the loop.
-
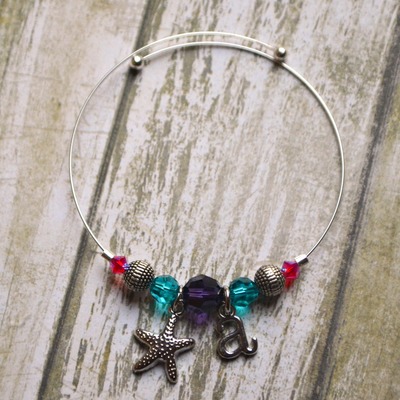
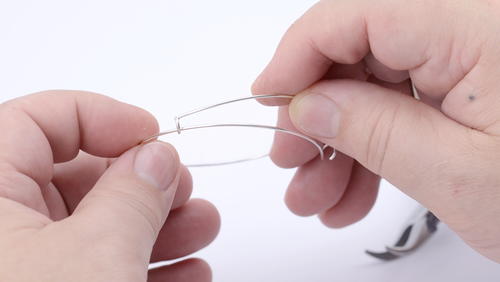
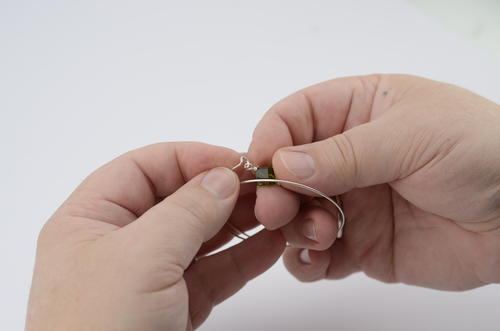
Slip the charm or other dangle onto the open end.
-
Insert the open loop onto the wire. Then close the loop.
The Bracelet is ready to wear.
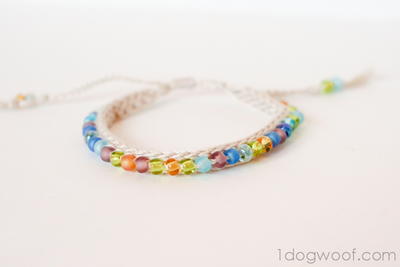
Read Next81 Free Beaded Bracelet Patterns