Back to School Scrapbook Page
Look no further for first day of school scrapbook page ideas. This sweet, scholarly, and scintillating design is just what your September scrapbook needs!

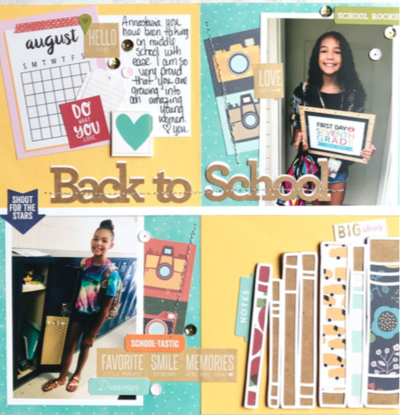
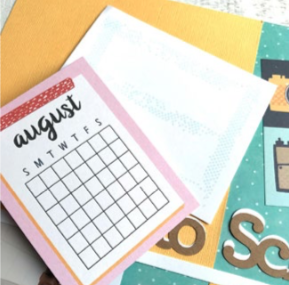
You're ready to kick it with your fabulous new backpack, notebook, and pencil case. All that's missing? A way to preserve your fabulous back-to-school look, of course! Now every first day of school can be made extra special with this DIY back to school scrapbook design by Scrapbook Adhesives by 3L. With bright, scholarly colors and a clean yet quirky design, this free scrapbook layout is everything your budding academic would want in her personal scrapbook. You won't be able to resist the clear die-cut lettering, book-shaped adhesives, or cute calendar on this piece. Make this September stellar with a stunning scrapbook craft.
Time to CompleteUnder an hour
Primary TechniquePaper Crafts
Project or Page Size8.5 inches x 11 inches
Type of Paper UsedScrapbook Paper

Project TypeMake a Project
Materials List
- Scrapbook Adhesives by 3L® E-Z Dots® Permanent Refillable Dispenser
- Scrapbook Adhesives by 3L® 3D Foam Squares White Regular Size
- Scrapbook Adhesives by 3L® Adhesive Dots Small
- Cardstock: Kraft by Park Lane, Bazzill and American Crafts
- Patterned Paper: American Crafts Shimelle Go Now Go Collection
- Stickers and Washi Tape: Jillibean Soup
- Die Cuts: Silhouette Paige Taylor Evans, Sweet Afton
- Sequins and Cardstock Embellishments: Pink Paislee Pick Me Up by Paige Taylor Evans
Instructions
-
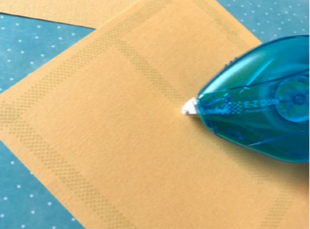
Cut two 6 x 6-inch squares from solid cardstock, and 2 from patterned paper. Adhere in opposites corners of the page using the E-Z Dots® Permanent Refillable Dispenser.
-
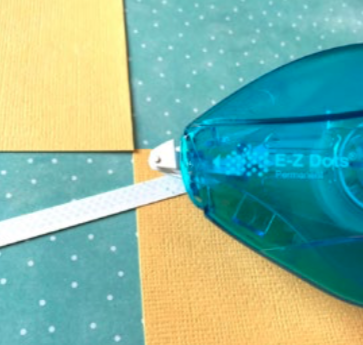
Trim a piece of white cardstock to 1⁄4 x 12-inch and adhere this horizontally across the center with E-Z Dots® Permanent Refillable Dispenser, to cover the seam created by the cardstock squares.
-
Add photos, trim or tuck 4 x 6-inch photos so they fit the 6 x 6-inch squares.
-
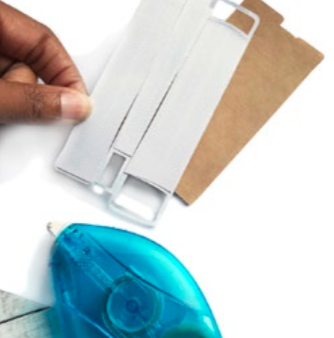
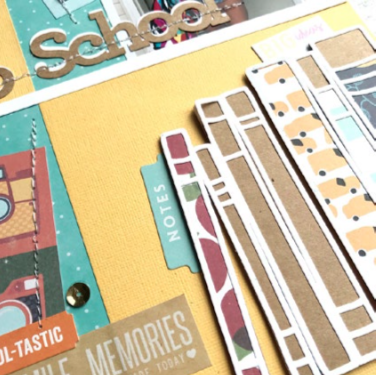
Using a book die, die-cut with white and kraft cardstock.
-
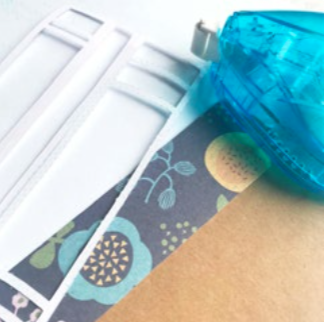
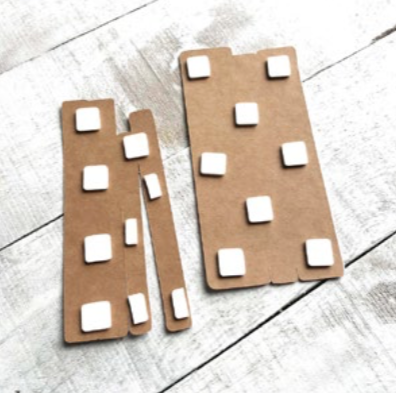
Cover the back side of the die cuts with E-Z Dots® Permanent Refillable Dispenser. Fill each ‘book’ with patterned paper or solid cardstock. Layer this with the kraft die cut to keep all pieces secure. Use 3D Foam Squares adhere the books die cuts to the bottom right corner of the layout.
-
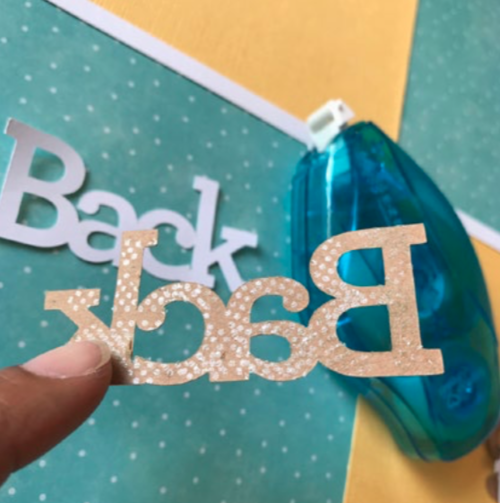
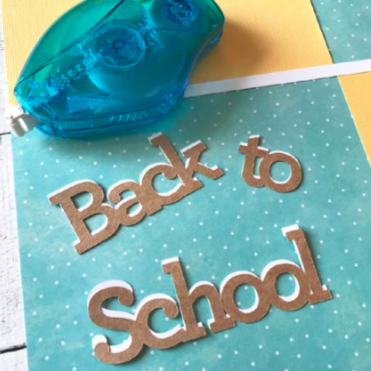
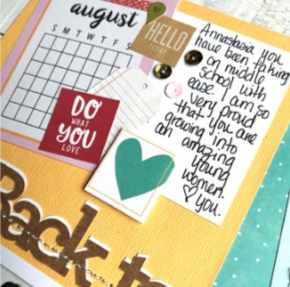
Die cut the title “back to school” with white and kraft cardstock, and layer them staggered to make a shadow effect, using E-Z Dots® Permanent Refillable Dispenser.
-
Add stickers, sequins, and journaling to finish the layout. Use 3D Foam Squares White Regular Size to add dimension to otherwise flat items. Use Adhesive Dots Small for sequins and tiny embellishments.
-
Optional: Machine stitch or hand stitch a few lines around the page to add some texture.
What's your favorite back-to-school memory? Let us know below in the comments!
Read NextApple Mason Jar Crafts