Owl Always Love You DIY Valentine Card
Make your own owl valentines using materials you probably already have in your craft room!

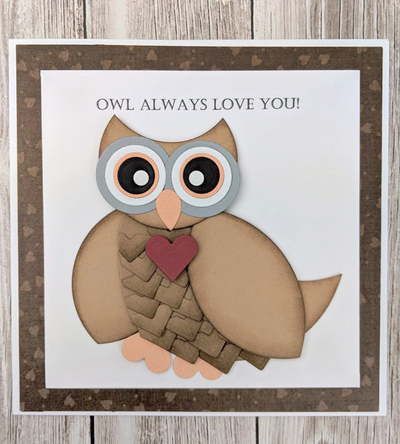
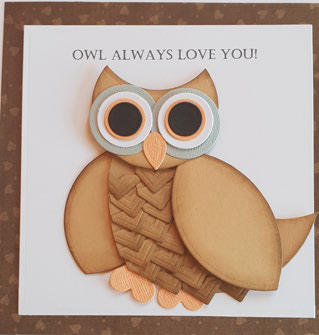
Tell someone "owl always love you!" with this adorable card from Scrapbook Adhesives by 3L. Use photo corners to craft the adorable fluffy bird! If you're an avid paper crafter, you'll love this unique use for a classic craft supply: photo corners. Other die cut shapes that come standard in many sets are perfect for creating your owl. He's easy to assemble. Coordinating card stock and a darling stamped sentiment complete this card. This is a sweet project to give your significant other, your child, or any other valentine in your life! Learn some fabulous paper crafting techniques and make this DIY valentine card today.
Time to CompleteUnder an hour
Primary TechniquePaper Crafts
Project or Page SizeCard
Type of Paper UsedCardstock

HolidayValentines Day
Project TypeMake a Project
Materials List
- Scrapbook Adhesives by 3L®: E-Z Runner®
- Grand Refillable Dispenser
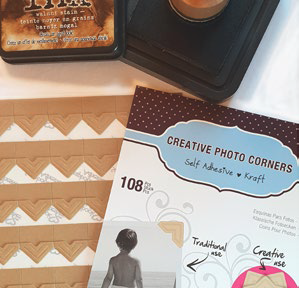
- Creative Photo Corners Kraft
- 3D Foam Squares White Regular Size
- Patterned Paper: Jillibean Soup
- Dies: Spellbinders Classic Circles SM, Classic Circles LG, Classic Hearts, 6 x 6 Matting Basics
- Ink: Ranger Ink Distress Ink Walnut Stain
- Cardstock: White, Black, Peach, Grey, Kraft, Red
Instructions
From the designer: Whooo doesn’t love owls? This adorable owl features layers of Creative Photo Corners as the owl’s feathers! Simple shapes make it easy to cut and create this handsome Valentine.
-
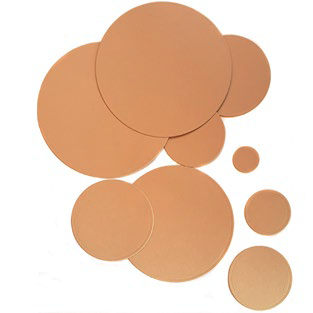
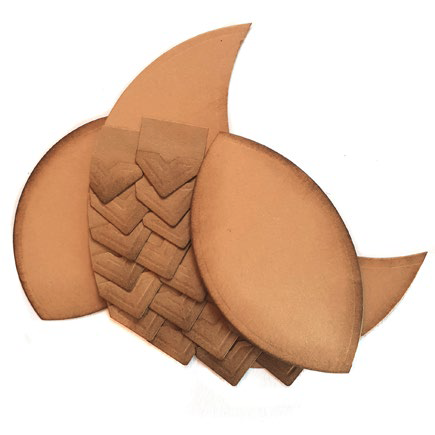
Cut multiple circles with dies from kraft cardstock.
-
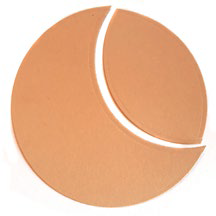
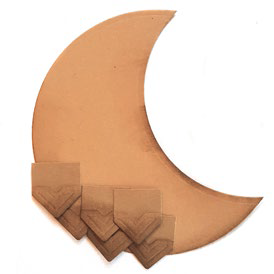
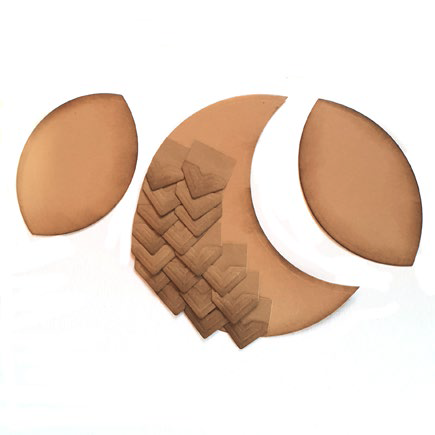
Select the largest circle die and use it to cut and create a moon shape and oval. This will be the owl’s body and wing.
-
Ink the edges of the Creative Photo Corners Kraft.
-
Starting at the bottom of the moon shape, apply Creative Photo Corners Kraft, building the design upwards.
-
Continue to work up the left-hand side of the moon shape and trim the Creative Photo Corners Kraft at the curved edge if necessary. Cut a second oval to use as the other wing. Ink the edges of the ovals.
-
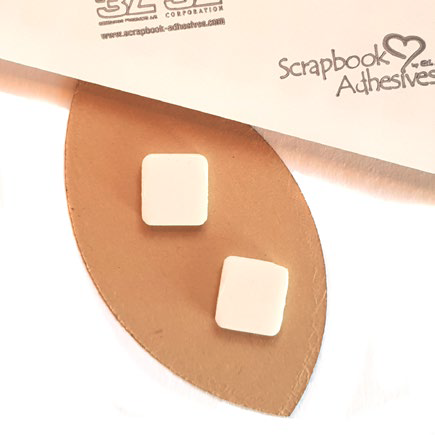
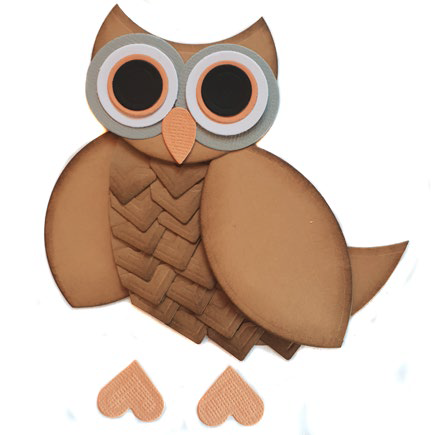
Attach one wing to the right-hand side with 3D Foam Squares White Regular Size.
-
Attach the second wing behind the body with 3D Foam Squares White Regular Size.
-
Create the owl’s head similarly by cutting a section out of a circle. Cut more circles from black, peach, grey, and white cardstock to create the eyes. Cut peach cardstock with a leaf shape for the nose and a heart shape for the feet. Adhere these using the E-Z Runner® Grand Refillable Dispenser.
-
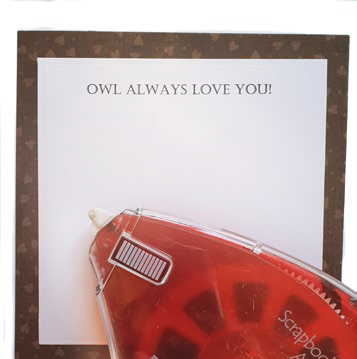
Create the card base from white cardstock and mat patterned paper with the E-Z Runner® Grand Refillable Dispenser. Print or stamp a sentiment on white cardstock and adhere to the patterned paper.
-
To finish, attach the owl to card front with E-Z Runner® Grand Refillable Dispenser and add a small red die cut heart to the Owl’s chest with 3D Foam Squares White Regular Size.
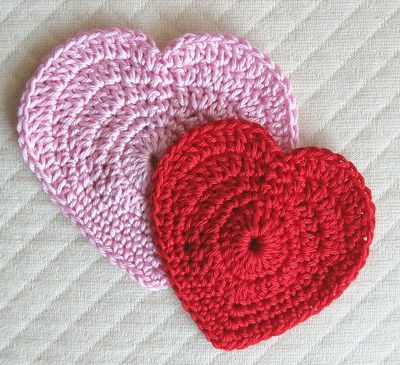
Read NextPink and Red Crochet Hearts Pattern