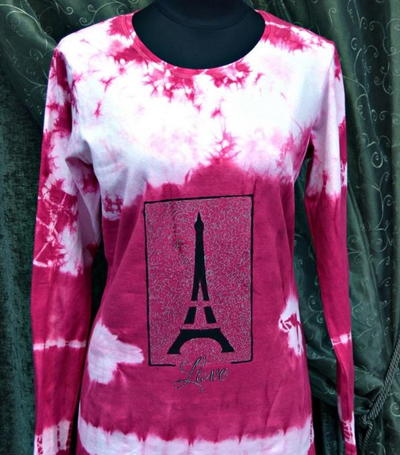
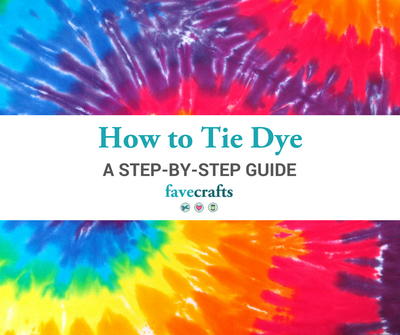
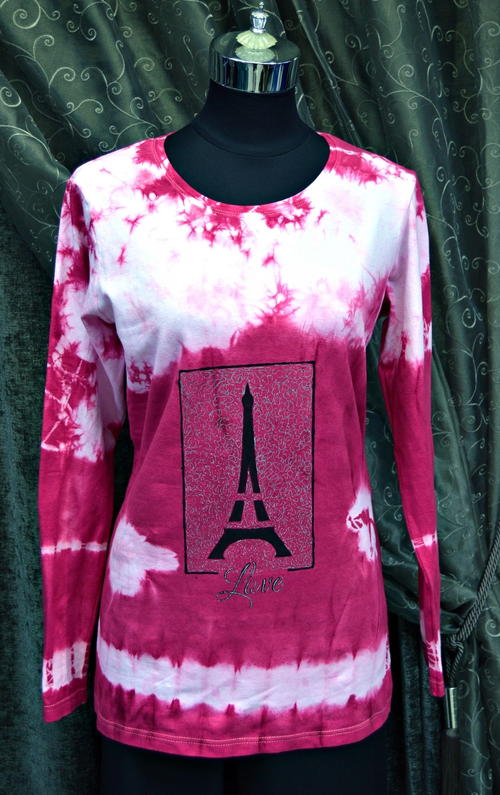
Paris Love Tie-Dye Shirt
Learn how to tie-dye a shirt with inspiration from the City of Lights.

Gather your inspiration from the City of Love and learn how to tie-dye a boring white t-shirt so that it becomes a wearable work of art. Your friends will be asking where you got this beautiful Paris Love Tie-Dye Shirt!
The striking pink dye used for this tie-dye project catches the eye and gives off that romantic feeling Paris is known for. Others are sure to notice you in this gorgeous bright shirt, and for good reason.
Not only is this craft an easy way to learn how to tie-dye a shirt, but it also makes a great wearable canvas for you to represent your favorite city with the lovely Eiffel Tower stencil. This is definitely a project for any lady who wants an outfit that will make her stand out from the crowd. Being bold is beautiful (just like this craft).
Estimated Cost$11-$20
Time to CompleteWeekend project
Primary TechniqueDIY Craft

Project TypeMake a Project
Materials List
- White ladies crew neck long sleeve t-shirt
- Tingecor Guarany marvelous pink fabric dye powder
- Black fabric paint
- Pilot silver marker pen
- 7.6” high stencil of the Eiffel Tower
- 3” wide stencil of the word Love in ornate writing
- A4-sized cardstock
- String
- Crochet thread
- One cup of salt
- Pair of rubber gloves
- Standard scissors
- Stainless steel pot
- Paintbrush
Instructions
Wash the Shirt
-
Wash the t-shirt and rinse it thoroughly in cold water to remove any sizing agent from the material.
Note: Do not add fabric softener when rinsing the shirt. -
Allow the shirt to dry thoroughly and iron it lightly to remove any wrinkles from the material.
Prepare the Shirt
-
Lay the shirt out flat on a surface.
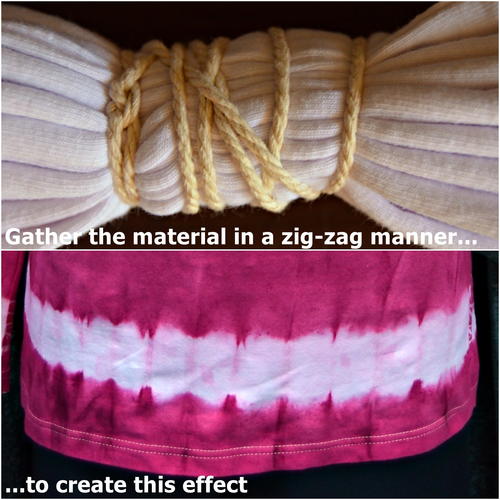
Gather the bottom of the shirt in a zig-zag manner and tie a string - also in a zig-zag manner - around the gathered material.
Repeat the same pattern at the bottom of each sleeve. -
Repeat step a in the middle of each sleeve, but use the crochet thread instead of the string to create a more delicate pattern.
-
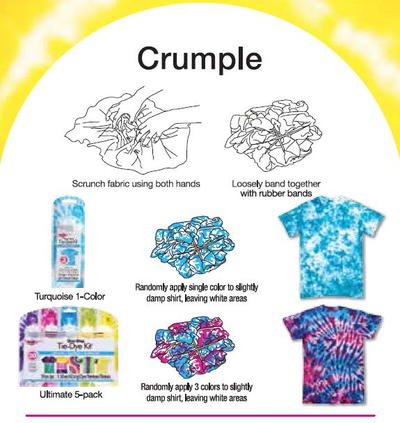
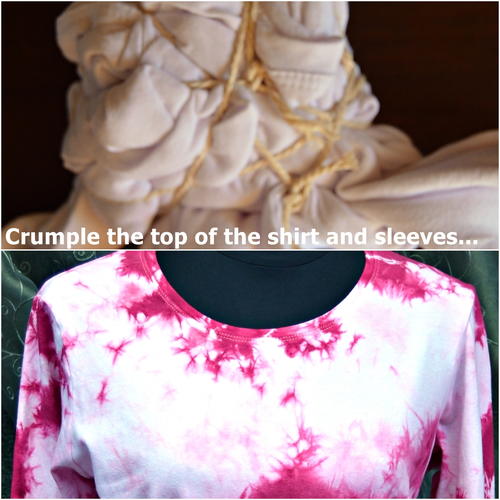
Crumple the shirt from breast height upward, as well as the top of the sleeves and tie it with a few strings to keep it in place.
-
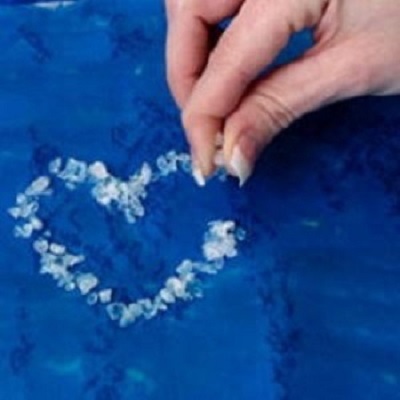
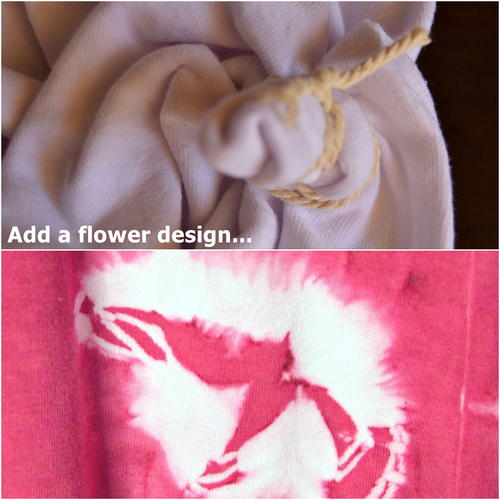
Add a tie-dye flower to each side of the shirt.
To create a flower, pinch a section of the shirt between your fingers.
Poke it up and twist the fabric in a circular manner.
Tightly wrap string around the poked-up section so that about 1.4” of shirt is gathered above the string. -
Now you are ready to make your DIY tie-dye shirt!
Prepare the Dye
-
Dissolve the pink dye powder and a cup of salt in a liter of boiling water.
Note: You can also make your own natural dye for this tie-dye project. -
Once the powder and salt have dissolved, add more water to the pot. The pot should have enough water to completely cover the shirt.
-
Bring the colored water to a boil.
Tie-Dye the Shirt
-
Wet the shirt in cold water, and then add it to the pot with the boiling dye solution.
-
Keep the pot boiling on the stove for 30 minutes. Stir the pot regularly to make sure that the shirt gets dyed on all sides.
-
Take the shirt out of the pot and rinse it in your sink with cold water to remove any excess dye. Keep rinsing until the water is clean and then gently cut off the strings.
Note: Wear rubber gloves when doing this step. -
Hang the shirt in a shady area or toss it into the tumble dryer. Read more about how to set tie-dye in fabric.
Add the Stenciled Design
-
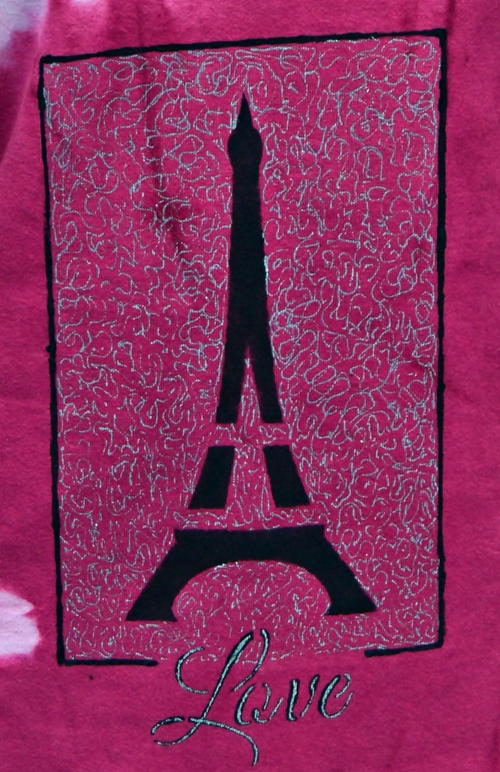
Put the t-shirt flat on the working surface. Slide the piece of cardstock inside the shirt between the front and back sides (this will prevent the ink from staining the back). Keep this cardstock in place until you have finished the design and it has dried for 24 hours.
-
Position the stencil on the shirt.
Note: Use Sellotape to keep the stencil in place while painting and make sure that the tower is upright. -
Use the black fabric paint and the paintbrush to add the stencil design of the Eiffel Tower to the shirt. Carefully lift the stencil when done and allow the design to dry thoroughly.
-
Use the black fabric paint to add a broken frame around the design.
-
Use the Pilot pen to add silver squiggles to the background. Also add silver highlights to the word “Love.”
-
Allow the shirt to dry flat for 24 hours.
Please comment and let us know:
Which would you rather stencil on a shirt: the Eiffel Tower, the Empire State Building, the Taj Mahal, or another famous landmark?
Read NextTie Dye Dollar Store Flowers