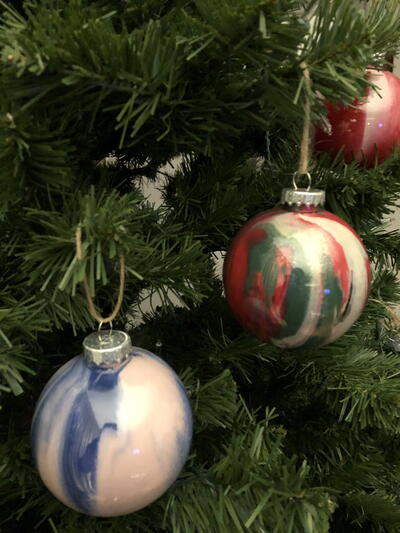
DIY Tie Dye Ball Ornaments

It’s quick and easy to purchase ornaments to decorate your Christmas tree, but it can be just as quick and easy to make your own using some simple items from your local craft store. Once craft stores start stocking their shelves for the holidays one item they have in abundance of are clear ball ornaments. There are numerous ways you can decorate and fill these. You could stencil a design on the outside or if you are a good artist you could freehand something. If your hand isn’t that steady or you don’t have that artist touch you could use acrylic craft paint to create a tie-dye effect by the filling the inside of the balls with the paint.
Since clear ball ornaments are inexpensive and, depending on the brand you purchase, so is the paint, you could create an entire set of ornament balls in the same color scheme that are each unique or pick multiple paint colors that will complement each other to create a really unique set of tie-dye ornament balls.
Materials List
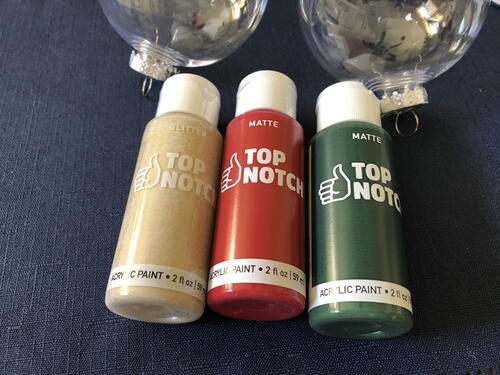
- clear ball ornaments, plastic
- acrylic paint, 2-3 colors
Note
-
I wouldn’t use more than three paint colors per ornament as you don’t want the colors to muddle together and become indistinguishable.
Instructions
-
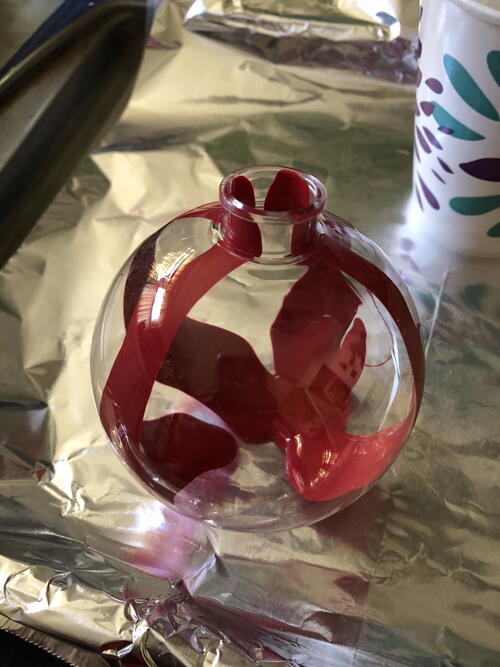
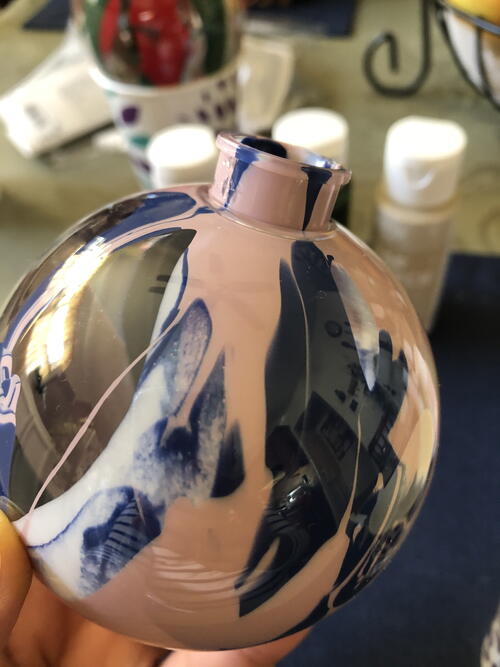
To start, carefully remove the top of the ornament and squeeze the paint directly from the bottle into the ornament. You want to hold the ornaments on an angle while squeezing in the paint so that it drips down the sides of the ornament as opposed to just pooling at the bottom of it.
-
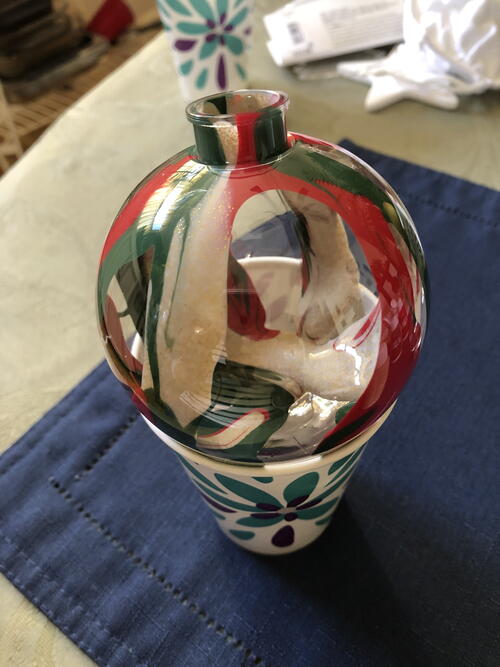
Squeeze your other colors into the ornament. Wait a minute or so so the colors can fully drip down the sides of the ornament. It’s okay for the paint to pool at the bottom after it has coated the sides of the ornament.
-
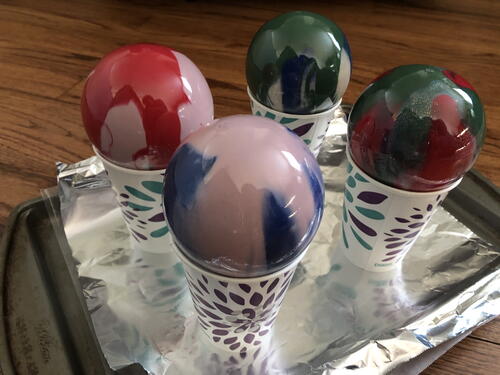
Next, place the ball upside down in a paper cup so the excess paint can drip out and coat sections of the ornament that were not initially covered with the paint. This will enable the paint to dry quicker inside of the ornament and to enhance the tie-dye look of it.
-
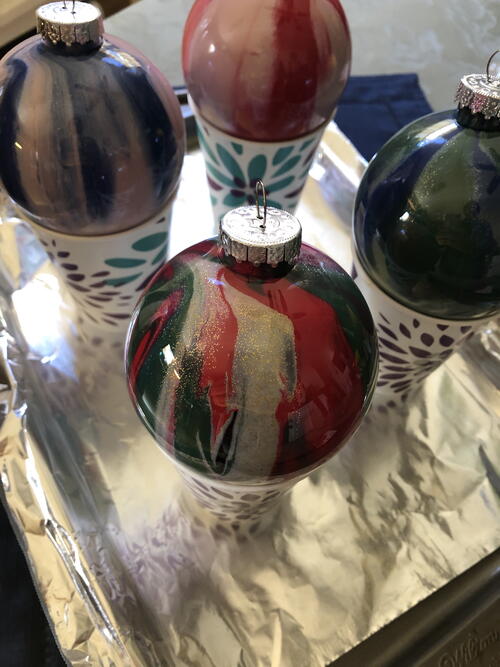
After a few hours all the excess paint should have dripped out and you will be able to replace the top of the ornament and use ribbon, twine or an ornament hook to hang it on your tree or give as a gift.

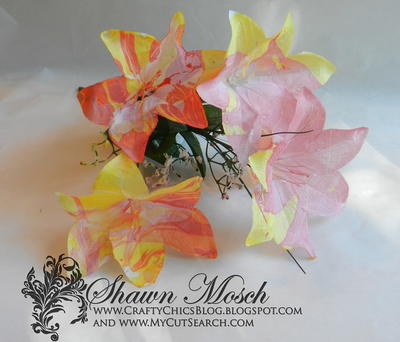
Read NextTie Dye Dollar Store Flowers