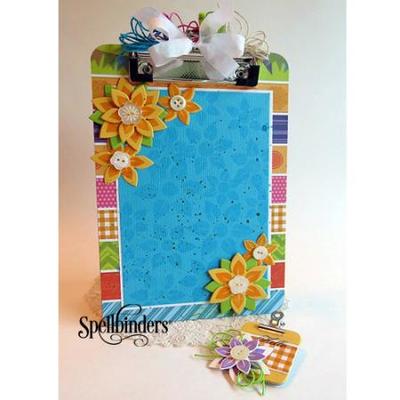
Pretty Spring Box
Celebrate the changing seasons with a Pretty Spring Box from Eileen Hull. This easy spring craft looks great and makes a great gift!
Materials:
- Sizzix Big Shot Machine
- Sizzix ScoreBoards XL Die – Box w/Flap
- Sizzix Little Sizzles Mat Board, White, 6" x 13"
- Papers by Scrappy Cat (Darice)
- Copic markers
- Magnets (BasicGrey)
- Brads
- Double-sided tape
- Stamp ink – turquoise, aqua
- Sponge
- Glue pen
- Fine yellow glitter
Directions:
- Cut box from white matboard using Big Shot machine and Box w/Flap ScoreBoard die. This box may be used to hold ATC’s, playing cards, crayons, gift cards and tons of other small items.
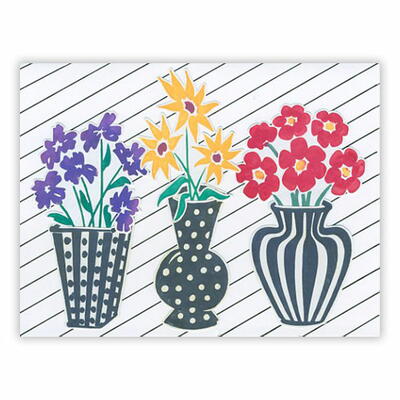
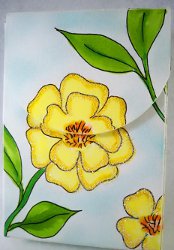
- Sketch out lightly in pencil a basic outline of a flower and leaves. Go over the lines with a fine-tip permanent marker. Draw the central image and then add in leaves and smaller flowers. The flap will cover a good part of the flower, so match the design on the flap to the box. Mine is not perfect, but it works!
- Erase pencil lines and color in the flowers and leaves with Copic markers in shades of greens and yellows. (You could also stamp a flower image with Staz-On or Memento inks pads and color).
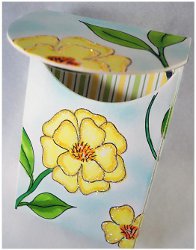
- Line the box with paper. You will need to trim a tiny bit at each fold because the paper will buckle and shift, especially if you are using cardstock. There's too much bulk there for everything to lay flat. Cut off enough paper so that when you glue it back on, there is a little bit of white showing between sections.
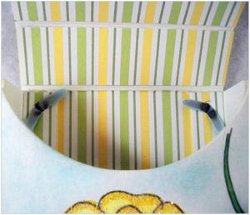
- But BEFORE you put the paper on, adhere the magnet to the box flap. Apply double-sided tape to the wrong side of the flap magnet and to the right side of the other magnet. This will go inside the box and line up with the flap magnet. Adjust the positioning of the magnets until the box closes neatly. Now tape or glue the paper on the box flap.
- After outlining, coloring and blending the flowers and leaves, add a background. Lightly tap on dye-based inks with a sponge and softly color in the background.
- To assemble the box, add doubled-sided tape down the sides of the flap and two brads for decoration.
- Thought I was done but could not resist adding a line of fine glitter around the edges of the petals just for a little sparkle.
- I'm not sure yet what I will put in this box, but just looking at it reminds me that spring and the new life it brings is just around the corner!
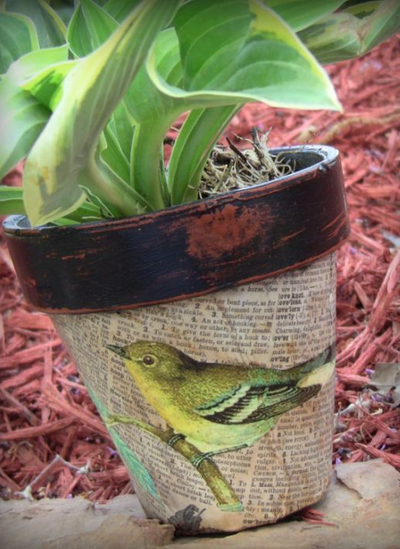
Read NextDecoupaged Clay Pot

Thanks for your comment. Don't forget to share!
Report Inappropriate Comment
Are you sure you would like to report this comment? It will be flagged for our moderators to take action.
Thank you for taking the time to improve the content on our site.