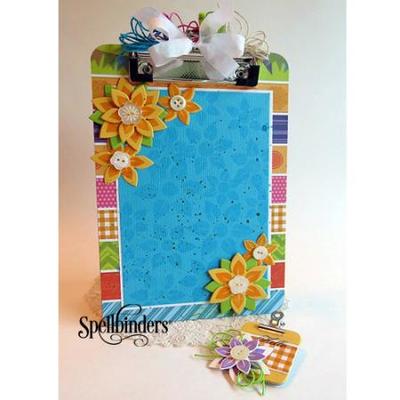
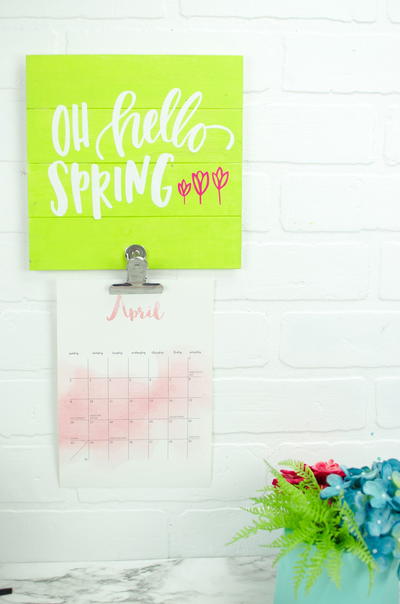
Spring Flowers Clipboard DIY Paper Craft

If you're looking for fabulous paper craft ideas that scream spring, look no further than this bright and cheery project. Make your own Spring Flowers Clipboard DIY Paper Craft and display it in your home or place it on your desk. The bright colors are eye-catching, unique and perfect for the season. Use buttons, bows and ribbon to give this project a three-dimensional look. Consider making DIY paper crafts to display or give as gifts. Everyone will fall in love with clipboard and will want you to make them one, too. You can clip a menu on the board, use it as a guestbook holder or simply give it to a hostess as a thank you.
Estimated CostUnder $10
Time to CompleteIn an evening
Primary TechniquePaper Crafts

SeasonSpring
Project TypeMake a Project
Materials List
- SCSD-008 Just Because
- SCP-016 Celebra’tions™ Prints
- SCP-017 Celebra’tions Assorted Solids (12x12”)
- SCI-002 Sea Spray
- SCI-011 Totally Tangerine
- SCL-001 Cool Caribbean
- SCL 003 Luscious Lime
- SCT-001 Celebra’tions Linen Thread
- GC-001 Spellbinders® Grand Calibur® Die Cutting and Embossing Machine
- White Cardstock
- Paper Trimmer
- Scissors
- Adhesive
- White Ribbon
- White Buttons
- Nail File or Sand Paper
Spring Flowers Clipboard DIY Paper Craft
DIY Clipboard Pattern Instructions
-
Measure out the patterned paper to 6 x 9” to cover the front and back of the clipboard. Carefully cut the top piece out to fit and glue on front and back. Trim the corners and sand around all the edges with a nail file or sandpaper.
-
On a piece of 4¾ x 7” Cool Caribbean cardstock, stamp with all three sizes of the flower image stamps from the Just Because stamp set with Cool Caribbean ink to create a background pattern. Mat with Whirl White cardstock and adhere to front of clipboard.
-
Cut two Flower 1 die, two Flower 2 die and two Flower 3 die (the smallest size die is #1) from the Just Because set with Delightful Daisy cardstock in the Grand Calibur Machine. From the same set, stamp inside each of them with Flower 1 image in Odacious Orange ink. Glue together. Cut two Flower 3 die from Pixie Play cardstock and use them as leaves by adhering on the bottom of two of the largest flower die cuts. Glue buttons in the centers and glue on clipboard.
-
Splatter Cool Carribean and Luscious Lime Silk Luster on the top of the clipboard. Let dry.
-
Tie bows with each of the colors of Celebra’tions Linen Thread and glue to the top. Make a double white bow and glue in front on the top.
-
Add a cute memo pad or custom pen to the ensemble and it’s ready to give.
-
You can also make up a smaller version that can be a pin for the teacher to wear with their name or write welcome. The sample is made with a chipboard scrap with the same papers. Just add an adhesive pin on the back.
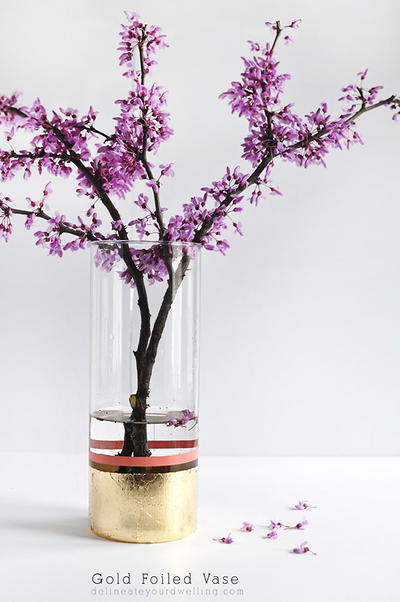
Read NextDIY Gold Foiled Vase