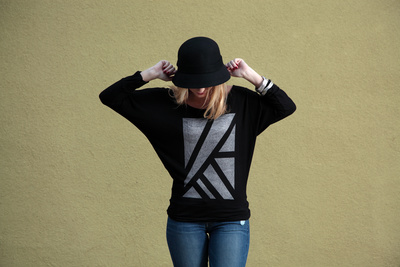
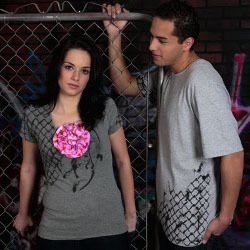
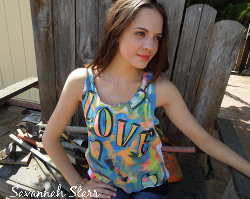
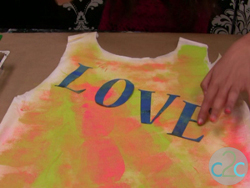
Painted Graffiti Shirt
Turn a boring white top into a piece of art for this t-shirt transformation. Use stencils and fabric paint to create a fun and unexpected design on your Painted Graffiti Shirt from Savannah Starr. This is a great way to upcycle an old shirt that's too big and boxy. Cut it up, add some color and wear it with pride.
Materials:
- T-shirt – style of your choice
- Scissors
- Freezer paper (to insert inside t-shirt) or Tulip Fashion Form
- Tulip Soft Fabric paint – colors of your choice
- Small paint roller and tray
- Tulip Fabric markers – black (or colors of your choice)
- Alphabet stencils – re-positionable
- Cardboard shapes or stencil designs of your choice
Instructions:
-
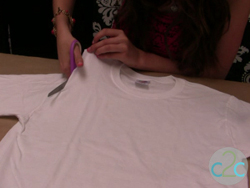
To transform a plain t-shirt into a tank top, cut off sleeves.
-
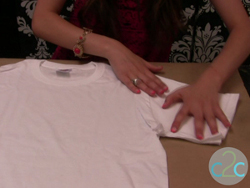
To cut the same size on each side, place cut sleeve over un-cut sleeve to use as pattern guide for cutting.
-
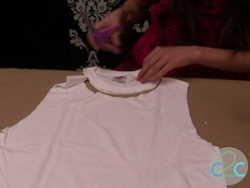
Cut away neckline.
-
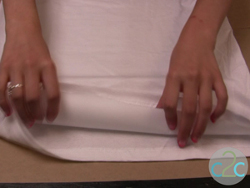
Insert freezer paper inside t-shirt to keep paint from bleeding through to back side.
-
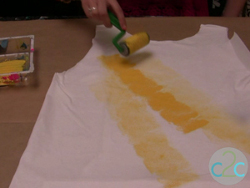
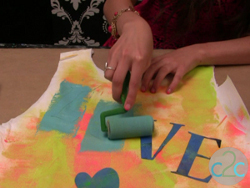
Pour paint into paint tray and pick up paint with roller.

-
Roll paint onto t-shirt. Reapplying paint to roller as desired. (I like to start with my lightest color first.)
-
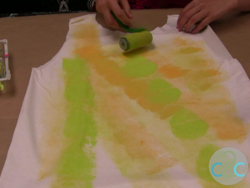
Pour next color of paint into tray, pick up paint with roller and roll onto t-shirt.
-
Continue to apply each color. Don’t over-roll or your colors will start to blend together and lose their vividness. Be sure to paint right up to the sides and top of shoulders.
-
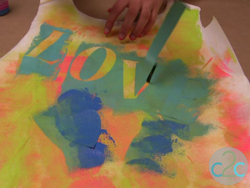
Place re-positionable alphabet letters on t-shirt.
-
You can also cut and place other cardboard and paper stencils onto t-shirt.
-
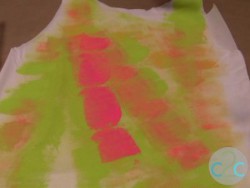
Apply next color of paint over stencils carefully so that the letters do not shift. Repeat process by rolling paint over other designs.
-
While paint is still wet, remove lettering and designs. Let paint dry completely.
-
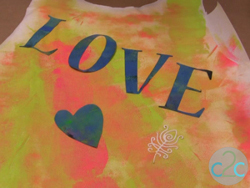
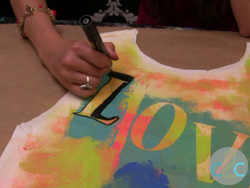
Outline the alphabet letters with fabric marker.
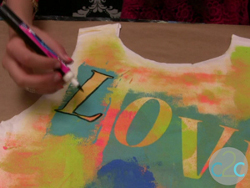
-
Create the look of dimension by broadening the lines along the side and top of each letter.
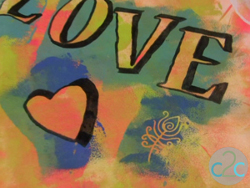
-
When you are finished, you will have designs that look very dimensional. Let dry completely.
For a comprehensive video tutorial, check out Painted Graffiti Shirt.