This project was submitted by one of our readers, just like you.
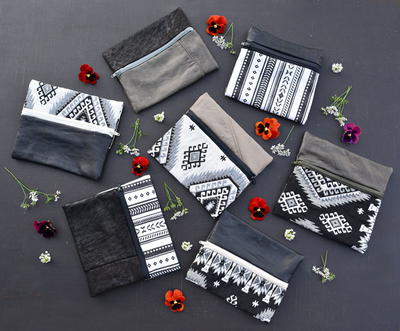
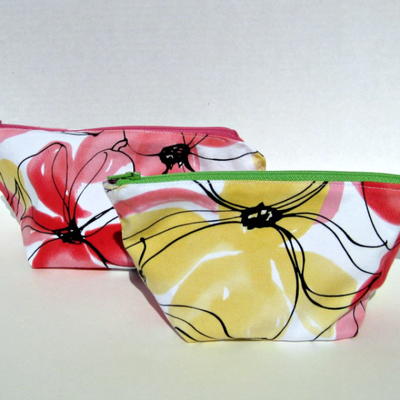
Southwest Noir DIY Pouch
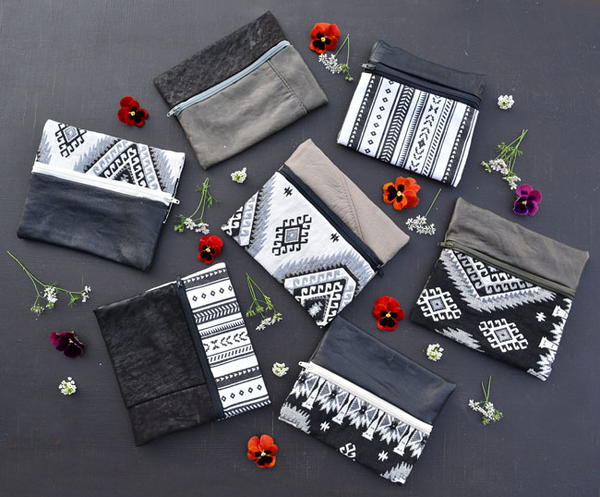
In the Designer's Words: "This zip pouch tutorial shows you step by step how to make your very own zip pouch from a combination of fabric and recycled leather. The contrast of these two materials takes this pouch from everyday to the next level! This pouch cost the price of a zip to make. If you were inclined you could make this zip pouch for $0 just with things you have in your house already, grab some old material, unpick a zip out of an old garment and your away."
Adding free sewing patterns to your arsenal of accessories is a simple way to stand out in the crowd. While store-bought purses might be pretty, learning how to make your own clutch can be just as chic. Sewing projects like this Southwest Noir DIY Pouch allow you to use up scraps of fabric while still creating something you actually want to show off. Grab some patterned fabric in dark and moody colors to make this free purse pattern pop against a colorful ensemble.
Project TypeMake a Project
Time to CompleteIn an evening
Sewn byMachine

Materials List
- Old leather jacket
- Fabric (strong fabric i.e. denim, heavy cotton)
- Zips
- Leather or denim sewing machine needle
- Cotton

Find even more free sewing patterns and tutorials on how to make purses, bags, and more in our free eBook - "How to Make a Purse: 20 Patterns for Sewing Totes, Bags and More" free eBook
Instructions
-
Cut out the pouch pieces Start by cutting out the two pieces of the pouch. One from leather and the other from your chosen fabric. Cut them to whatever size you want your pouch to be just allow 1.5cm for seam allowance all the way around.
-
Sew zip The next step is to sew in the zip. Start by pinning the zip face down to the right side of the fabric. Use a zip that is longer than the material is wide and pin it so it overhangs the material. Doing this will make the zip sit nicely with no gaps. Using your zipper foot sew along this pinned edge. Trim the zip to the same width as your fabric. Now repeat sewing the zip for the leather piece of fabric. Pin the zip face down onto the right side of the leather and sew along this edge.
-
Sew up the pouch With right sides together, pin and sew along the bottom edge of the pouch allowing 1.5cm seam allowance.Now the sides need to be sewn up. This is where things take a different path from a basic zip purse. Rather than sewing up the sides towards the zip, we need to squash the purse flat with the zip in the middle or slightly off centre (depending on the look you want) and sew across and over the zip. Once again allow 1.5cm seam allowance.
-
Finishing touches The final step is to trim the corners, trim loose threads, turn the pouch in the right way and you done!

Read NextFabric Scraps Tote Bag