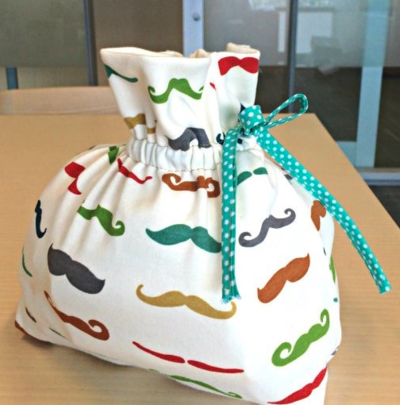
Ruffled Envelope Clutch
Use pre-ruffled fabric to make this adorable (yet functional!) ruffled envelope clutch. These patterns to sew purses, bags, and clutches are stylish and simple...and you'll love how fun this sewn bag is to make. Great for grabbing on the go, this Ruffled Envelope Clutch is perfect for holding all your essentials. This is also a perfect project for using up fabric scraps that you happen to have on hand. Make this clutch for yourself or make one for your bridesmaids or best friends come the holiday season!

Materials:
- 1 Fat Quarter for exterior
- 1 Fat Quarter for lining
- Scrap of Ruffle Fabric
- Snap closure
- Bias tape or ribbon
- interfacing
- Pattern
Instructions:
Cutting
- Cut (1) 2” x 14” rectangle for strap
- Cut (1) 10” x 6” rectangle for purse back Exterior fabric
- Cut (3) 10” x 6” rectangles for Lining
- Cut (1) 2” x 14” piece of interfacing for strap
- Cut (2) 10” x 6” pieces of interfacing for lining
- Cut (1) piece of interfacing for closing flap
Interfacing
- Following the instructions on your interfacing, interface the WRONG side of the fabric for the Strap, (2) rectangle Lining pieces, and (1) closing flap.
Sewing
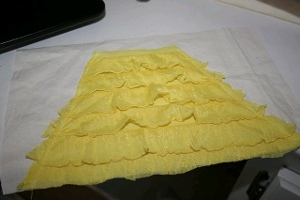
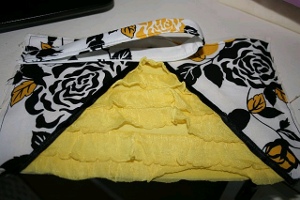
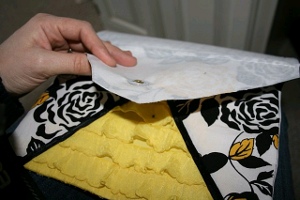
- Taking (1) of the lining rectangles, attach the ruffle fabric to the bottom center lengthwise. Pin & Sew around the edges to secure in place. See Photo:
- Pin bias tape or ribbon around inner raw edge of purse front exterior, enclosing raw edge. Sew. See Photo:
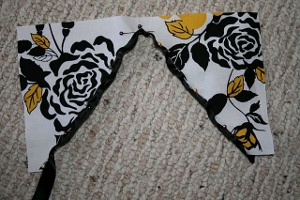
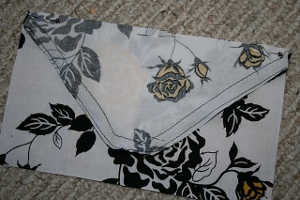
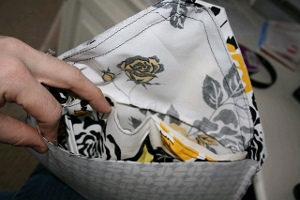
- Lay purse front exterior over the ruffle lining piece and pin around inner ‘V’ edge. See Photo:
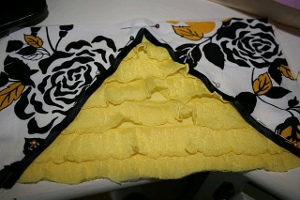
- Sew together, and also baste stitch around entire rectangle to secure piece together. Set aside.
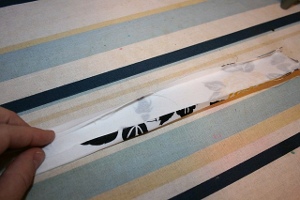
- Taking the purse strap, fold ¼” lengthwise towards the wrong side on each edge and Press. See Photo:
- Fold again in half enclosing raw edges and Press. See Photo:

- Stitch closed.
- Taking strap, fold in half and pin to the upper left or right edge of the front of your purse, matching raw edges. Baste stitch in place. See Photo:
- Set aside for now.
- If you would like the black piping around the closing flap as well, I sew that on now around the outer fabric exterior edge. See Photo:

- Taking the purse back exterior, right side up, place the outer flap closure on top of it, matching the raw edges. Right sides will be together. Pin top straight edge and sew. See Photo:
- Repeat for lining flap closure and (1) of the lining rectangles.
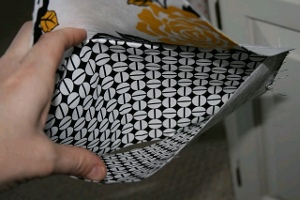
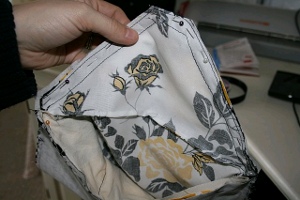
- Flipping flap closure upwards, lay the (2) lining rectangles right sides together and sew around outer 3 edges - leaving a 3” opening in the bottom!!! (as well as the top opened of course). See Photo:
- Take the exterior purse and flip flap closure up like before. Place rectangles right sides together and sew around outer 3 edges, leaving top open.
- On the lining closure flap, approximately 2” down from center, attach 1 side of the magnetic closure as directed on the packaging. See Photo:
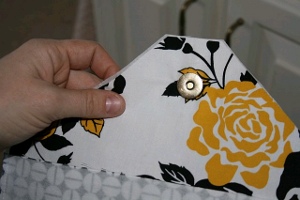
- Laying the lining flap down on the front exterior purse, see where flap will lie and mark center magnetic spot on front of purse. Attach other side of magnetic closure. See Photo:
- With outer purse right side out, and lining wrong side out, slip outer purse inside lining and match up side seams. See Photo:
- Pin around top edges and Sew. See Photo:
- Pull purse through 3” opening on the bottom of the lining and whipstitch 3” opening closed.
- Stuff lining inside of purse and Press. Voila!
Read Next5 Minute DIY Toiletry Bag
Your Recently Viewed Projects


Thanks for your comment. Don't forget to share!
peghy 5090505
May 19, 2013
Very cute project - instructions seem very clear and it is something I want to try to make. Thanks!!
Janquito
May 13, 2013
This is adorable, I will have to put it on the list of things to make. Thanks for sharing!
cielyf 2758851
May 10, 2013
Hermoso este diseo, diferente y delicado. Me encanta, muchas gracias por el tutorial y el patron muy bien explicado a pesar de estar en ingles.
WaysideArtist
May 13, 2012
Instructions are well written for this project. It's so clever, I can't wait to try it.
Report Inappropriate Comment
Are you sure you would like to report this comment? It will be flagged for our moderators to take action.
Thank you for taking the time to improve the content on our site.