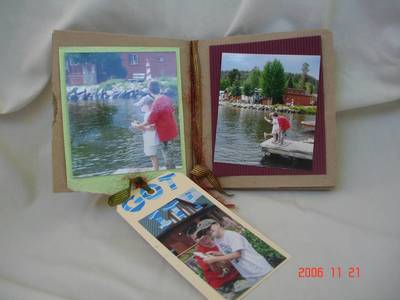
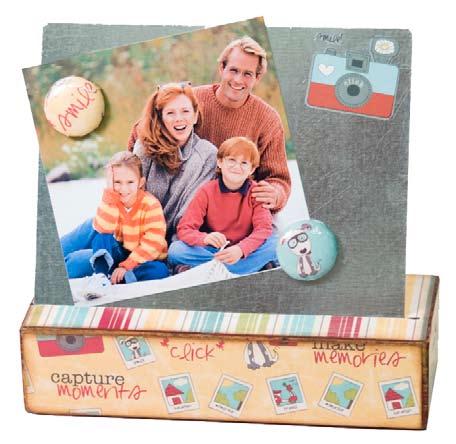
One Photo Magnet Board
Create a miniature magnet board with a small metal sheet and a wood block stand. Use this magnet board from Imaginisce to display a picture or two with magnets. Switching out pictures is easy!
Materials:
- 2 - 5 7/8" x 1 3/8" Click paper #001924
- 2 - 2 1/8" x 1 3/8" Click paper #001924
- 5 7/8" X 2 1/8" Ruffin It paper #001922
- Road Trip Rub-ons #001939
- 5 x 5 1/2" Metal Sheet
- 1 1/2" x 2 1/4" x 6" Wood Block
- Mod Podge
- Foam Brush
- i-top Brad Maker Tool #001309
- Medium Magnet Daddies
- Chestnut Roan chalk ink,
- Clearsnap
- Crystal Lacquer, Judikins
Instructions:
- If cutting your own wood, you'll need to cut a 1/2" groove on a slant, approximately 1/2" from front edge of block. This is where the metal piece will slide in.
- Note: Most heating/cooling places will cut the metal sheets for you at a very low cost.
- Ink edges of all trimmed papers using the chestnut roan chalk ink.
- Mod podge paper over wood block and set aside to dry.
- Apply camera rub-on to corner of sheet metal (or decorate as you'd like).
- Using i-top tool and medium magnet daddies, create 2-3 magnets. we punched ours from the Click and Ruffin' It papers.
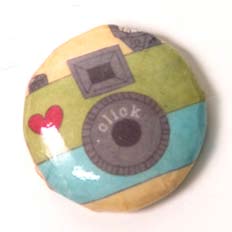
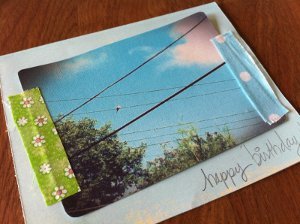
- Once you've created your magnets, apply a thin coating of Crystal Laquer over the paper and let dry. This will give your magnets a shiny appearance like the one seen to the right.