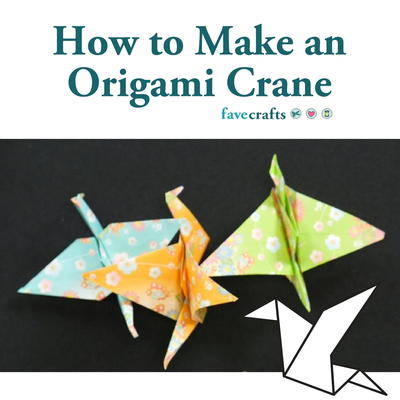
How to Make an Origami Crane (Video)
Learn how to make paper cranes with this YouTube video!

Learn how to make origami cranes with our video tutorial! The How to Make an Origami Crane Video is super easy for beginners to follow along with making this classic project. The tradition of origami cranes comes from the belief that if one folded a thousand origami cranes, their wish would come true. You may not want to fold a thousand, but the crane is also a symbol of hope during challenging times. You'll bring peace and joy to a space when you add origami cranes to it. Learn how to fold this traditional origami project with an easy-to-follow video.
Estimated CostUnder $10
Time to CompleteUnder an hour
MaterialsPaper
Primary TechniqueOrigami
Type of Paper UsedOrigami Paper

Project TypeMake a Project
Materials List
- Origami Paper
- Credit card, bone folder, or simply a fingernail for crisp creases
Instructions
-
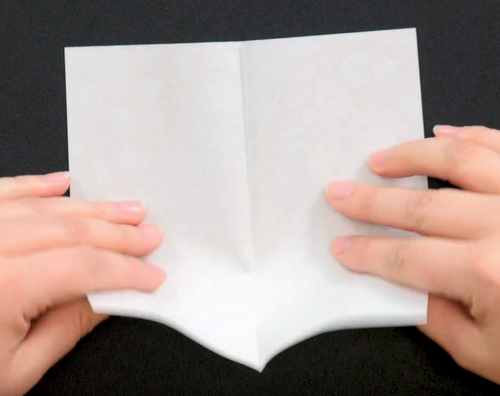
Decide which side of the paper will be your visible side, and lay it face down on the table. Take the bottom of the paper and fold up to create a rectangle.
-
Open it up, turn it, and fold the other way.
-
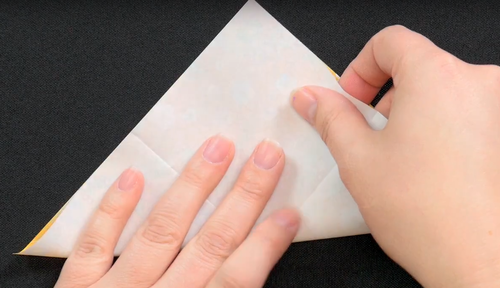
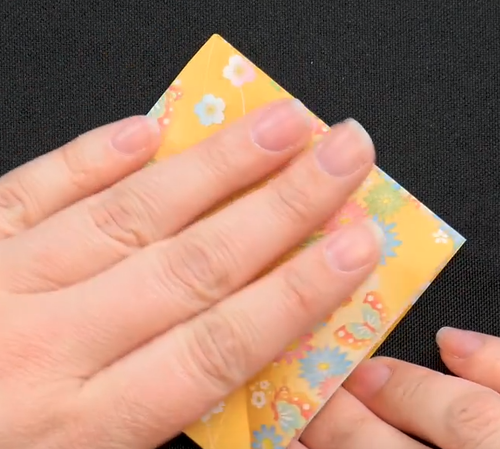
Open it up, turn it over, and set it in front of you like a diamond. You should be able to easily see those creases you made.
-
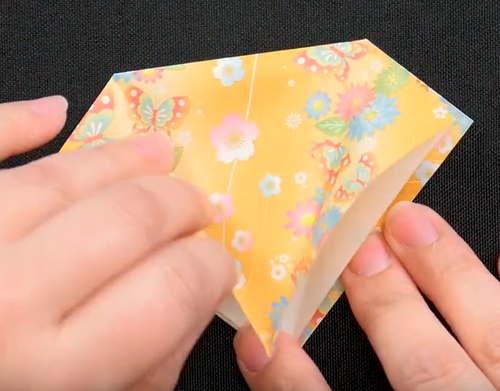
Fold the bottom point up to the top point.
-
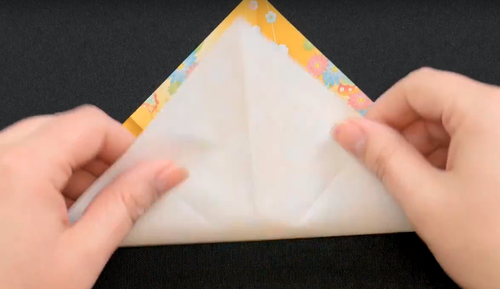
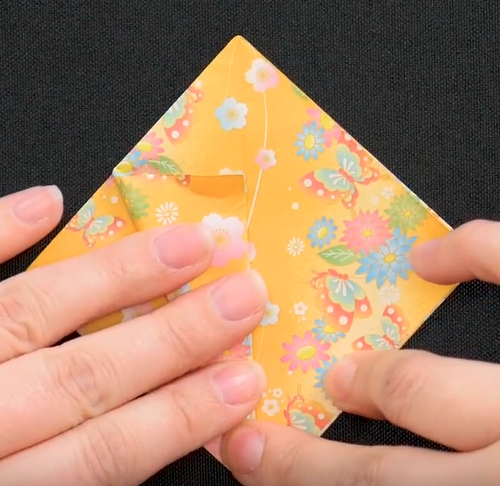
Turn it and do the same thing. When you're making all these creases, these are the setup folds. This does a lot of the hard work for you!
-
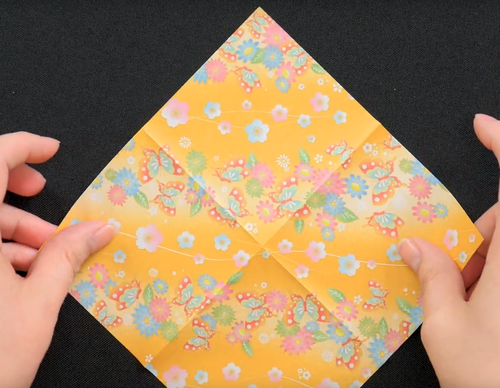
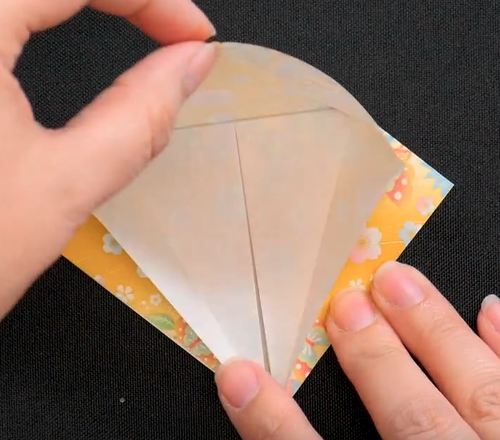
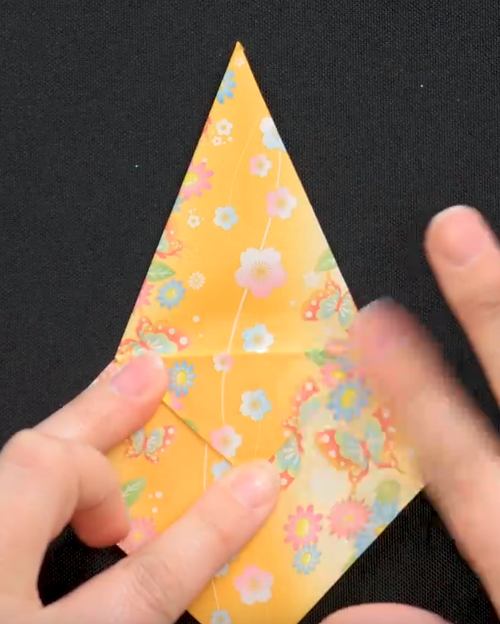
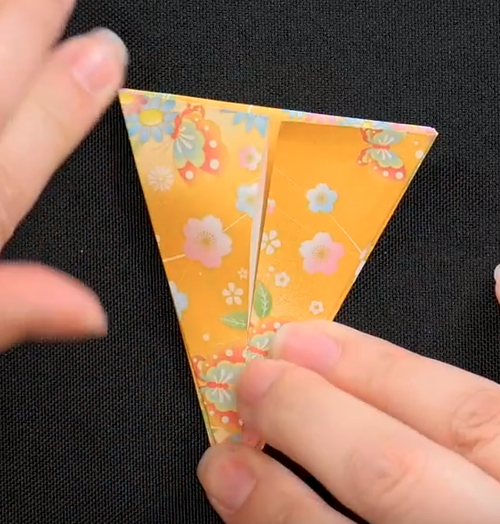
Turn it over so the pattern side is facing down again. Tap your finger in the middle so it angles in, and take the two points on the sides and bring them in.
-
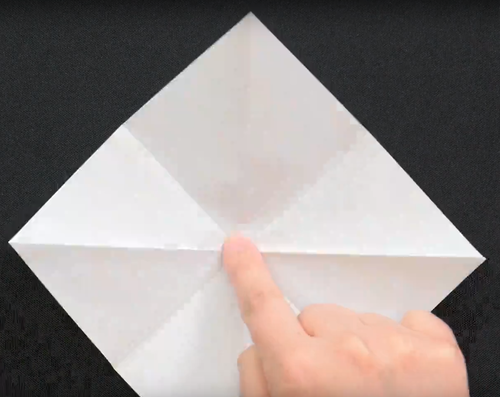
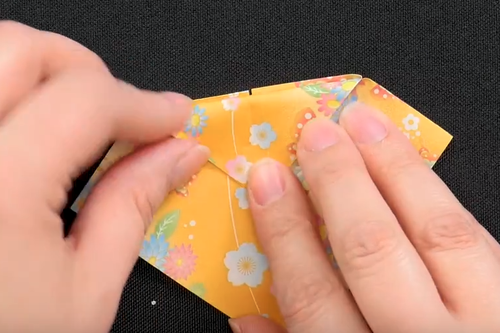
Press these folds all down. You should wind up with a square shape with two layers on the left and right.
-
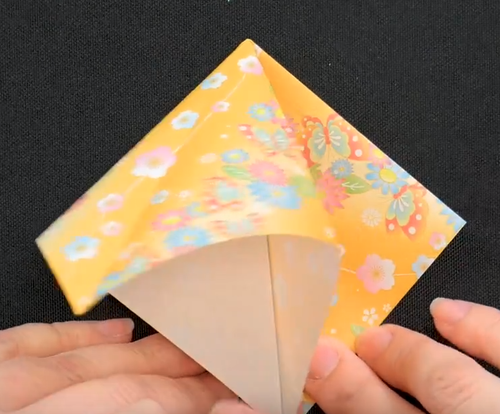
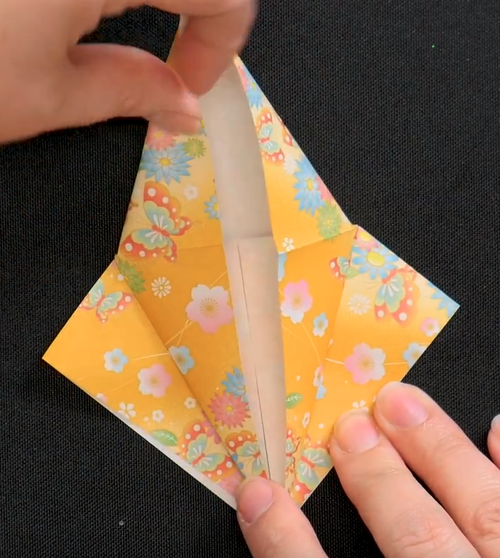
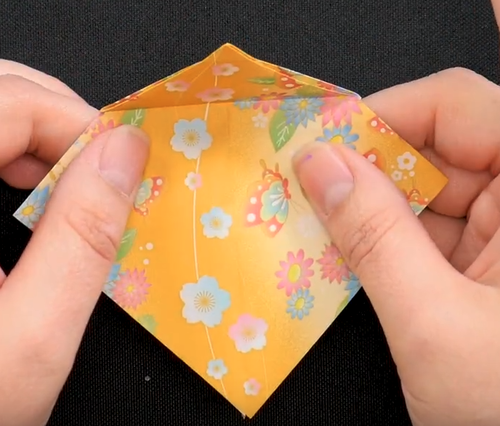
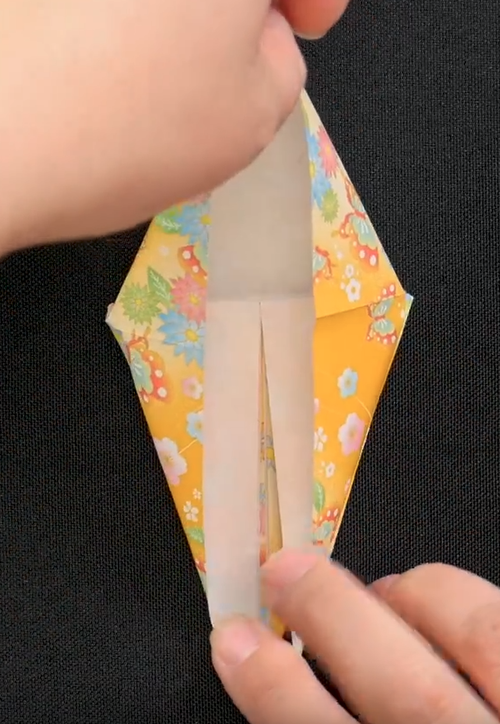
Take the top layer on the left and fold it in so the bottom edge lines up with the middle. Repeat on the right side.
-
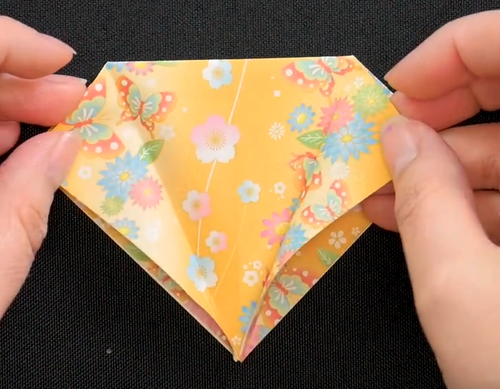
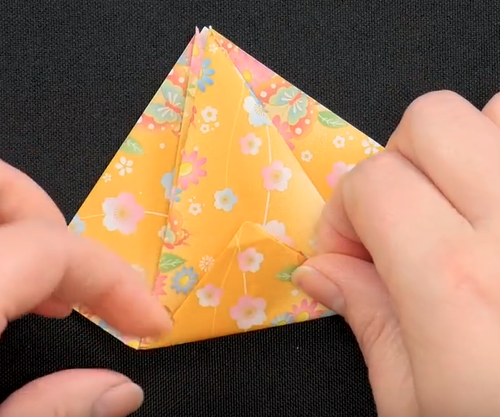
Flip your work over horizontally. Take the top fold and fold it down as far as it naturally goes. This will line up with your folds on the other side.
-
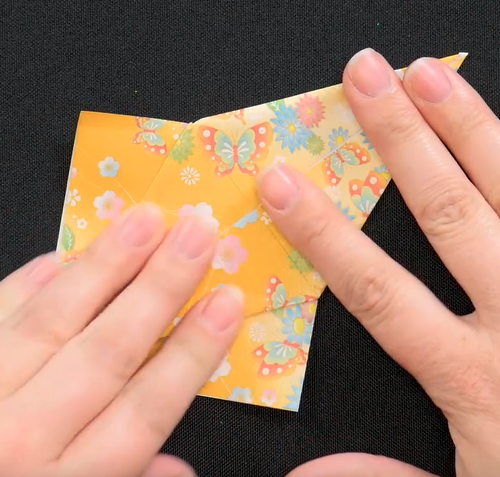
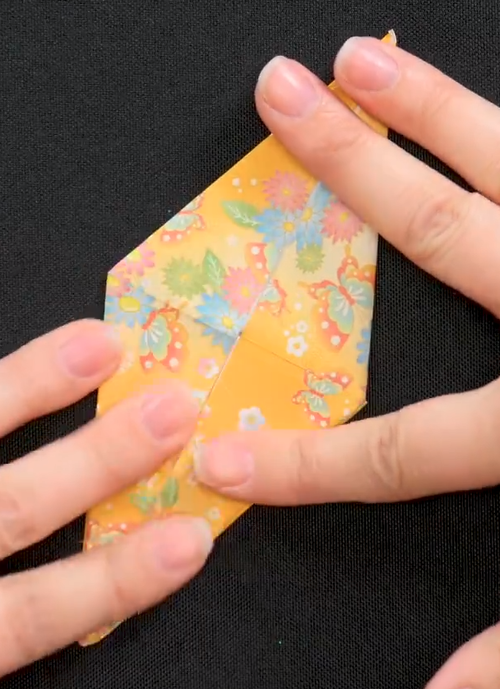
Flip it back over. Open the two flaps you recently folded and pick up just the very top layer. Pull that top layer all the way up and fold.
-
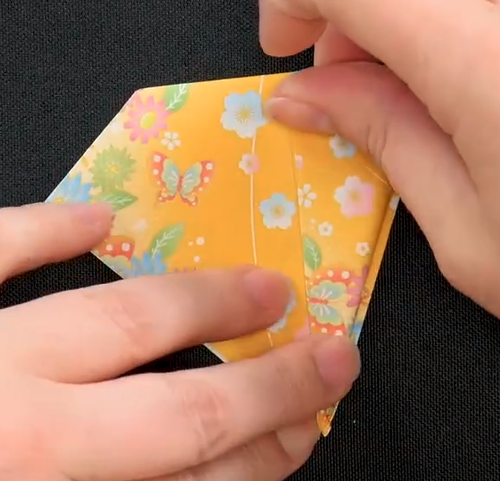
Flip your work over. Fold that "wing" you just made down behind your work, and fold the crease you did recently backwards as well.
-
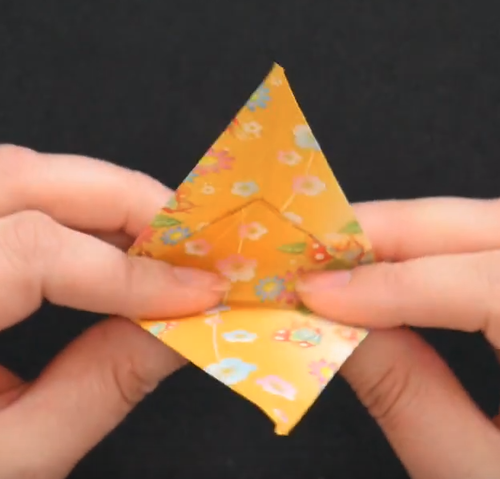
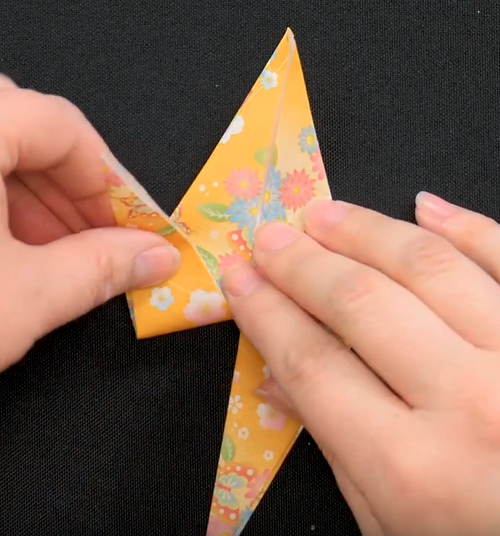
Take your top layer on the right side and fold it in towards the middle. Repeat with the left side.
-
Open it up. Lift up the top layer from the bottom and pull all the way up, then fold.
-
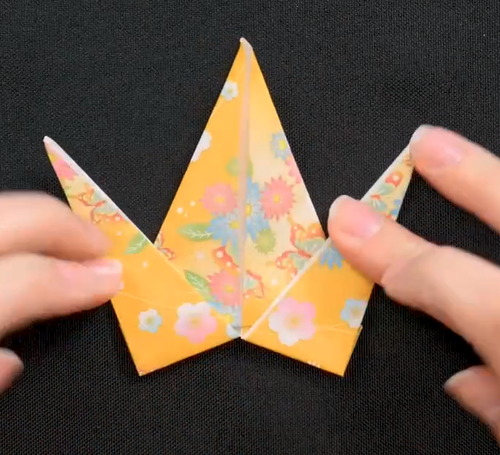
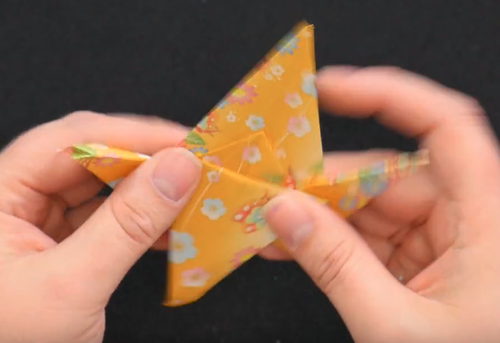
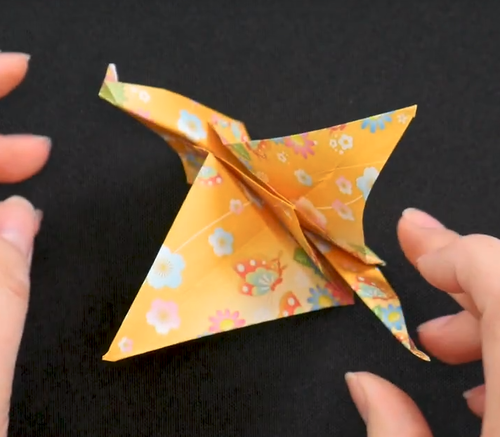
On the bottom of this diamond now you have two layers. Stick you hand between them and fold up the back so that it lines up with the top point. Now you have your wings and the center body.
-
At the bottom now you have two little legs. Fold each leg up at an angle. Make sure they're even.
-
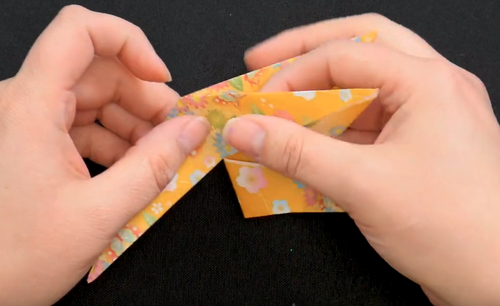
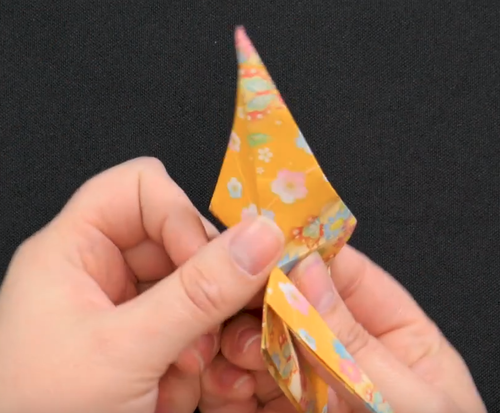
Unfold the left leg. Stick your finger in the middle of the left side and push the bottom with your other thumb. You're essentially reversing the crease in the other direction. This takes a bit of fiddling!
-
Do the same thing on the other side.
-
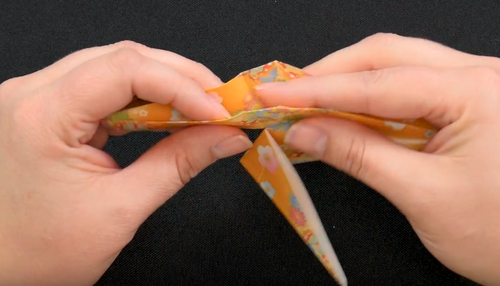
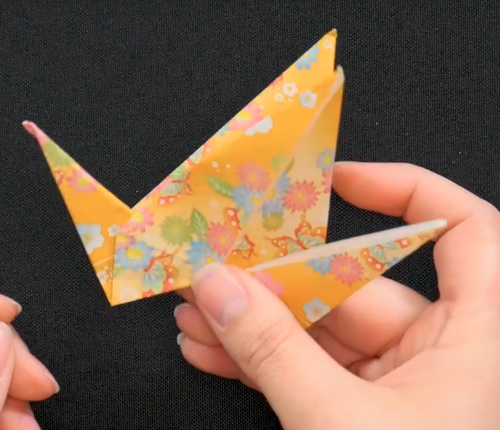
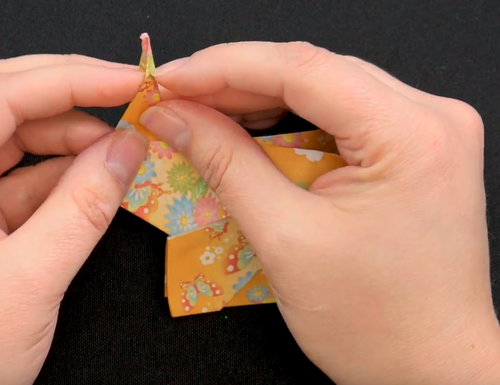
Decide which side should be his head and which side should be the tail. To make his head, take the very point and reverse the fold.
-
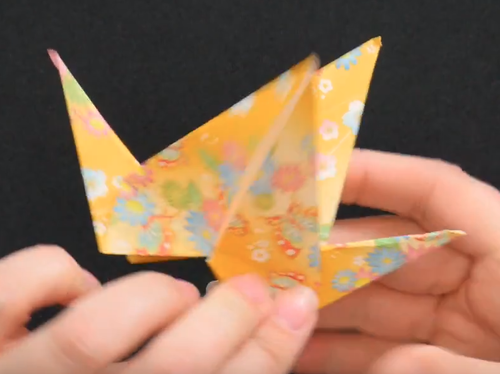
Fold down the wings. You can take a pencil and curl them a bit if you want!
-
Open up the bottom just a bit so he can stand!


Read NextHow to Make an Origami Crane (Video)