12 Coolest Resin Crafts + Resin Casting for Beginners
Resin crafting is easier than you think! Here are the coolest resin projects to get you started.

These days, it’s impossible to scroll through Instagram, Twitter, Facebook, and Pinterest without seeing tons of amazing epoxy resin crafts, but many crafters are still hesitant to try it out themselves. Resin anxieties are a real thing, but you can overcome them with a little advice and some simple tutorials!
Resin crafting is the perfect skill, really. It’s great for those days when you have a bit too much time on your hands, or when you’re looking for a fun and unique craft to make with friends or family members! Once you’ve gotten the hang of it, you’ll be so excited to show off your creations and help everyone you know get over their own resin anxieties.
You can create some of the coolest jewelry, the sweetest gifts, and the most beautiful pieces of decor for your home once you learn to use resin. Start with these incredible (and easy!) resin projects!
Table of Contents
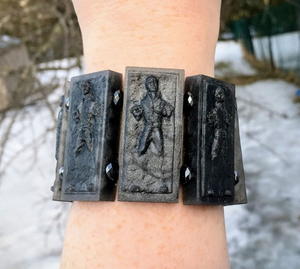
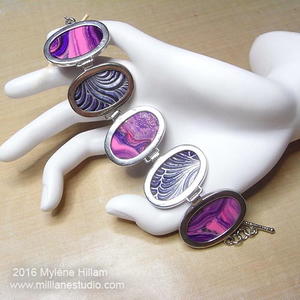
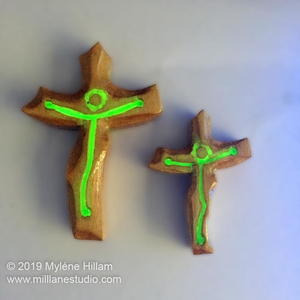
Resin Jewelry for Beginners


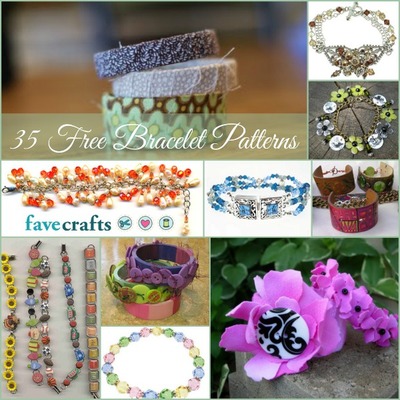
If you're looking for more unique jewelry crafts, you need to see these81 Free Beaded Bracelet Patterns
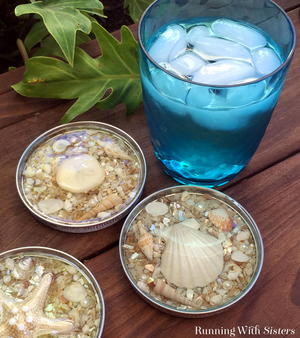
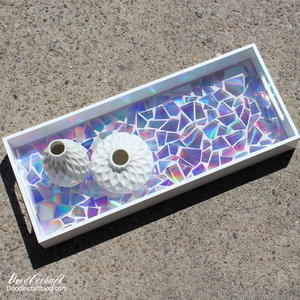
DIY Resin Coasters and Trays
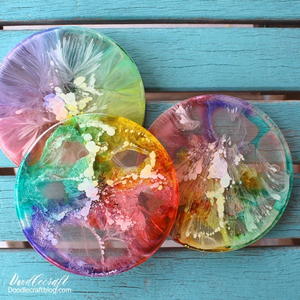
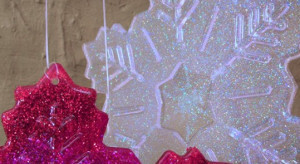
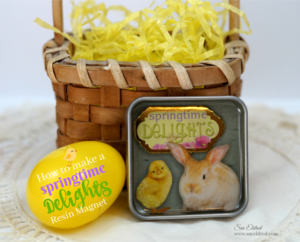
Resin Art Ideas
Resin Casting for Beginners
Working with resin can seem intimidating, but getting started with resin crafts is actually quite simple! Follow these basic steps and you’ll be well on your way to creating the coolest crafts around.
Prepare your materials. For epoxy resin casting, you'll want:
- Epoxy resin. Epoxy is typically safer and easier to work with than other resins, like polyester, so it’s perfect for beginners.
- Measuring tools. Measuring spoons, syringes, and measuring cups all work just fine. Keep in mind that these will not be safe for food afterward, so go disposable or have a set of measuring tools dedicated to crafting.
- Stirring utensils. Many crafters use popsicle sticks and plastic stirrers for this.
- Disposable cups for mixing.
- Disposable gloves.
- Items to embed in your resin. This could be glitter, confetti, flowers, or just about anything else you can think of!
- A protective “tarp” for your craft station. Something like wax paper or freezer paper will work.
- Resin molds. Many crafters use chocolate molds for smaller projects, and you can find more options for resin molds at many craft stores. Just like your measuring tools, these will likely not be after use.
Place in your mold and add anything you want to embed. Scrape or pour your resin into the mold and arrange the items you’re embedding. If you'd like, you can use a heat gun to remove any bubbles that form. Crafter Amber Kemp-Gerstel recommends using a heat gun to eliminate bubbles before pouring.
Clean up and wait. Place your craft on a safe, level space that is out of reach of kids and pets. Dispose of all disposable materials, and soak any non-disposable tools in soapy water for easiest cleanup.
Pop your craft out of the mold. Most resin projects take 12-24 hours to set, and then you can carefully pop it out and display your new crafty treasure!
For all your bold resin ideas, learn
Which resin craft will you try first?
Read NextFaveCrafts Studio LIVE