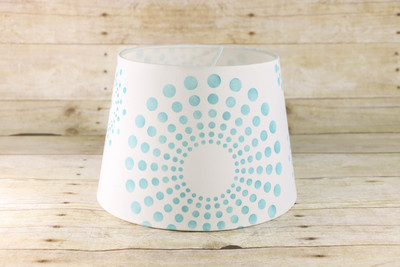
Teal Burst DIY Lampshade
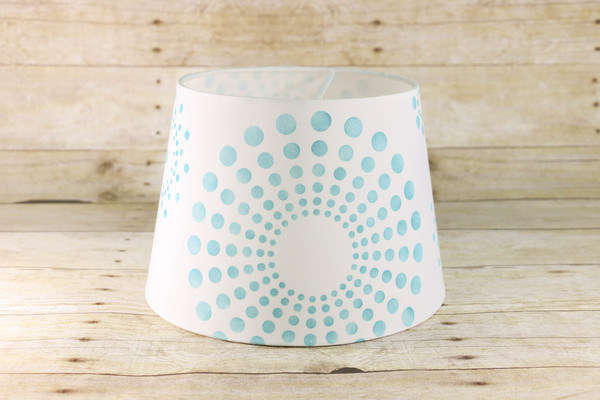
Even a simple piece like this Teal Burst DIY Lampshade can do wonders for any room in your house. DIY home decor can seem like a challenge, but you get to have creative freedom with your DIY home decor ideas rather than leaving them as they were in the store. This easy painting tutorial will show you how to stencil the cool patterns you see in the image on your lampshade. DIY home decorating can be a breeze with this easy painting ideas like this DIY lampshade.
Primary TechniquePainting

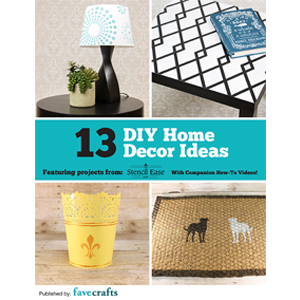
For more great home decor craft projects from Stencil Ease®, check out 13 DIY Home Decor Ideas.
Materials:
- Stencil Ease® Kaleidoscope Wall Painting Stencil
- Stencil Ease® Repositionable Adhesive Spray
- Ikea® JÄRA Lamp shade, White - 9”
- DecoArt® Americana® Acrylic Paint, Desert Turquoise
- Shurtape Technologies LLC Frog Tape®
- Stencil Ease® 5/8” Stencil Brush, White Bristle
- Paper Towels
- Paper or Plastic Plate
- Spray the back of the Stencil Ease® Kaleidoscope Wall Painting Stencil very lightly with the Stencil Ease® Repositionable Adhesive Spray and let the adhesive dry.
- Apply the stencil to the lamp shade. Once you decide on where you would like to position it, tape it down with Frog Tape® to hold it in place. Given that it is a curved surface you, will need the added security of the tape to hold it in place.
- Pour some of the DecoArt® Americana® Desert Turquoise Acrylic Paint onto the plate.
- Load your Stencil Ease® 5/8” White Bristle Stencil Brush with the Desert Turquoise DecoArt® Americana® Acrylic Paint and then swirl the brush onto your paper towel until it seems like all of the paint is removed. This creates a dry brush and leaves the perfect amount of paint on your bristles. Using a dry brush prevents paint from seeping under the cut-outs of the stencil. This part of the process is essential if you would like clean/ crisp lines when you lift your stencil.
- Swirl the paint onto the lampshade through the stencil cutouts.
- Reposition the stencil wherever you would like to place the designs on the lampshade and repeat until you are satisfied with the design.
- Allow paint to dry completely overnight.
- Spray the back of the Stencil Ease® Kaleidoscope Wall Painting Stencil very lightly with the Stencil Ease® Repositionable Adhesive Spray and let the adhesive dry.
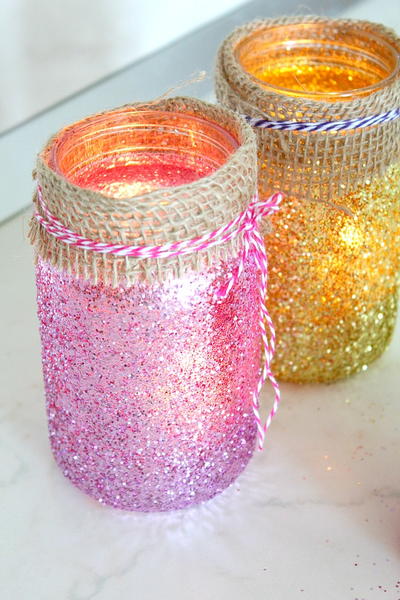
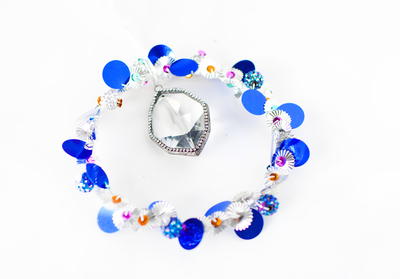
Read NextSparkle Sequin DIY Suncatcher
Your Recently Viewed Projects
Thanks for your comment. Don't forget to share!
princess6860504
Mar 29, 2018
I have a really cool idea to make this lampshade with this stencil even more mind blowing. I can layer the stencil all the way around and paint each layer a different coordinating color. Of course, I will let it fully dry each time . I want to overlap the stencil, if that makes any sense. What do you think?
flowergirl
Apr 30, 2017
How chic is this lampshade pattern. This is great for some lampshades am trying to remodel. I love how simple the craft is..it is so much fun to stencil.
Report Inappropriate Comment
Are you sure you would like to report this comment? It will be flagged for our moderators to take action.
Thank you for taking the time to improve the content on our site.