This project was submitted by one of our readers, just like you.
How To Make A Creepy Halloween Mirror
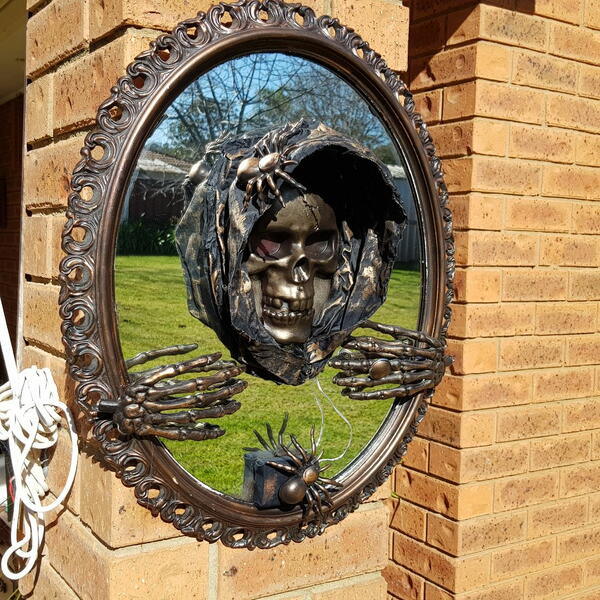
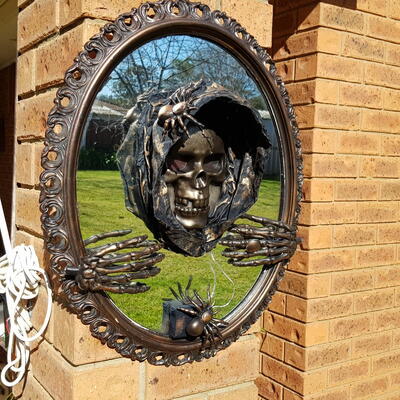
"This mirror was inspired by one I made last year for Halloween. The one I made last year had a skull on the mirror surface which I added using waterslide paper. One of my followers said it would look really cool if the skull could look like it was coming out of the mirror. With this in mind, I came up with this 3D Halloween mirror. This creepy Halloween mirror will look great all lit up on your porch to thrill or scare the trick or treaters."
Primary TechniqueMixed Media

Instructions
-
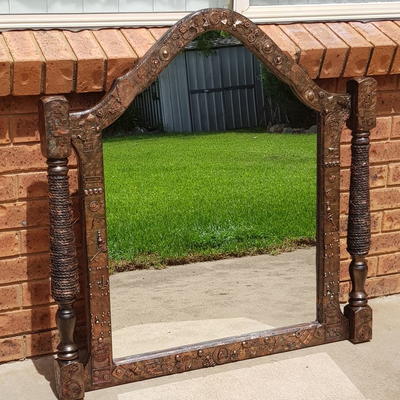
Any mirror will work for this project, but this style will look better. I painted the frame with black gesso and highlighted the raised edges with gold wax paste.
-
This can be washed off after Halloween or you can seal it with Acrylic spray if you want to keep the look.
-
To make the skull I used a Halloween jelly mould and some epoxy resin. I had this idea in my head that I wanted the skull to light upon the mirror.
-
I had no idea if lights would still work once they were set into the resin. So as an added precaution I also added some glow in the dark powder. So if the lights failed it would still shine up. You can use battery-operated fairy lights. They are only a couple of dollars at the budget stores.
-
Spread the lights out over the inside of the skull. I made my first mistake here by not leaving enough wire to hide the battery box behind the mirror. And mistake number 2, I did not check the colour of my lights. I wanted red but added the blue.
-
I wanted the mirror to look cool during the day too, so I needed to hide the wires inside the resin. So I added a few drops of red colour pigment to the resin.
-
You leave the resin to dry as per manufactures instructions. All resins are different, but they seem to be round about 12 hours.
-
Pop the skull out of the mould and paint it black with acrylic paint or black gesso.
-
To make the hood you need some craft glue or fabric stiffener, they both work great. And some scrap black fabric, I used an old t shirt. Place the skull where you would like it and cover it with saran wrap. This is to stop the glue sticking to the mirror and skull, and also prevent lots of cleaning up after.
-
Put some glue or stiffener into a bowl and add a small amount of water and mix well. Then you can dip your fabric into the glue, try cover all the fabric in glue.You can now arrange the hood around the skull how ever you like. It will be a bit floppy at first but as the glue dries you can add more detail to the fabric.
-
To give the skull some added character, I used some bronze wax paste and rubbed some over the surface. I used other Halloween accessories to decorate the frame.
Read NextSteampunk Mirror Makeover


