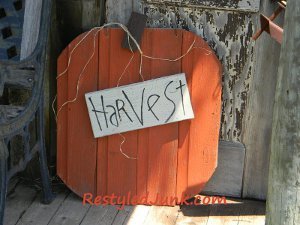
Rustic Recycled Wood Pumpkins
Save up that scrap wood and fall season crafts that you can leave out all autumn long. Rustic Recycled Wood Pumpkins are sophisticated and simple - they look great on a front stoop or on a back porch. Best of all, these homemade pumpkins won't rot.

Materials:
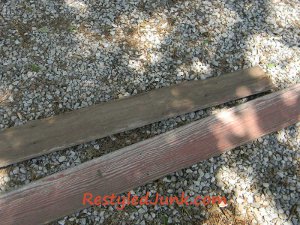
- 5-1/2 inch wide scrap boards (all same thickness)
- Measuring tape
- 2 to 4-inch-wide scrap boards
- Chop saw
- Wood glue
- Staples or wood screws
- Staple gun and/or drill with screw tip
- Pencil
- Jigsaw
- Orange acrylic paint
- Wide paintbrush
- Brown acrylic paint
- Off white acrylic paint
- Sandpaper
- Artist's brush
- Black acrylic paint
- Rusty baling wire
- Wire cutters
- Needle nose pliers
- Raffia
Instructions:
-
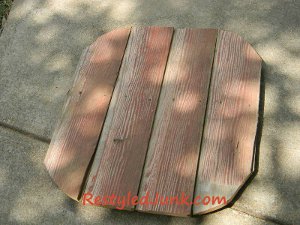
Cut four 24 inch lengths from 5 1/2-inch-wide scraps of wood of the same thickness for the pumpkin's body.
-
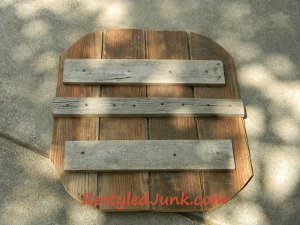
Cut a 22 inch-long brace and two 18-inch-long braces from scrap wood. The widths do not all have to be the same, but should be between 2 to 4 inches wide.
-
Lay the 24 inch lengths of the 5-1/2 inch-wide boards side by side with the chosen fronts facing down. Note: The boards are running vertically. Apply wood glue to the back of the longest brace and center the length horizontally across the back of the boards. Attach using staples or wood screws. Evenly space and center the two remaining braces between the center brace and the top and bottom edges of the pumpkin body. Attach in the same way as the center brace. If the braces extend past the sides of the pumpkin body, trim them even with the edges using a jigsaw.
-
Turn the pumpkin body with the front facing up. Using a jigsaw, round the corners to shape the body of the pumpkin.
-
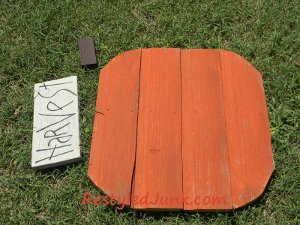
Dry brush the front of the pumpkin using orange acrylic paint.
-
Cut a scrap of wood 2-1/4 inches wide by 5 inches long for the stem. Paint the stem using brown acrylic paint. Since this is the stem, using a wood scrap with dimensions approximate to the measurements I used will work fine.
-
Cut a 6-inch wide piece of scrap wood 13 inches long. This is your sign board, so adjustments to the size of this board are not a problem. Paint the sign using off white acrylic paint. Allow the paint to dry and lightly sand the surface to distress. Using an artist's brush and black acrylic paint, letter the word "harvest" on the sign. Allow the paint to dry.
-
Arrange the stem on the center, top of the pumpkin and the sign in the center of the pumpkin. Give them a little bit of a tilt for whimsy. Apply wood glue to the back of the pieces. Use a staple gun to attach the stem and the sign to the pumpkin.
-
Cut a 26 inch length of rusty baling wire using wire cutters. Using a drill and a 3/32-inch drill bit, drill a hole 1 inch below the top edge of the pumpkin and approximately 4 inches from each side of the stem. Insert the ends of the wire through the holes from the back of the pumpkin to the front. Pull the ends of the wire to the front 2 inches. Bend the loop of the wire on the back of the pumpkin upward to form the hanger. Bend the ends upward and twist around the hanger using needle nose pliers.
- Tie a few strands of raffia around the stem to complete the pumpkin.
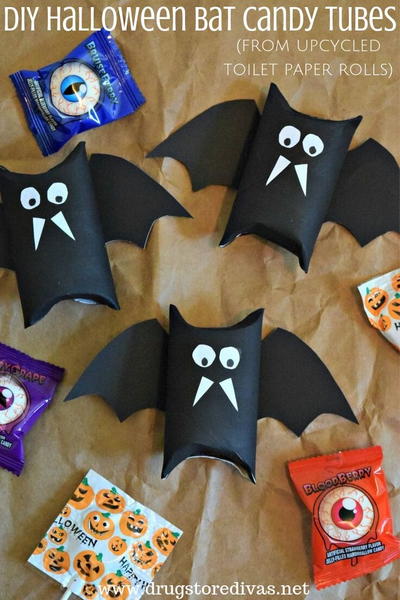
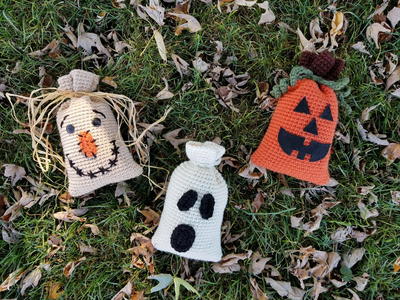
Read NextMonster Mash Halloween Favors