Polymer Clay Easter Box
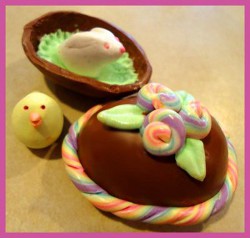
Easter crafts for adults can be fun and functional and this Polymer Clay Easter Box from Candace Jedrowicz is a great example. Just don't get confused - these clay figures may look edible, but they're actually made from polymer clay!

Materials:
- Polymer clay - brown, white, yellow, pink, purple, orange, green & aqua
- Aluminum foil
- Craft knife
- Pasta machine or rolling pin
- Satin-finish sealer (brush-on)
- Brush
Instructions:
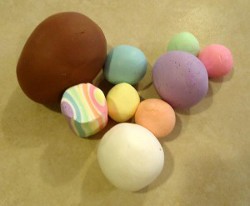
- Condition the polymer clay until it's soft and workable. Mix white into each of the colors to get the shades you want.
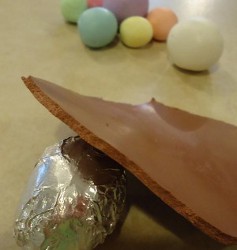
- Form an egg shaped ball of aluminum foil slightly smaller than your desired box size. Wrap a single layer of foil around the ball, so you'll be able to get the box off of the mold easily.
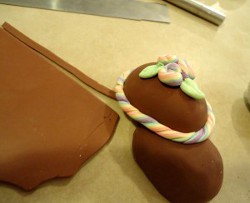
- Roll out the brown clay on the thickest setting of the pasta machine, about 1/8" and begin to wrap it around the foil.
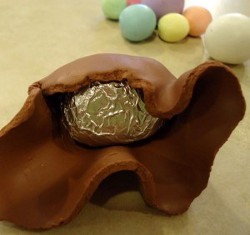
- Smooth the clay as you wrap it. In particular, smooth out any folds so that it stretches to fit the form.
- Cut off the excess clay and continue to smooth the clay until you're satisfied with the appearance of the egg. Continue to smooth clay until egg has a smooth appearance.

- Roll out the colored and white clays. The white clay should be about half the thickness of the colors.
- Stack the colors in any order you like with layers of white in between. Cut a piece about 1/2" x 1".
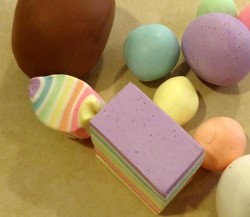
- Gently pinch the end colors together. You can see in the side view that the stack is now eye shaped.
- Work the eye shape into round roll.
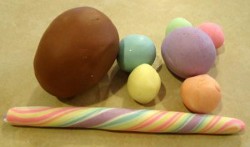
- Roll to reduce the diameter and lengthen. Twist as you roll to get the look of stripey candy.
- This is going to wrap around the egg, so it will need to be pretty small.
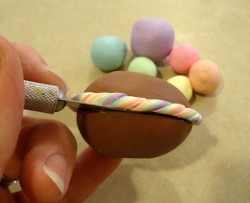
- Wrap the thinned roll around the egg a little above the egg's half way point.
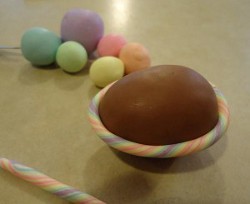
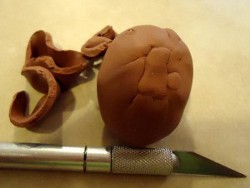
- You can see that I've attached the roll to the egg by pressing a diagonal pattern into it that follows the twist.
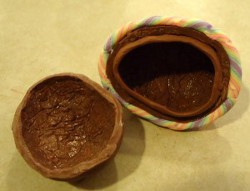
- Now it's time to cut the box just below the roll. Carefully press the craft knife into the clay until you feel the foil.
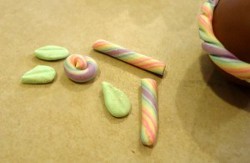
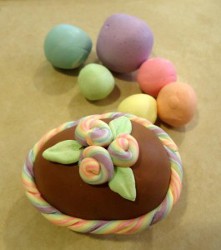
- Roll short lengths of the twisty roll into coils for the candy flowers and form leaves from the green clay. Press center vein into leaves.
- Secure the flowers and leaves on the egg with gentle pressure.
- Bake according to clay package directions.
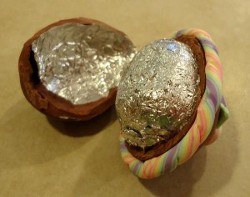
- After baking, while the clay is still slightly warm, use the craft knife to trace the cut line and very gently begin to pry it open with the blade.
- Remove the mold and foil.
- The box top will need a flange to help it stay in place. Cut a 1/4" strip of brown clay to attach inside the rim of the box top.
- Press the flange into place, frequently checking the fit with the box bottom.
- For grass, flatten a small ball of green clay and use a pointed tool to drag up through the clay.
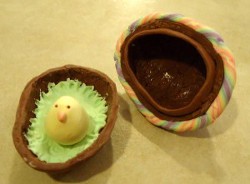
- The chick started as an egg shaped ball of yellow clay. I pinched one end to make a tail and added an orange beak and felt pen dots for eyes.
- Bake again according to the clay package directions.
- To give a slightly shiny finish, coat all the pieces with a layer of satin finish sealer.
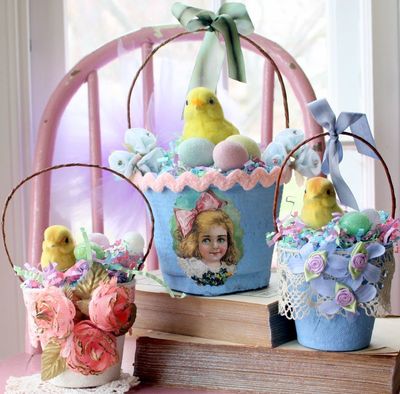
Read NextVintage Basket Easter Craft Project