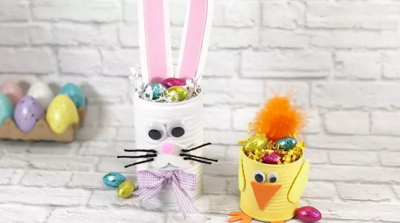
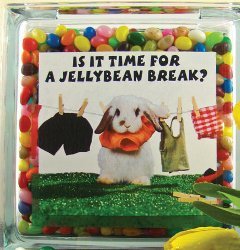
Jellybean Candy Jar
Make a fun candy jar to hold all your jellybeans and goodies for Easter. This is such a cute project you will love to bring out each year.

Materials:
- KraftyBlok™ Original
- KraftyBlok™ Image Art Paper
- Clothesline Bunny picture (http://www.fanpop.com/spots/bunny-rabbits/links/5412818)
- Jelly Beans
- Paper Towels
- Bowl for water
- Scissors
Tip:
Read all of the KraftyBlok™ Image Art instructions before starting your project. Large profile decals are fragile, handle with care. This project requires the use of a laser printer, not an inkjet.
Steps:
- Clean your KraftyBlok™ inside and out and dry completely.
- Measure and center a 5.5” X 5.5” square on the face of the KraftyBlok™.
- Tape off round the square. Spray paint the square and allow it to dry to the manufacturer instructions.
- Copy the bunny picture to any software on your computer that allows you to print images. Size the picture to 5.5” X 5.5”.
- Set up your printer per the instructions on the KraftyBlok™ Image Art Packaging.
- Follow printers’ instructions and print transfer. Allow paper to set 10 to 15 minutes to dry. Trim to size with scissors.
- Place transfer in a bowl of water and wait approximately 1 minute.
- Place the KraftyBlok™ flat on a work surface with the opening at the top. Lightly moisten the face of the block. Position the transfer above the painted square; roll a ½” of the backing paper away from the top layer of the Image Art transfer (the decal). Line up the Image Art transfer on the surface. Take extra care when sliding the image as they are delicate and can tear easily. Gently slide the Image Art transfer from the backing paper onto the surface using a finger to smooth the decal as you peel away from the backing paper.
- Gently pat and smooth the Image Art transfer with a moist paper towel eliminating air pockets and wrinkles.
- Allow to dry overnight.
- Preheat oven to 425°. Lay the KraftyBlok™ on a baking rack, transfer side facing up, bake for 15 minutes. Turn off the oven; leave the KraftyBlok™ inside the oven with the door closed until the oven and block has completely cooled.
- Wash the inside and outside with a mild detergent, rinse, and dry thoroughly.
- HAND WASH DO NOT PLACE IN DISHWATER.
- DO NOT LEAVE SUBMERGED IN WATER.
- Fill with jellybeans and enjoy!
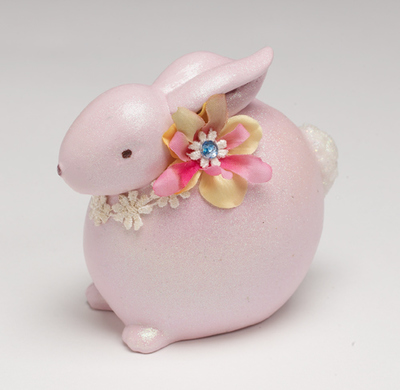
Read NextDollar Store Easter Bunny
Thanks for your comment. Don't forget to share!
CraftyCreator
Feb 22, 2012
Love this! I love jars, and anything different I can get my hands on is perfect. I am thinking about making a Jelly Bean jar that is decorated like a rabbits face for my kids...and a jelly bean blessing jar. Fill your jar with jelly beans and put a cute little poem about what each color symbolizes etc.
Report Inappropriate Comment
Are you sure you would like to report this comment? It will be flagged for our moderators to take action.
Thank you for taking the time to improve the content on our site.