Happy Easter Scrapbook Page
The Easter Bunny would hop head over heels for this pastel Easter scrapbook design.

Preserve your dearest springtime memories with pastel flair with this adorable Easter scrapbook page from Scrapbook Adhesives by 3L. You've never seen an Easter paper craft as sunny and colorful as this. Not only does this Easter Bunny-approved DIY scrapbook page include all of the delicate, floral colors of the season, but it also includes 3D textures that make the design literally hop off the page! 3D Foam Easter Shapes, including Easter eggs, tulips, and bunnies make this Easter scrapbook idea unlike any other. Whether you're documenting baby's first Easter egg hunt or a family brunch, this free scrapbook design will help keep your Easter memories on brilliant display.
Time to CompleteUnder an hour
Primary TechniquePaper Crafts
Project or Page SizeCard
Type of Paper UsedCardstock

HolidayEaster
Project TypeMake a Project
Materials List
- Scrapbook Adhesives by 3L® 3D Foam Easter Shapes
- Scrapbook Adhesives by 3L® 3D Foam Circles White Mix
- Scrapbook Adhesives by 3L® E-Z Runner® Permanent Strips Refillable Dispenser
- Cardstock: Pink, Baby Blue, Green, Yellow, White
- Vellum: Plain White Vellum
- Stickers: Cardstock Alphabet Stickers
Instructions
-
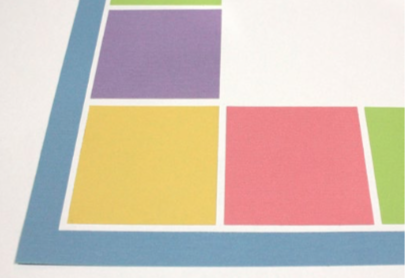
Adhere a piece of 10 3⁄4 x 10 3⁄4-inch square white cardstock on top of a piece of 12 x 12-inch blue cardstock with E-Z Runner® Permanent Strips Refillable Dispenser.
-
Cut seven 2 1⁄2 x 2 1⁄2-inch cardstock squares in different pastel colors.
-
Cut a piece of 7 3⁄4 x 7 3⁄4-inch yellow cardstock.
-
Adhere these pieces in place along left and bottom of white square cardstock. Leave narrow white borders around the smaller cardstock pieces with E-Z Runner® Permanent Strips Refillable Dispenser.
-
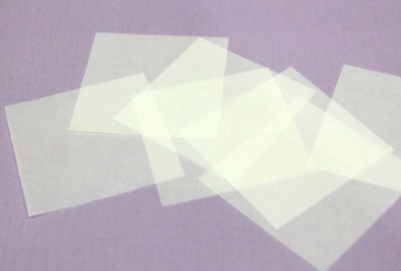
Cut seven 2 1⁄4 x 21⁄4-inch squares from plain white vellum.
-
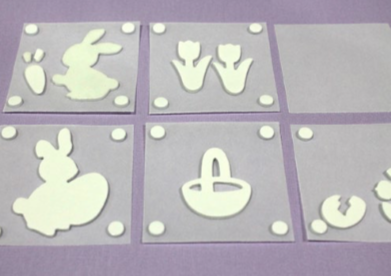
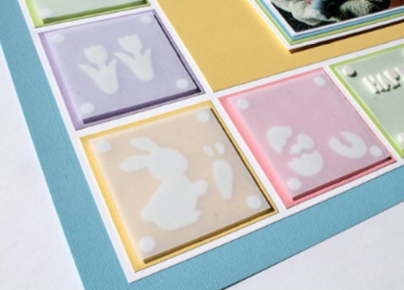
Add 3D Foam Easter Shapes to five of the vellum squares. With 3D Foam Circles White in small sizes, add a circle to each corner of the five square vellum pieces. Leave the other two of the vellum pieces blank.
-
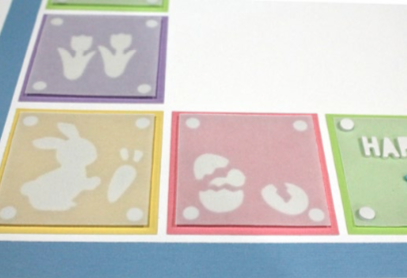
Remove the liners from the 3D Foam
Easter Shapes and 3D Foam Circles. Adhere the vellum squares on top of the small cardstock squares on the layout. The two blank vellum squares will be in the bottom right-hand corner of the layout. -
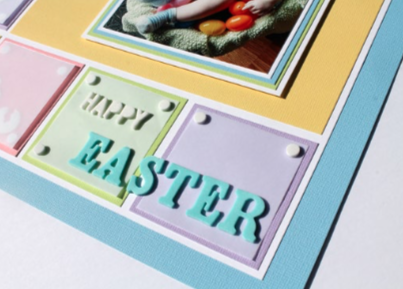
Add the layout title to these two blank vellum squares and adhere straight to the layout with E-Z Runner® Permanent Strips Refillable Dispenser, hiding the adhesive under the letter stickers.
-
Add 3D Foam Circles in small sizes to the corners. This time on top of the vellum and do not remove the adhesive liners.
-
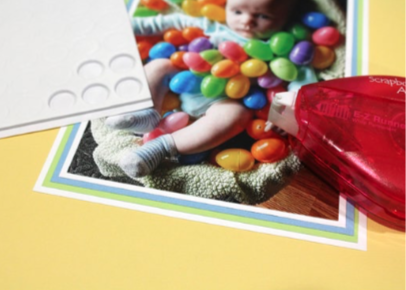
Quadruple mat the 4 x 6-inch photo in coordinating cardstock. Adhere the layers using E-Z Runner® Permanent Strips Refillable Dispenser. Adhere the matted photo to the page with 3D Foam Circles White in regular sizes.
What Easter memory would you preserve in a scrapbook? Let us know below in the comments!
Read NextDollar Store Easter Bunny