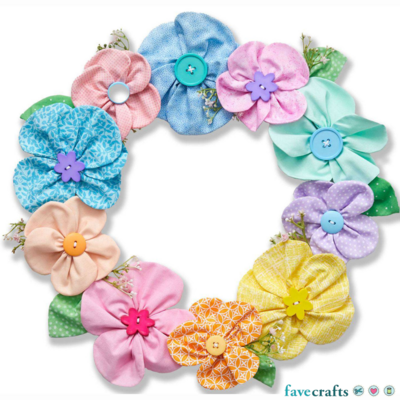
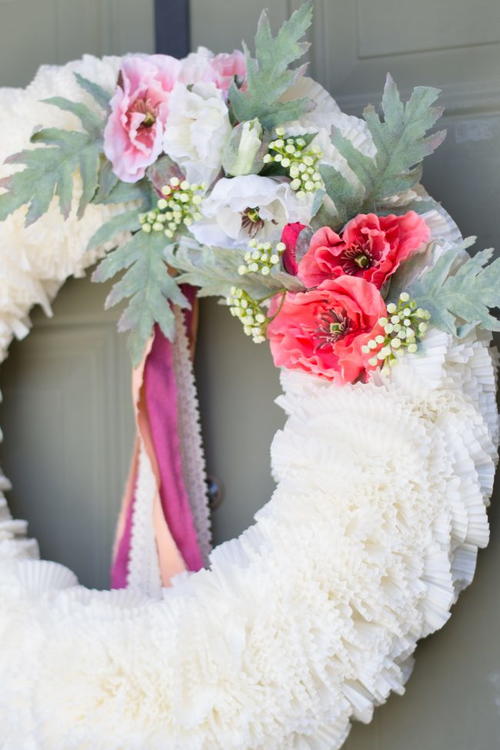
Faux Flower Cupcake Liner Wreath
Cupcake liner crafts can be so pretty!

Cupcake liner crafts can be some of the prettiest projects out there, and this wreath is no exception. Create a stunning cupcake liner wreath with basic materials. Get your hot glue gun out and turn on the TV in the background as you decorate your wreath form with dozens and dozens of cupcake liners! You can make the wreath as full as you like. Poppies are the perfect floral addition, and you can add other faux flowers and greenery to create your beautiful door decoration. If you're looking for a new spring wreath, this DIY idea is a fantastic option.
Time to CompleteIn an evening
Primary TechniqueFlorals/Wreaths
SeasonSpring
Project TypeMake a Project
Materials List
- Wreath Form (try to get a similar color to your liners)
- Ribbon of your choice
- Faux flowers of your choice
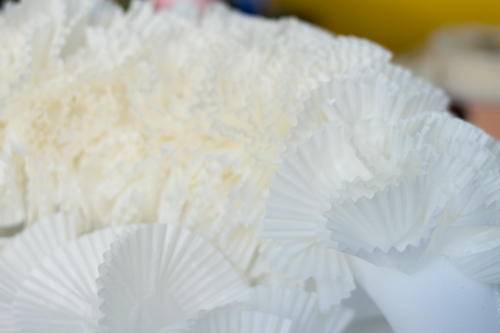
- Cupcake liners
- glue sticks and a glue gun
This mothers day wreath was so easy to make. Just buy a bunch of cupcake liners and the best place to buy bulk is online. I grabbed these ones at the dollar store and I bought 8 packages which was more than enough for a 16″ wreath form. The reason I like these ones is because they are not a true white, they are more of an antique finish and almost have a wax paper consistency.
Instructions
-
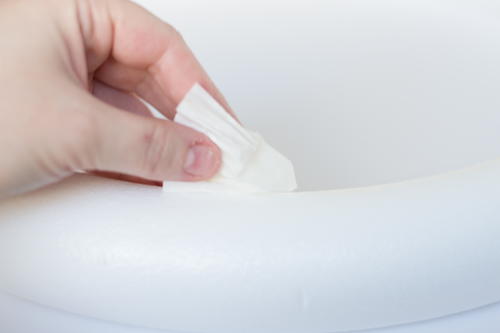
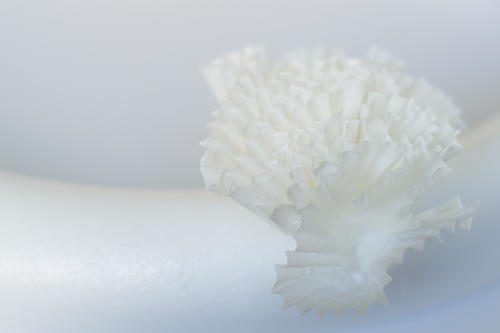
To begin, take one of your liners and grab the bottom and pull up so that it creates a longer, skinnier liner. Place some glue on your wreath form and quickly add the liners. Repeat this as much as you like. I chose a lot of liners because I want a full wreath but you go for it however full you want it. I also suggest you use the low temperature on your glue gun or else you’ll end up with a lot of burns…just talking about a friend of mine.
-
You’ll leave a space blank and add your flowers. I grabbed my faux poppies from Michaels and removed them from the stem. I placed quite a bit of glue on the back of the flower and pressed. I began with my flowers and added my leaves as I went to fill in the spaces. Once your flowers are arranged how you like it, add in more liners to complete the look.
-
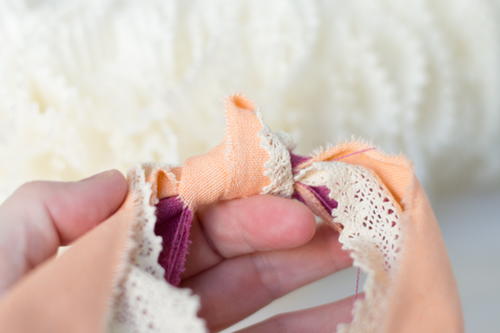
Next take some ribbon, I love this muslin ribbon and it matches the antique look I’m going for. You can take long strands and tie them together in the middle so you have a sort of tail looking ribbon or you can take extra tong strands and tie them in a bow. I like the look of flowy ribbons so I did the first option. I think that with this muslin ribbon it looks better the longer it is. Cut the ends on a diagonal and then attach it to your wreath. You can also do this a number of ways by just gluing the knotted part of the ribbon to the underside of the form, you could also tie your ribbon on beforehand and then glue all the liners to the form. Again, this is your project so do it how you like.
-
Once it’s dry and complete, give it to your mama. I know my mom will love her Mothers Day wreath and its something that looks great all year round. Happy Mothers Day!

Find more of Lindsay's beautiful projects at seelindsay.co.
More Fabulous Craft Ideas for You
As seasoned crafters ourselves, we are always on the lookout for fun and creative projects to share with our readers. If you're a fan of the Faux Flower Cupcake Liner Wreath, we think you'll love exploring some new crafting ideas.
For those who enjoy working with faux flowers, a great project to try next could be a DIY flower crown. This project is perfect for beginners and can be customized with your favorite colors and flower types. Flower crowns are a whimsical accessory for festivals, weddings, or even just a fun day out.
If you're looking to expand your crafting skills, we recommend trying your hand at paper quilling. This technique involves rolling and shaping paper strips to create intricate designs. You could make a beautiful quilled mandala to hang on your wall or give as a thoughtful gift to a loved one.
For those who enjoy making wreaths, why not create a seasonal wreath for every month of the year? You could make a spring wreath with pastel flowers and eggs, a summer wreath with seashells and starfish, an autumn wreath with colorful leaves and acorns, and a winter wreath with pine cones and faux snow. This project allows you to showcase your crafting abilities while adding festive decorations to your home throughout the year.
We hope these craft project ideas inspire you to continue creating and exploring new techniques in your crafting journey. Happy crafting!
Up Next:
Read NextBook Wreath Tutorial