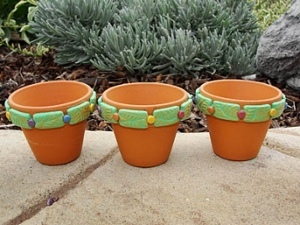
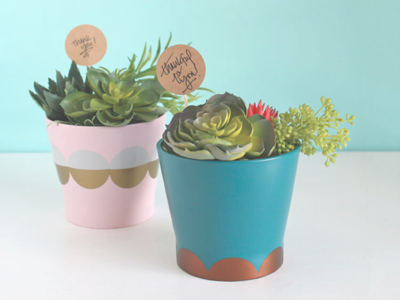
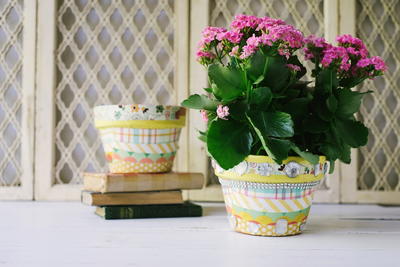
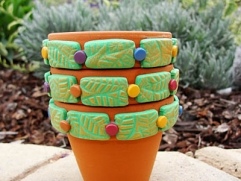
Leaf Stamped Clay Pots
Check out these Leaf Stamped Clay Pots from Polyform for an easy way to spruce up your garden. These clay pot crafts have bright clay accents around their rims, giving a splash of color to otherwise plain garden items. Fill one of these flower pots with some soil and a seed, and it makes the perfect gift for a friend with a green thumb. Because it is beautiful, springlike, and made by you, these clay pots also make fabulous Mother's Day gifts.

Materials:
- Pluffy™: Green - 4 oz-- 1 block
- Clay Conditioning Machine
- Hampton Art's Clear Stamp (individual leaf from SC0183 Tree)
- Michael's small clay pots
- Gold Pearl Ex powder
- Recollections Medium Circle Brads
- Wire cutters
-
Strong white craft glue
Instructions:
-
Preheat oven to 275 °F. Test temperature with oven thermometer for perfectly cured clay.
-
Condition a small amount of Green Pluffy clay in your hands until it is soft and pliable. Flatten the clay between the palms of your hands and either roll the clay through the widest setting on the Clay Conditioning Machine or use an acrylic roller to roll the clay to about 1/8 inch thickness.
-
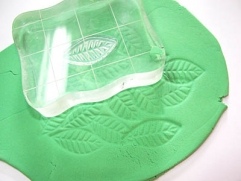
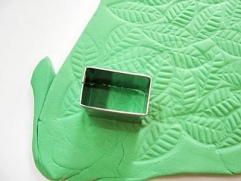
Randomly cover the sheet of clay with the leaf stamp, leaving no open spaces.
-
Use the premo! Sculpey Rectangular cutter to cut out tiles – you will need 9 tiles for each pot.
-
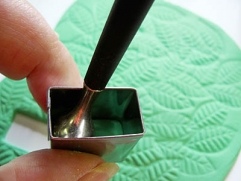
Use a large round tool, like the ball tool from the Sculpey Style and Details set to gently push the clay from the cutter if necessary.
-
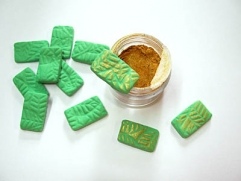
Gently apply a small amount of Gold Pearl Ex powder to each tile using your finger tip.
-
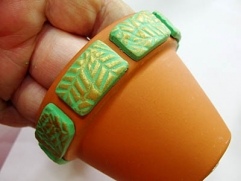
Glue each tile into place, leaving a small space, as shown, between each tile. Work quickly, so that you can reposition the tiles easily to even out the space between.
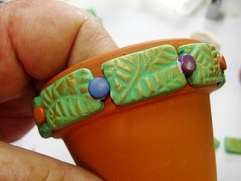
-
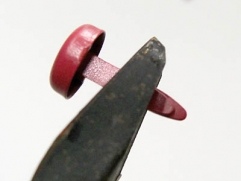
Cut the paper fastener portion off each brad, leaving approximately 1/8 inch of the stem or the same amount as the thickness of each tile.
-
Glue each brad into place between each tile.
-
Allow the glue to dry and then bake according to the clay package directions.
Read NextHow to Paint Terra Cotta Pots