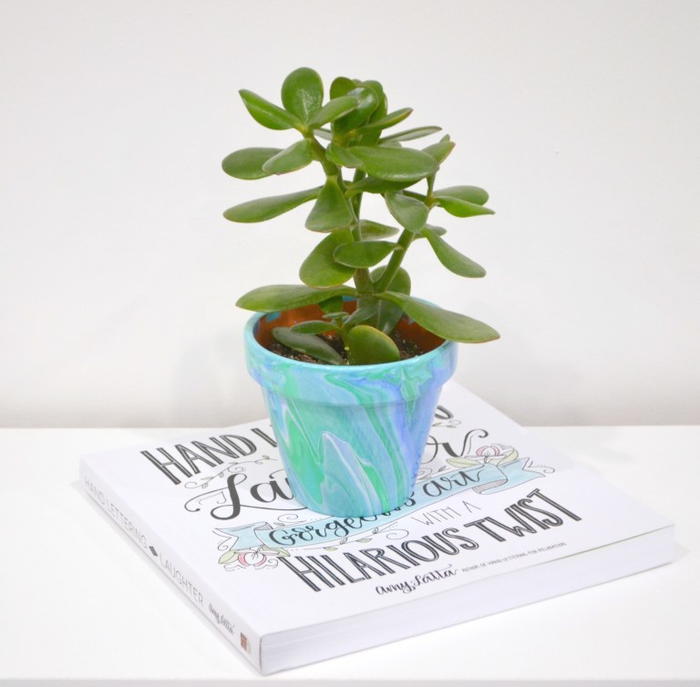
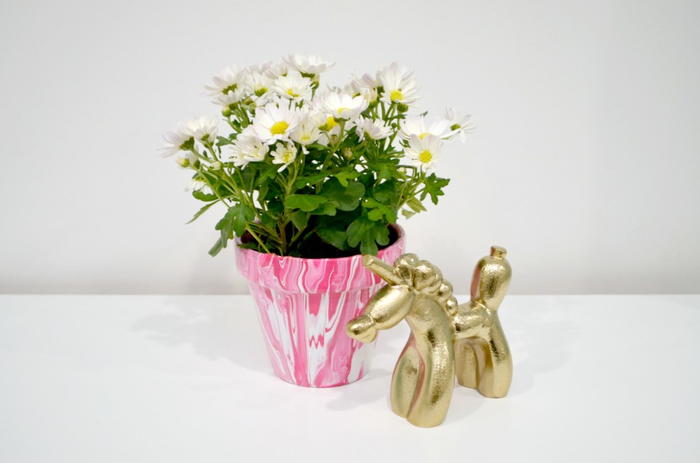
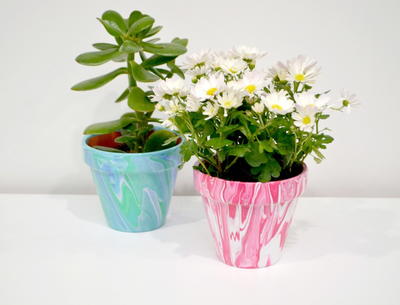
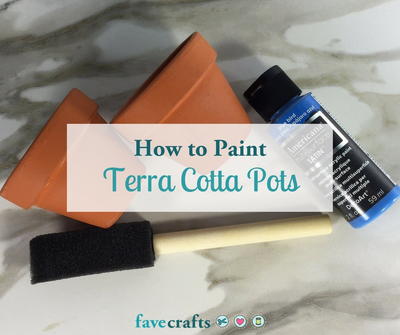
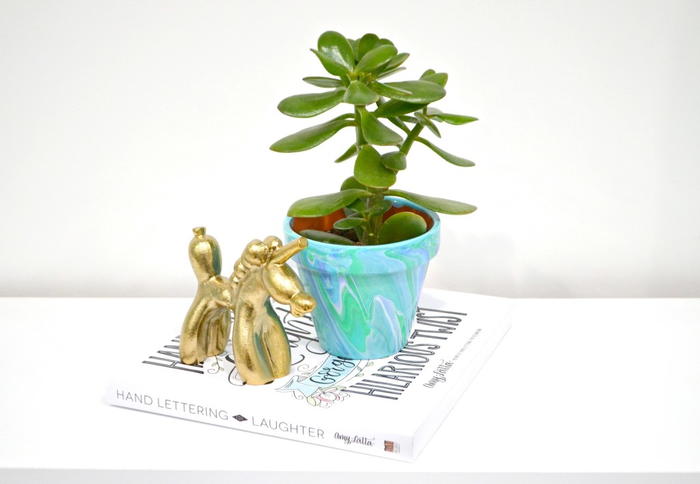
Paint Poured Marbled Flowerpots

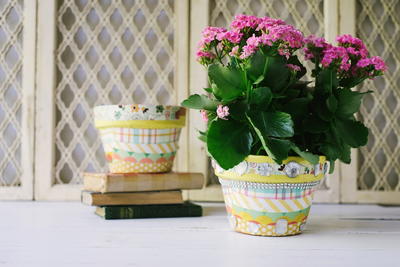
If you're new to paint pouring and you're looking to jazz up your interior decor, make these paint poured flowerpots! The marbling effect is just gorgeous. It's so easy to create these pretty terra cotta pots with the right supplies, and the designer includes great tips in this article to make sure your project lasts. If you're new to paint pouring or if you're experienced, you'll be able to create this craft. Marbling is such a timeless and elegant design for any interior decor. This is also a great idea for housewarming gifts. Simply choose paint in the recipient's favorite color, and plant flowers inside.
Estimated Cost$11-$20
Time to CompleteIn an evening
Main MaterialPaint

SeasonSpring
Project TypeMake a Project
Materials List
- Terra Cotta Flowerpot(s)
- FolkArt Marbling Paint
- Mod Podge Clear Gloss Acrylic Sealer
- Disposable Gloves
- Tray or disposable baking pan
- Plastic cups
Instructions for Paint Poured Marbled Flowerpots:
Tip: If you don’t like using disposable materials, you can use regular trays, cups, and gloves, but keep in mind that afterward, they’ll need to be reused for craft projects only, not food prep.
-
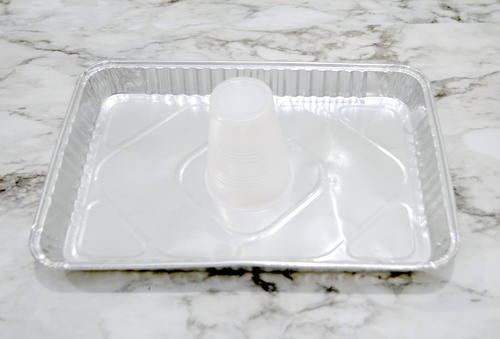
Prepare your work surface and put on your gloves. To keep everything contained and allow for simple cleanup, I recommend placing a tray or a disposable baking pan on your work surface. Then, place an upside down cup in the center so you can sit your upside down flowerpot on top. This setup lets the paint cover the surface of the pot completely, including the top rim, with the excess dripping down into the pan.
-
Spray the inside of the pot with a clear acrylic sealer. This is a very important step, because if you don’t seal the inside, moisture and water from your plant can seep through the walls of the pot and blister the finish. I’ve had many flowerpots get ruined over the years because I didn’t know this trick. Make sure your pot is clean and dry before applying sealer.
-
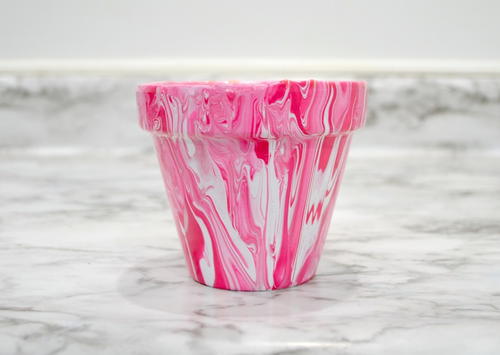
Squeeze 2-4 colors of FolkArt marbling paint into a cup. Unlike regular acrylic paint, this marbling paint is specially formulated with a marbling medium added in so that the colors keep their original hue even when they’re layered and mixed together. You’ll want to avoid shaking the paint bottle, because that can create bubbles. Just squeeze the paint directly into the cup, layering the colors on top of one another until the cup is about half full.
-
Pour the contents of the cup onto the pot. As the paint starts to flow, you’ll want to pick up the pot and gently turn/tilt it to make sure the entire surface gets covered. If you have bare spots, you can repeat the process and pour a bit more paint on those areas.
-
Let the paint dry completely. Before it’s sealed, this paint WILL stick to things like countertops, tables, etc. even when it seems dry to the touch, so it’s best to keep it suspended over the tray for 24 hours then move directly to the sealing step.
-
Spray with a coat of Mod Podge Clear Gloss Acrylic Sealer. Once the sealer is dry, your flowerpot is ready to use!